

There are some crunchy trends that took me forever to try. They either sounded a little gross, felt way too expensive for our season of life, or both. Kombucha was definitely one of those for me. The idea of a fermented drink made me think of drinking sauerkraut juice… and I just couldn’t get on board. (No shade to sauerkraut lovers — I enjoy it on occasion, but as a beverage? Hard pass.) I walked past those colorful bottles in the store for months, eyeing the $4–$5 price tags and wondering who on earth was buying them every week.
Then one day I grabbed a pineapple kombucha on a whim. After the initial sticker shock ($12 for a 15-ounce bottle still makes me wince), I took my first sip and was shocked at how much I loved it. The slight fizz, the tangy-sweet balance, the way it felt refreshing.. That one bottle sent me down a serious rabbit hole of searching for cheaper ways to keep kombucha in the fridge.
Bulk buying helped a little, but it was still expensive. That’s when I discovered SCOBYs — those weird, pancake-looking cultures that start the fermentation process. Another deep dive later, I realized making kombucha at home wasn’t nearly as complicated as I thought. Fast forward to today, and I almost always have kombucha fermenting on my counter, especially during the warmer months when fresh fruit to flavor my kombucha is everywhere.
If you love kombucha but hate the store prices, this homemade kombucha recipe is for you. I’ll walk you through everything I’ve learned so you can turn an expensive treat into an everyday staple.

Why You’ll Love Making Kombucha at Home
Minimal Hands-On Time
The actual work takes about 15–20 minutes — perfect to do while dinner is cooking. The rest is just waiting for the magic of fermentation.
Simple Steps Anyone Can Follow
You don’t need fancy kitchen skills or special equipment. If you can brew tea and stir sugar, you can make kombucha.
Huge Cost Savings
My first store-bought habit was costing us $20–$30 a week. Now I spend a fraction of that for gallons at a time. Once you have a healthy SCOBY, the ongoing cost is mostly just tea, sugar, and filtered water.
Full Control Over Ingredients and Flavors
No mystery additives or excessive sugar. You choose the tea, the sweetness level, and fun flavor combinations.
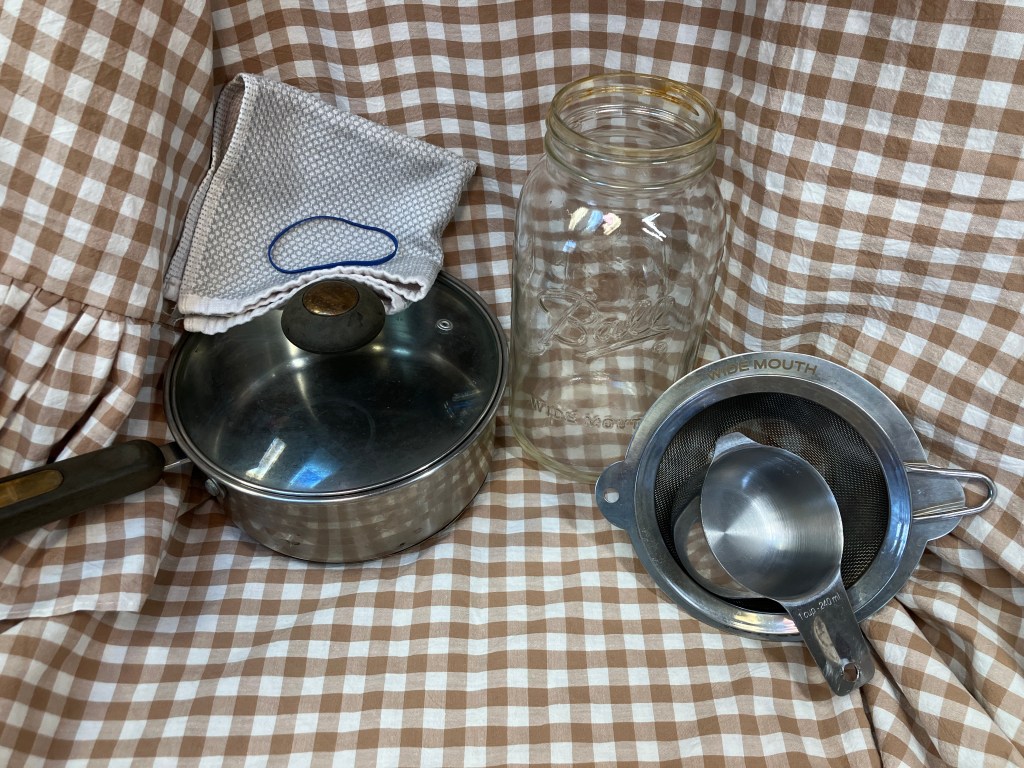
Tools and Ingredients You’ll Need
Tools
- ½-gallon glass jar (or 1-gallon for bigger batches)
- Measuring cups
- Small saucepan
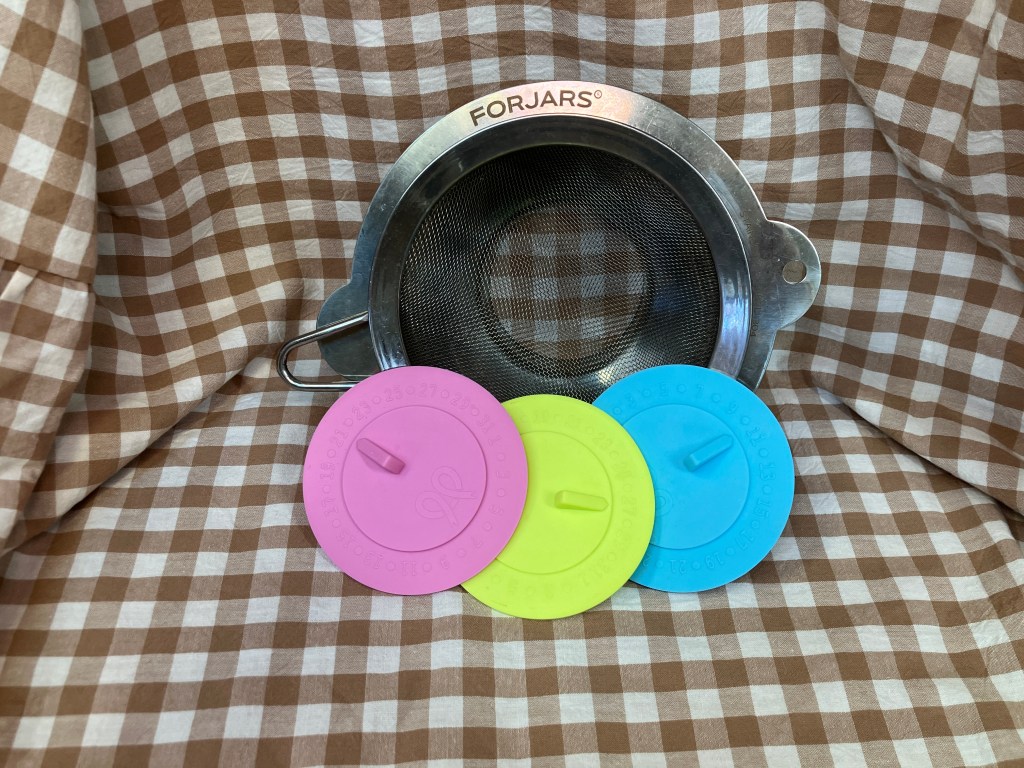
- Fine-mesh strainer
- Paper towels or thin breathable cloth + rubber bands (or fermentation lids)
- Funnel (optional but helpful)
- Glass bottles or mason jars for finished kombucha
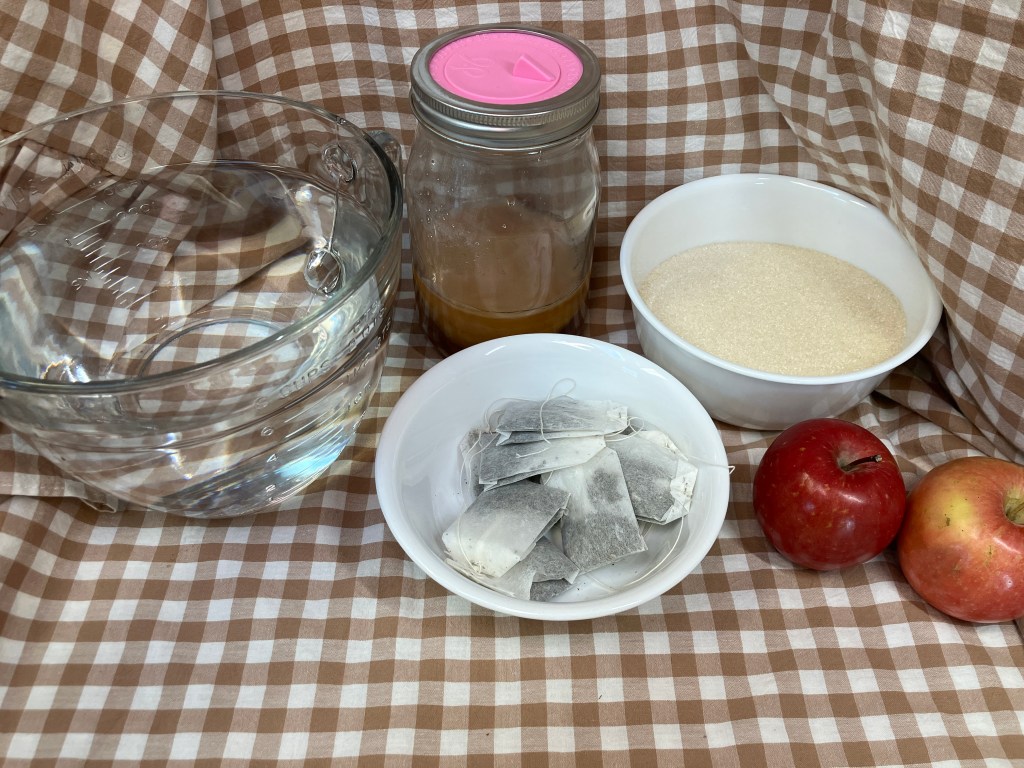
Ingredients (for a ½-gallon batch)
- 1 SCOBY + 1 cup starter liquid (from a previous batch or purchased)
- 4–6 black or green tea bags (or 2–3 tablespoons loose leaf)
- ½ cup white sugar (organic cane works great)
- Filtered water (about 7–8 cups total)
- Fruit, fruit juice, herbs, or spices for second ferment (optional but recommended)
Step-by-Step: How to Make Kombucha at Home
First Fermentation (The Base Brew)
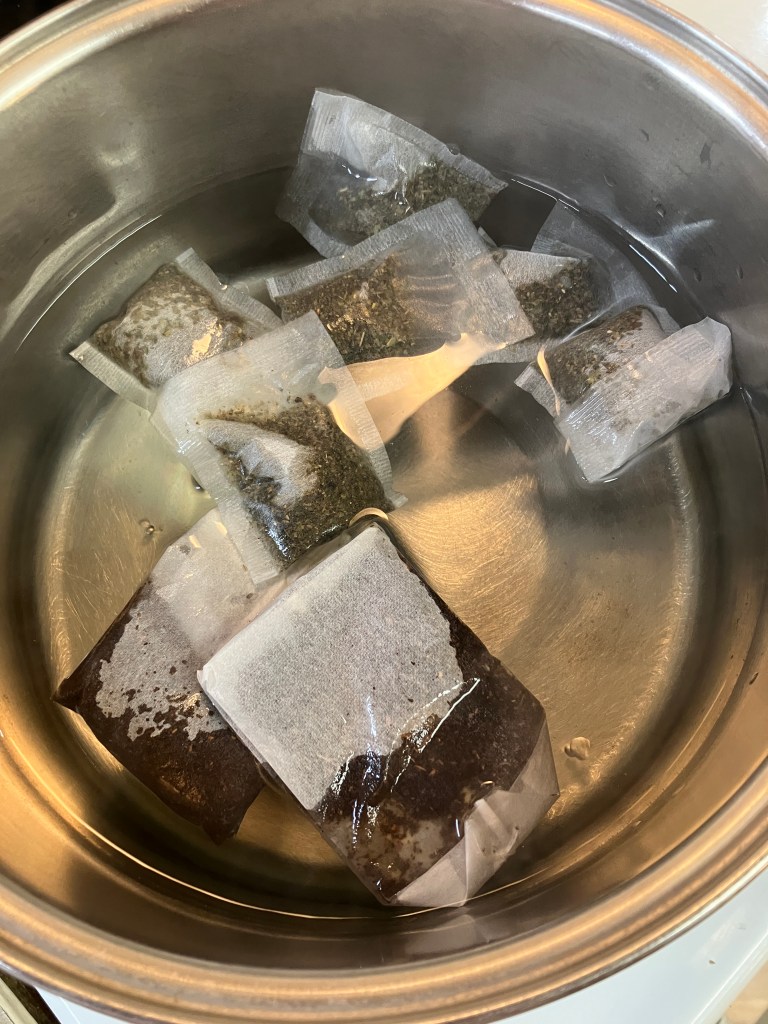
Step 1: Brew the Tea
Bring 4 cups of filtered water to a boil in a small saucepan. Remove from heat, add your tea bags, cover, and let steep for 15 minutes. I usually use green tea for great flavor and antioxidant benefits.
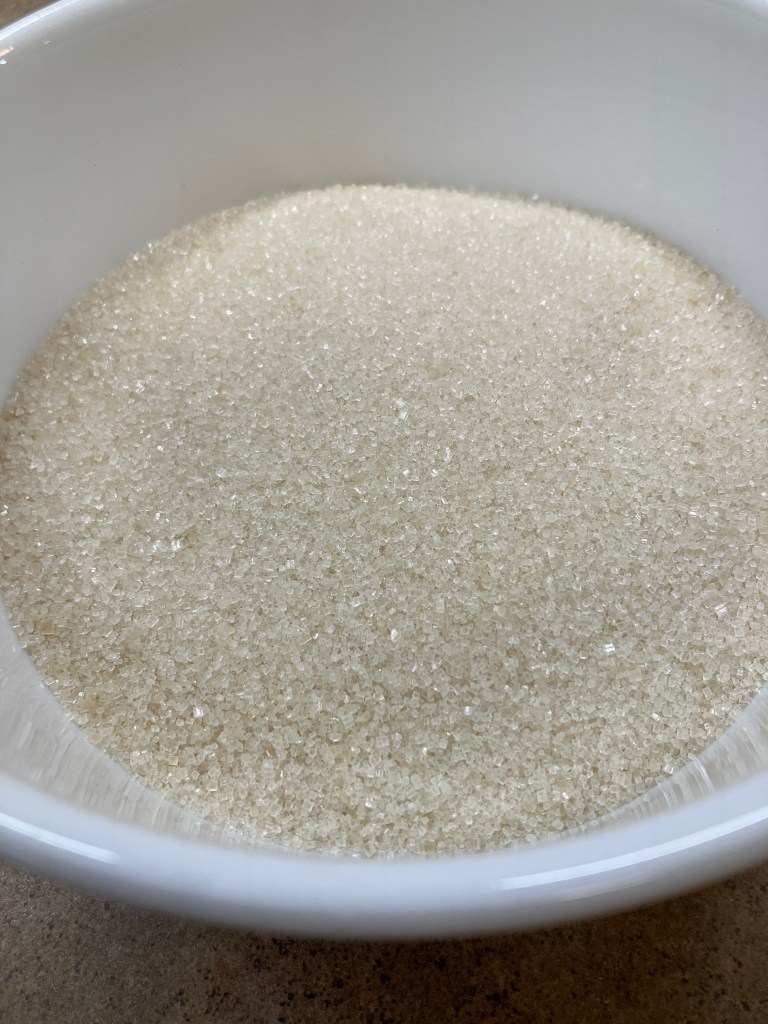
Step 2: Sweeten and Cool
Remove the tea bags and stir in ½ cup sugar until completely dissolved. Let the sweetened tea cool completely to room temperature. This is important — hot tea can damage your SCOBY.
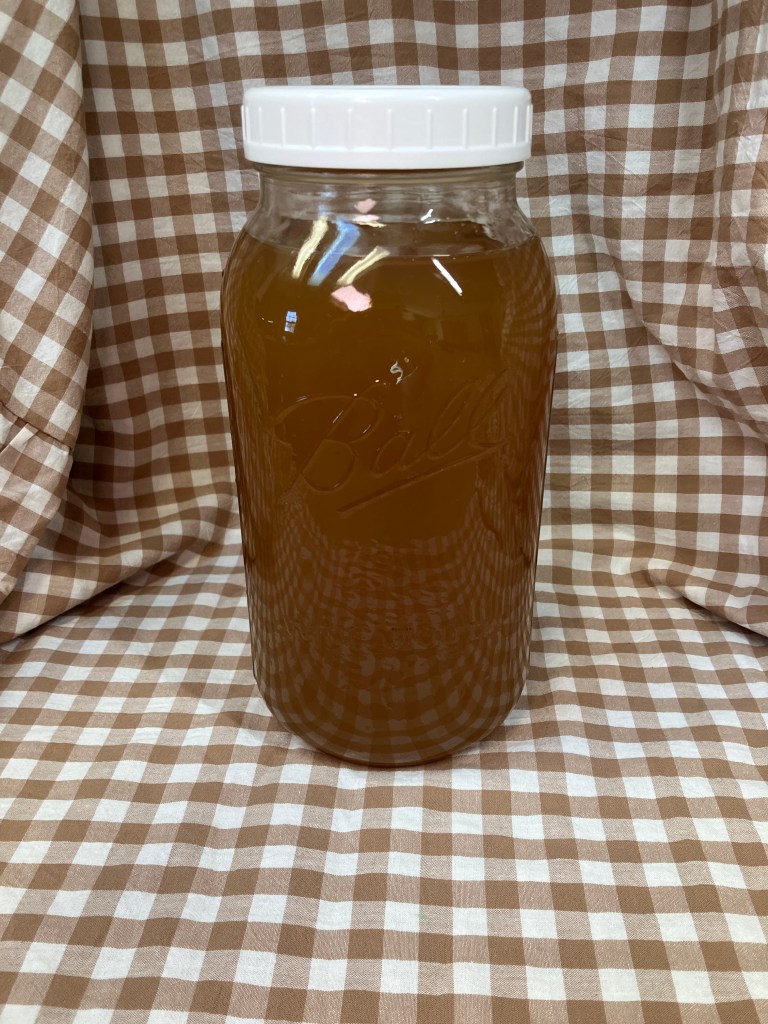
Step 3: Combine in the Jar
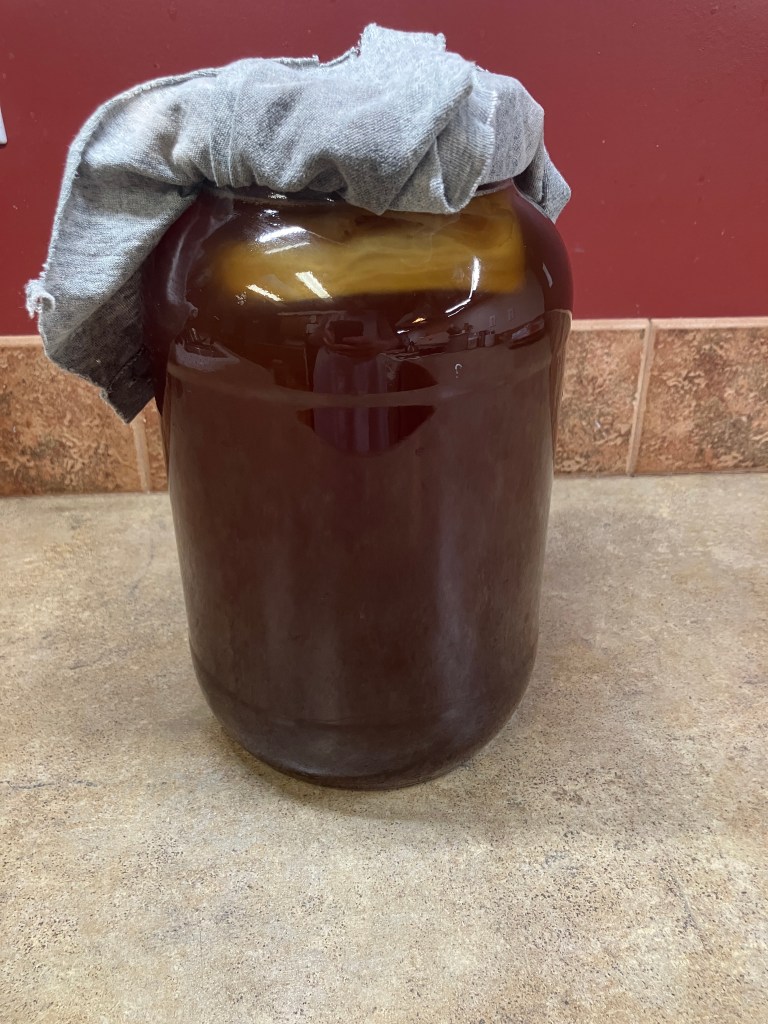
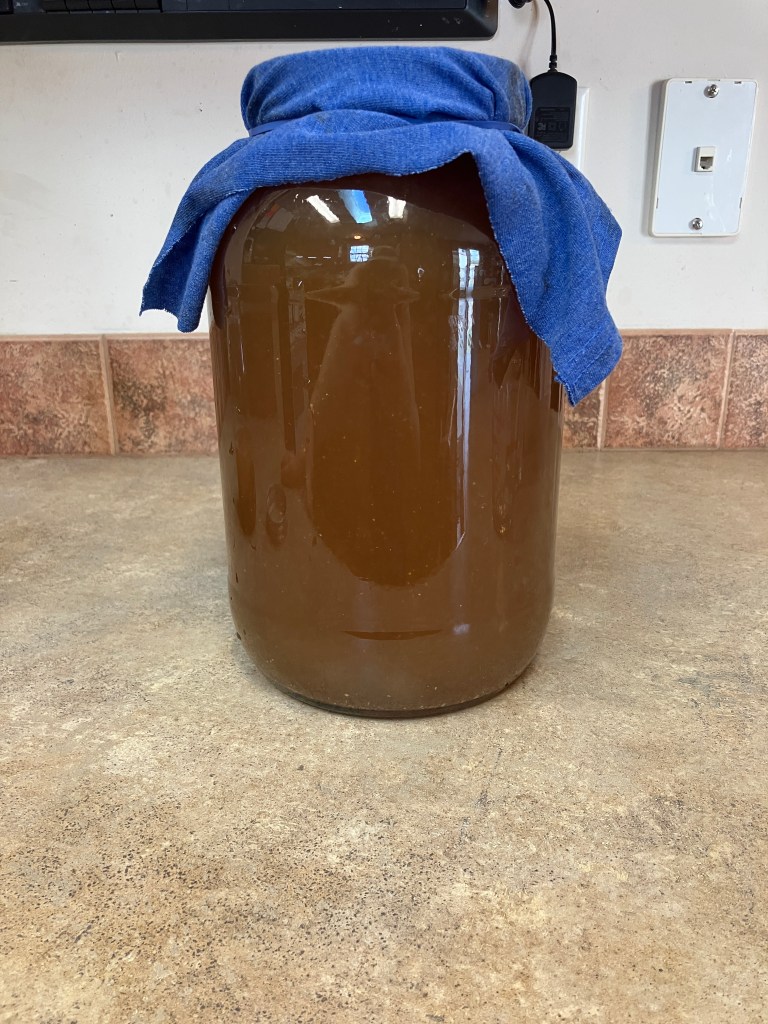
Pour the cooled sweet tea into your clean glass jar. Add the SCOBY and 1 cup of starter liquid. Top off with more filtered water until you reach about ½ gallon. Cover with a paper towel or cloth secured by a rubber band. This allows airflow while keeping fruit flies out.
Step 4: Ferment
Place the jar in a warm spot (68–85°F is ideal) away from direct sunlight. Let it ferment undisturbed for 7–14 days. Taste starting around day 7. The longer it goes, the tangier and less sweet it becomes. In warmer months it moves faster; cooler kitchens take longer.
Second Fermentation (Flavoring Time)
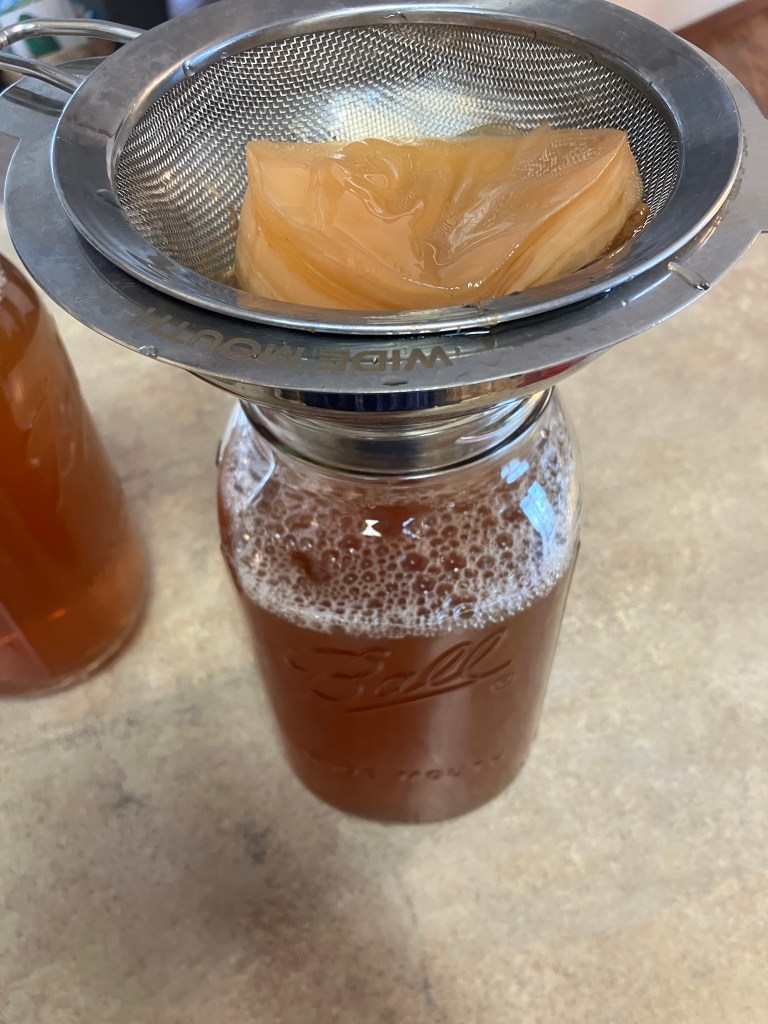
Step 5: Remove the SCOBY
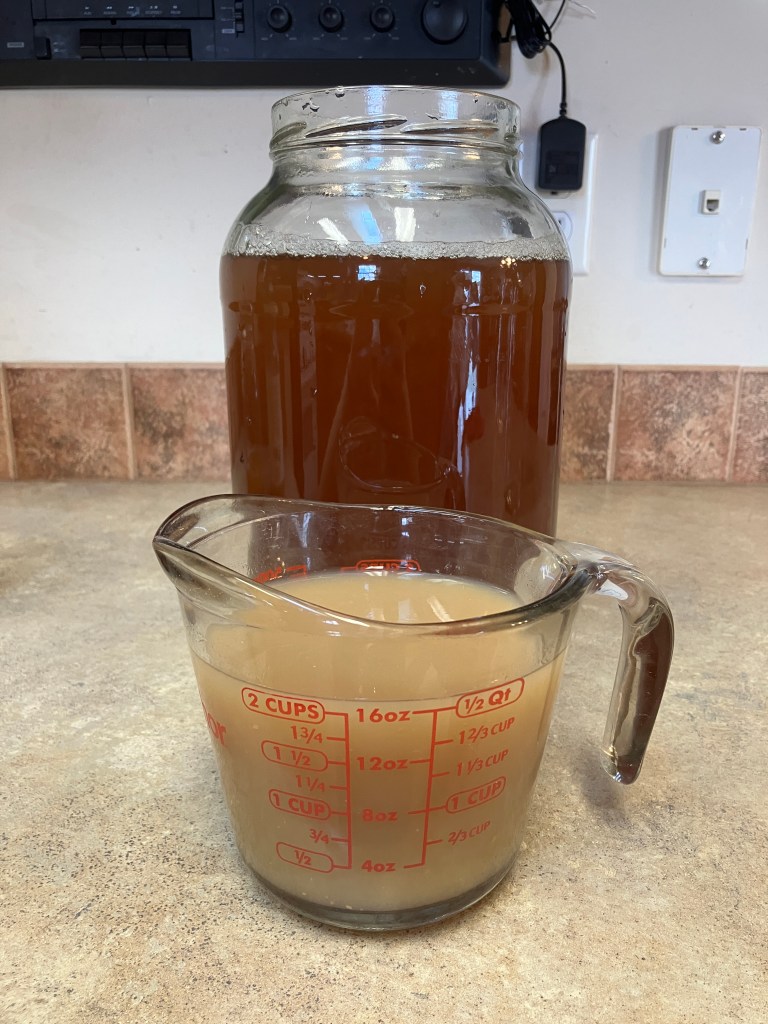
After the first ferment, use a clean mesh strainer to remove the SCOBY and any new baby SCOBY that formed. Place it in a small jar with 1 cup of the kombucha to use as starter for your next batch.
Step 6: Add Flavorings
Pour the kombucha into clean jars or bottles. Add your chosen flavors. Some ideas:
- Fresh or frozen peaches, strawberries, or pineapple
- 1–2 cups fruit juice (no added sugar)
- Ginger + lemon
- Berries + fresh mint
- Apple cinnamon (great in fall)
The more fruit/juice you add, the stronger the flavor. Start with 1/4 – 1/2 cup per quart and adjust.
Step 7: Second Ferment
Cover the jars again with cloth or fermentation lids and let sit at room temperature for 1–3 days. Burp bottles daily if they’re sealed to avoid explosions from built-up carbonation. Taste daily until it reaches your perfect balance of fizz and flavor.
Step 8: Strain and Bottle
Strain out any fruit pieces or new SCOBY growth. Pour into your favorite bottles or mason jars.
Step 9: Refrigerate
Move to the fridge to slow fermentation. It will keep developing flavor slowly and stay good for weeks.
Tips, Tricks, and What I’ve Learned
Taste As You go
Every kitchen runs at a different temperature, and your preferences will evolve. I now prefer it more tangy than I did when I started.
Ideal Temperature Range
Between 68–85°F is ideal. Too cold and it stalls; too hot and it can become overly vinegary or grow unwanted bacteria.
SCOBY Care
Always use clean hands and utensils. If your SCOBY develops mold (fuzzy spots, not just brown strings), toss the batch and start over.
Flavor Experiments
Try herbs like lavender, rosemary, or basil. Spices such as turmeric, cinnamon, or chili can create unique twists.
Double The Batch
I almost always make a full gallon now because we drink it so fast.
Fancy Tools Worth Considering
Fermentation lids and a good funnel with built-in strainer make the process even smoother, but they’re not necessary when you’re starting out. My favorite funnel set that comes with a mesh strainer is from ForJars.
Health Benefits of Homemade Kombucha
One of the best parts of making kombucha at home is knowing exactly what’s in it — and getting the full probiotic punch.
Probiotics
Fermentation creates beneficial bacteria and yeast. Some strains act as probiotics that help maintain a healthy balance in your gut, supporting digestion and immune function.
Improved Digestion
The combination of probiotics and organic acids can help break down food, reduce bloating and gas, ease indigestion, and promote more regular bowel movements.
Detoxification Support
Kombucha contains compounds that may help support your liver’s natural detoxification pathways. While your liver and kidneys do the heavy lifting, the antioxidants and acids in kombucha can offer gentle backup.
Antioxidants
Thanks to the tea base, kombucha is rich in polyphenols. Fermentation often increases antioxidant capacity, helping fight free radicals, reduce oxidative stress, and support overall cellular health. Green tea versions tend to score especially high in antioxidants.
Many people notice better energy, fewer sugar cravings, and improved mood when they enjoy kombucha regularly as part of a balanced diet.
Frequently Asked Questions
Where do I get a SCOBY and starter liquid?
Amazon is the easiest starting point. You can also ask friends who make kombucha, check local health food stores, check out Azure Standard, or look for local fermentation groups. Once you have one healthy SCOBY, you’ll have an endless supply.
Is green tea or black tea better?
Black tea gives a robust, classic flavor. Green tea offers higher antioxidant levels. I often prefer green tea for the high antioxidant levels.
Can I use honey or other sweeteners?
White sugar or organic cane sugar works best for the first ferment because the SCOBY needs it to thrive. You can experiment with other sweeteners in small amounts later, but traditional sugar gives the most reliable results.
How long does homemade kombucha last?
In the fridge, 3–6 weeks or longer. The flavor continues to develop slowly.
Is it safe during pregnancy?
Because of the small amount of alcohol that can naturally occur, many women choose to enjoy pasteurized versions or consult their doctor. Always make sure your brew is properly fermented and stored.
Making kombucha at home has been one of those small changes that feels surprisingly big. What started as a way to save money turned into a fun kitchen rhythm I actually look forward to. There’s something satisfying about watching that SCOBY do its thing and then pouring yourself a cold glass of something fizzy and flavorful that cost pennies instead of dollars.
If you’ve been hesitant like I was, I hope this encourages you to give it a try. Start small, taste often, and don’t be afraid to experiment. Your gut (and your wallet) will thank you.
Have you tried making kombucha before? What’s your favorite flavor combination? I’d love to hear in the comments!

Leave a comment