

We love some sweet treats in our house, but we try to avoid artificial flavors, food dyes, and seed oils—so that means many of them are made from scratch. There’s just something so comforting about that classic peanut butter and chocolate combo, isn’t there? Growing up, a Reese’s peanut butter cup was my ultimate guilty pleasure—the way the creamy peanut butter center melts against that smooth chocolate shell. But as I’ve gotten older and more mindful about what we eat, I’ve taken a closer look at the ingredients in those little orange packages.
The store-bought version lists things like milk chocolate loaded with sugar, dextrose, and emulsifiers like PGPR (polyglycerol polyricinoleate), plus preservatives such as TBHQ to keep it shelf-stable. The peanut butter filling often includes added oils (including seed oils) and more stabilizers. It’s no wonder many of us feel a bit uneasy about grabbing them off the shelf these days, especially when we’re trying to feed our families cleaner, more whole-food options without all the extras.
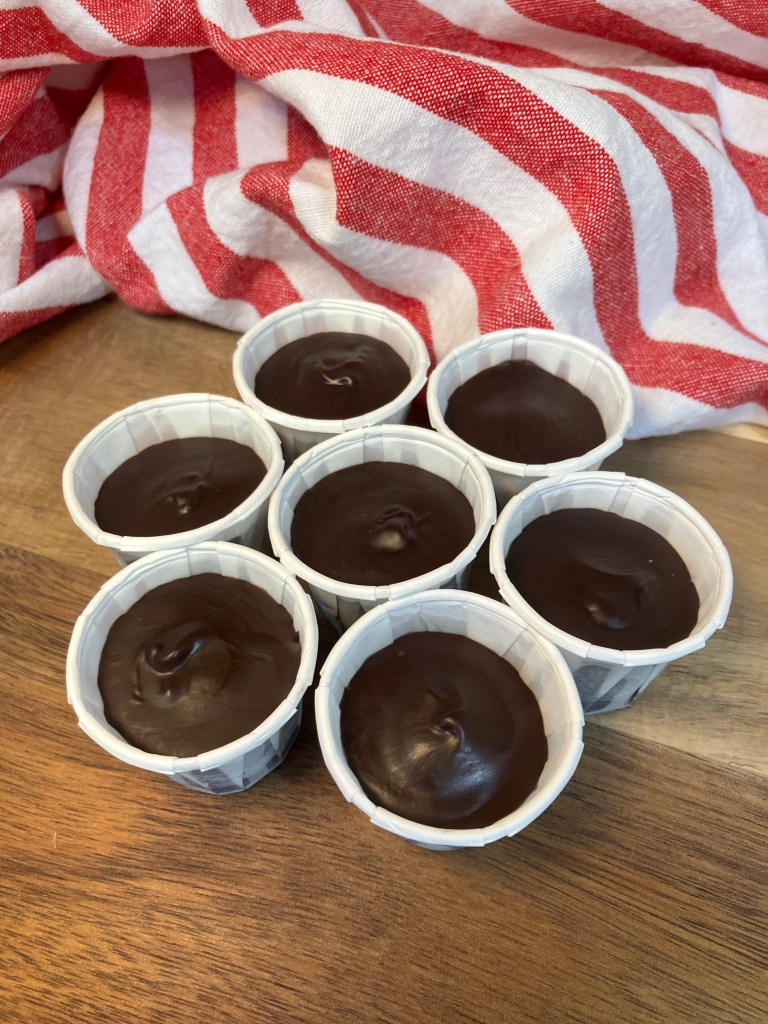
That’s why I set out to recreate that same irresistible taste at home—with way fewer ingredients and full control over what goes in. These homemade peanut butter cups deliver that perfect salty-sweet, creamy-crunchy bite we all crave, but they’re made with just four simple, recognizable ingredients: real peanut butter, butter, powdered sugar, and good chocolate. No weird additives, no seed oils if you choose your chocolate wisely, and no artificial anything. They’re fresher, tastier, and honestly feel like a little hug in treat form.
The best part? They’re ridiculously easy to whip up—no baking required, minimal mess, and they make enough to share (or hoard in the fridge for those late-night cravings). Whether you’re packing lunches, prepping for a cozy movie night, or just want a better-for-you indulgence, this recipe has become a go-to in our kitchen. Trust me, once you try them, you’ll never look at the packaged ones the same way again!
Why You’ll Love These Homemade Peanut Butter Cups
They’re incredibly simple, even if you’re new to the kitchen. You only need basic tools and pantry staples—no fancy equipment required.
You get full control over the ingredients. If you’re health-conscious but still crave sweet treats, this is a fantastic starting point for swapping out popular favorites. Choose your peanut butter (natural, no added oils), a clean chocolate (free of seed oils and artificial flavors), real butter, and powdered sugar (or a less refined option if you prefer). Skip the junk and enjoy that classic peanut butter-chocolate combo without compromise.
They’re make-ahead friendly, store beautifully, and taste just like the real thing—maybe even better because they’re fresher and made with love.
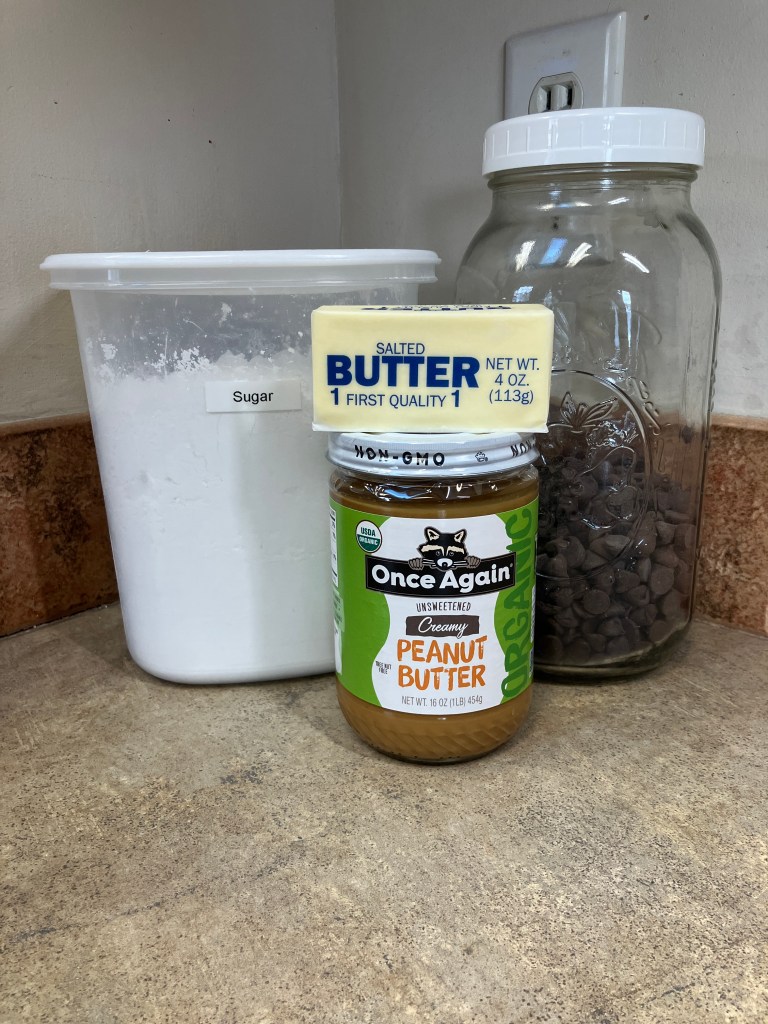
Ingredients
- Chocolate: Clean chocolate chips or chopped chocolate bars. I recommend dark or semi-sweet chocolate chips with minimal ingredients (look for ones made with cocoa butter instead of seed oils—no palm oil if you can avoid it, or use a high-quality brand like Enjoy Life or Hu for truly clean options). Almond bark works in a pinch for easier melting, but opt for real chocolate when possible.
- Peanut Butter: Creamy peanut butter (natural is best—ingredients should be just peanuts and maybe salt; I love Once Again or a good organic brand, but Jif works if it’s what you have and you’re okay with it).
- Butter: Butter, softened to room temperature (or melted in a pinch).
- Powdered Sugar: Adds a little extra sweetness and structure to the peanut butter ball.
Optional add-ins for extra flavor (still keeping it clean): A pinch of sea salt in the peanut butter filling, or a dash of vanilla extract.
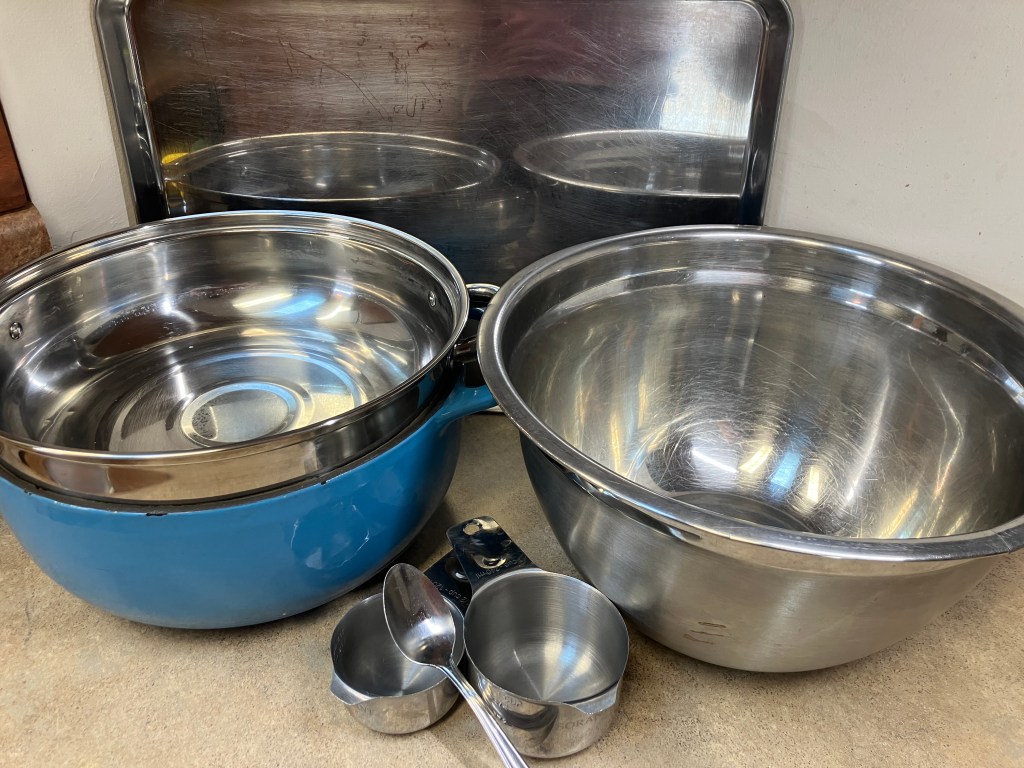
Tools You’ll Need
- Double Boiler: Or improvise with a heat-safe bowl over a pot of simmering water—keeps chocolate from scorching.
- Measuring Cups and Spoons: For accurate measuring of each ingredient.
- Medium Mixing Bowl: For mixing the peanut butter filling.
- Spoon: Any spoon you would typically use at a meal. I find this to the best tool to the melted chocolate into the cups but you can use a spatula as well.
- Mini Paper Sauce Cups: ¾ oz size—these are perfect for bite-sized cups; grab a big pack on Amazon or check your grocery store’s baking aisle.
- Baking Sheet and Parchment Paper: For setting both the peanut butter filling and the peanut butter cups.
- Refrigerator space!
Step-by-Step: How to Make Homemade Peanut Butter Cups
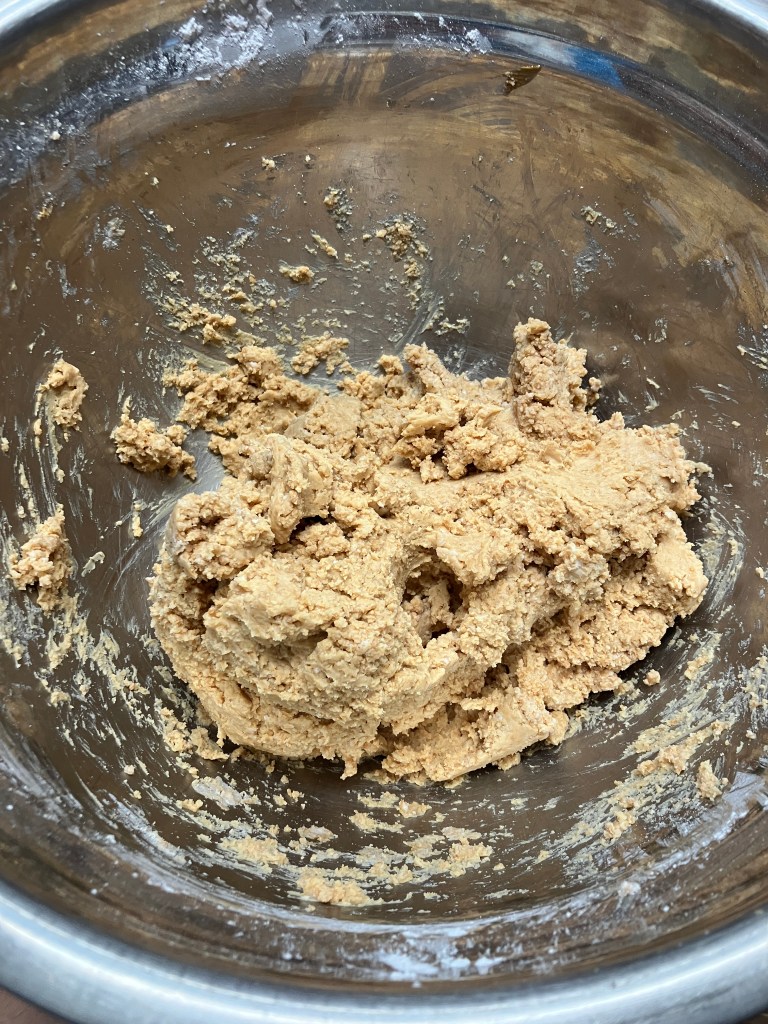
Step 1: Prepare the Peanut Butter Filling
In a medium mixing bowl, combine the peanut butter, softened butter, and powdered sugar. Mix with a spoon or hand mixer until smooth and creamy—like a thick dough. If it’s too sticky, add a bit more powdered sugar. Taste and adjust sweetness if needed.
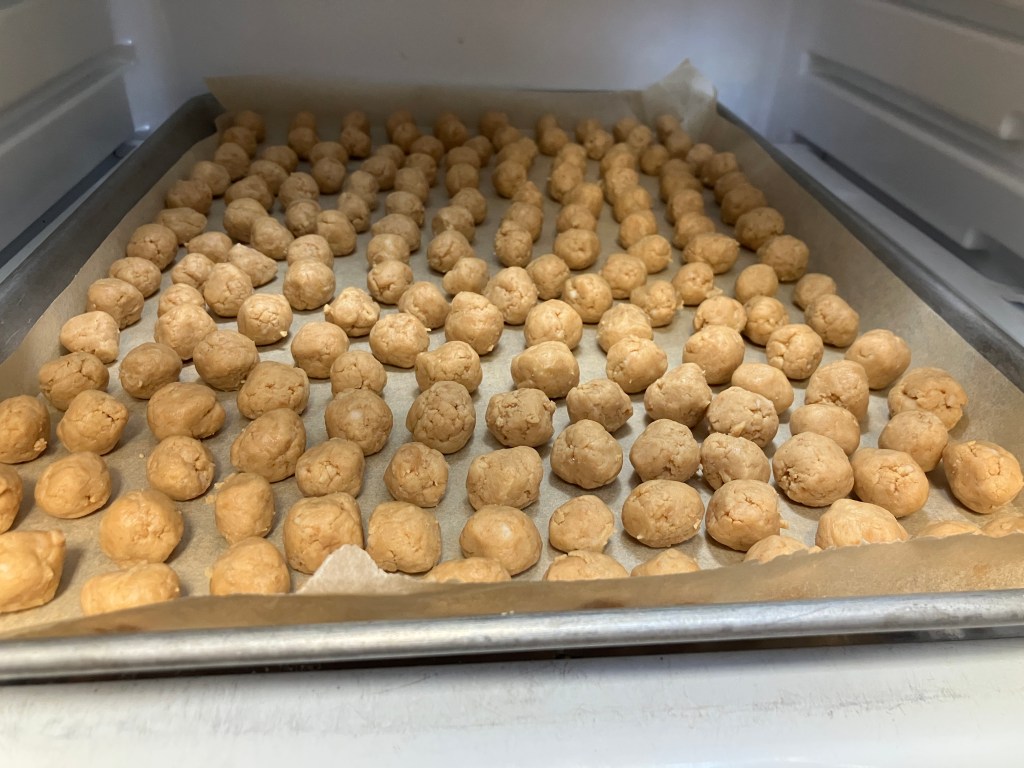
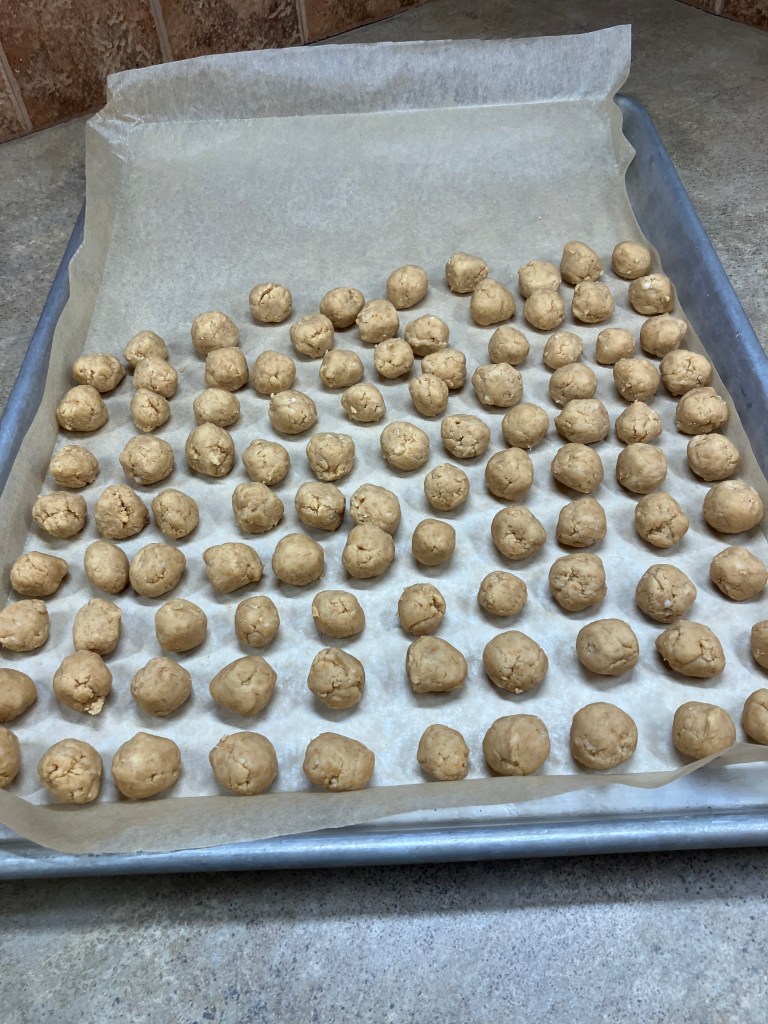
Step 2: Shape the Filling
Scoop out small portions and roll into marble-sized balls (roughly ¾-1 inch diameter). Place them on a parchment-lined baking sheet. Pop the sheet in the fridge for 30-60 minutes to firm up—this makes assembly easier, though it’s optional if you’re in a hurry.
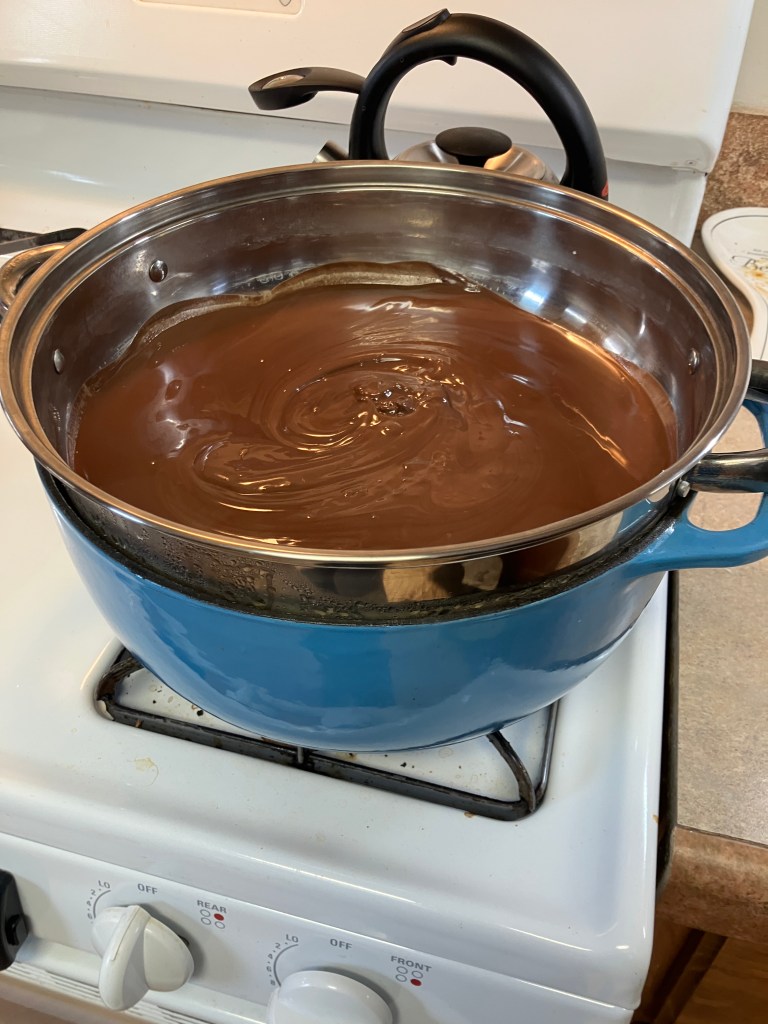
Step 3: Melt the Chocolate
Set up your double boiler: Fill the bottom pot with 1-2 inches of water and bring to a simmer. Place the top bowl or pot with chocolate over it (don’t let the bowl touch the water). Stir gently until fully melted and smooth. Keep the heat low to avoid seizing.
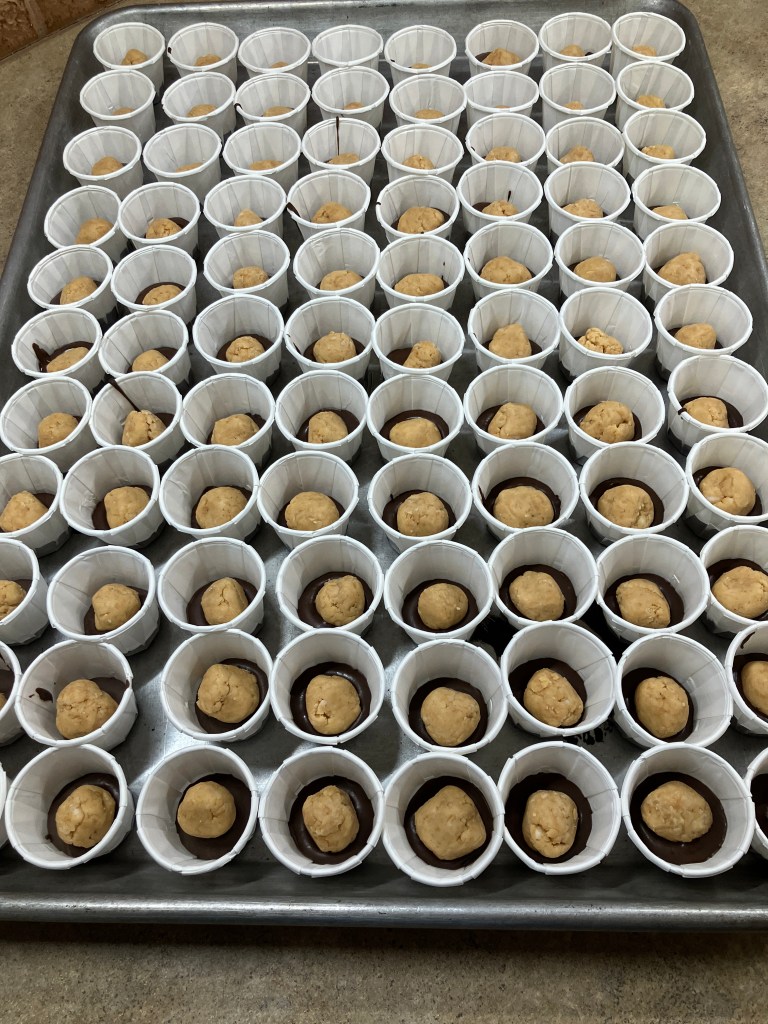
Step 4: Assemble the Cups
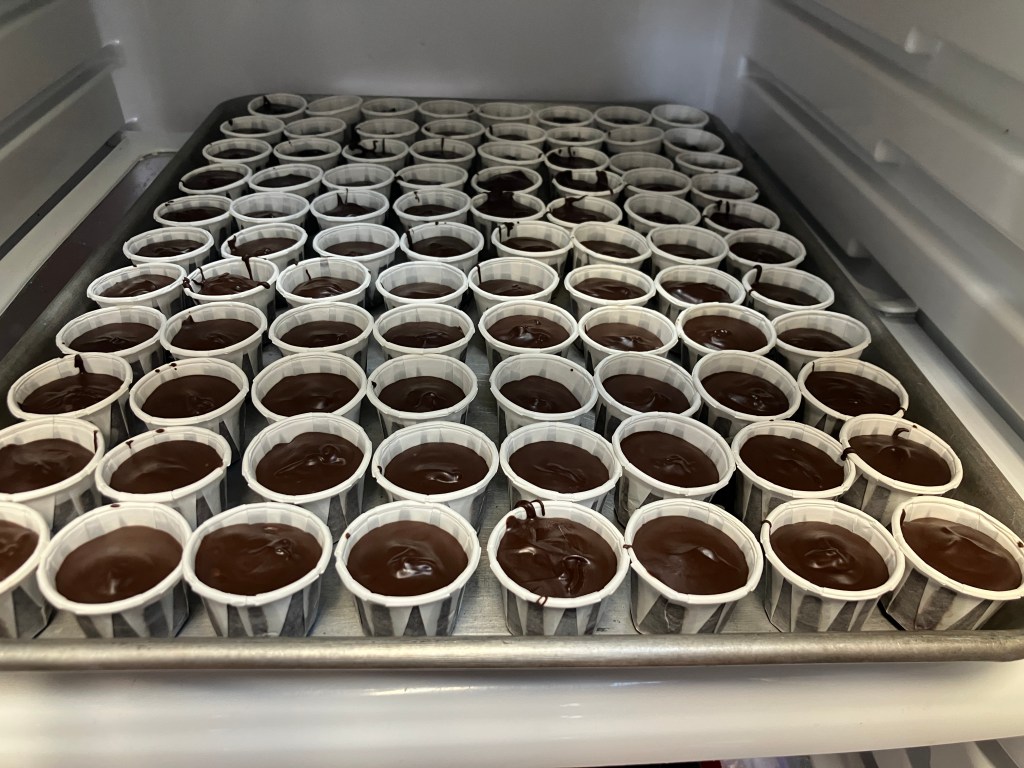
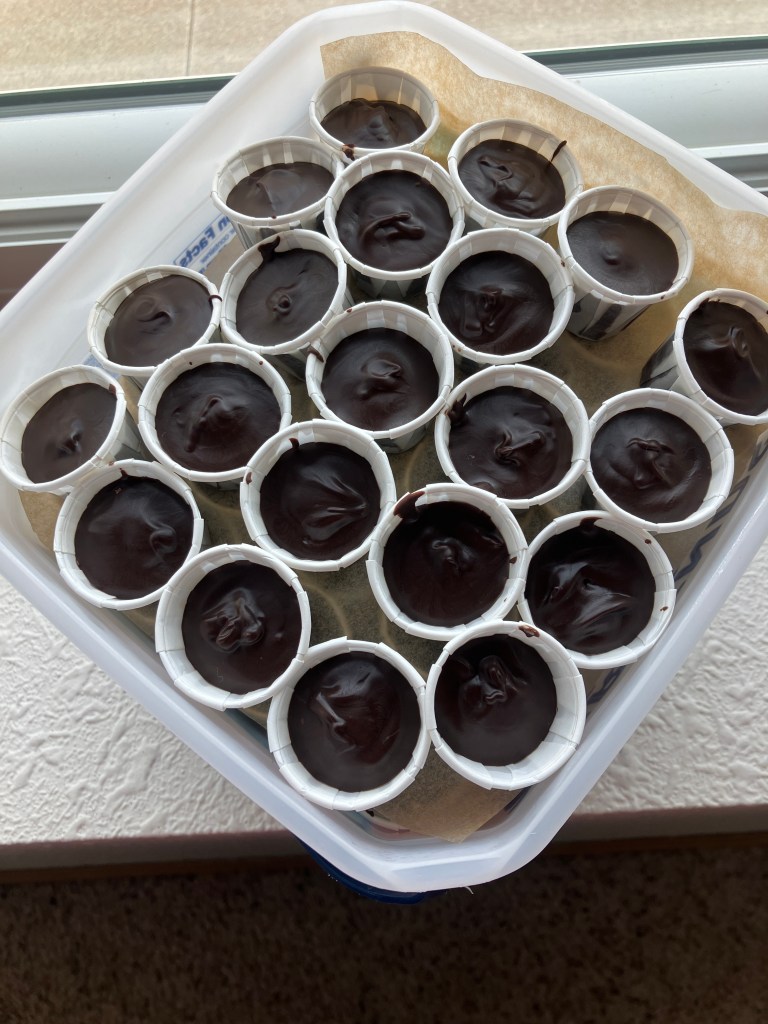
Line your baking sheet with the paper sauce cups. Spoon about 1 teaspoon of melted chocolate into the bottom of each cup. Gently press a chilled peanut butter ball into the center. Cover completely with another 1-2 teaspoons of chocolate. Tap the sheet lightly on the counter to release air bubbles and level the tops.
Step 5: Chill to Set
Place the sheet in the fridge for at least 4 hours. They’ll be ready when the chocolate is solid and shiny.
Step 6: Store and Enjoy
Keep in an airtight container in the fridge for up to 2 weeks or freeze for up to 6 months. They thaw quickly at room temp—perfect for grabbing one (or three!) whenever the craving hits.
Tips and Tricks for Perfect Peanut Butter Cups
- Keep Chocolate Workable. Leave your double boiler on low while assembling. This keeps the chocolate fluid, especially for bigger batches or when little helpers are involved (kids love pressing in the peanut butter balls!).
- Butter Flexibility. Room-temperature butter gives the best texture for rolling, but if you forget to soften it, melt it gently and mix in—it still works great.
- Chocolate Thickness. For that authentic Reese’s snap, use enough chocolate to fully encase the filling without skimping. If it cracks when biting, next time add a touch more.
- Variations. Try crunchy peanut butter for texture, add a sprinkle of flaky sea salt on top before chilling, or use almond butter for a twist.
Frequently Asked Questions
Can I use natural peanut butter that separates?
Yes! Just stir it well before measuring. It gives a fresher peanut flavor without added oils.
What if my chocolate seizes or gets grainy?
Low and slow is key. If it happens, stir in a tiny bit of neutral oil (like avocado) or more melted chocolate to smooth it out.
How do I make these less sweet?
Use dark chocolate (70%+ cocoa) and cut the powdered sugar. Taste the filling as you go.
Are these gluten-free?
Absolutely, as long as your chocolate and peanut butter are certified gluten-free (most natural ones are).
Can kids help?
Definitely! Let them roll balls or spoon chocolate (closely supervised of course!)—it’s a fun, no-bake project!
These homemade peanut butter cups have become a staple in our home. They’re that perfect balance of indulgent and thoughtful—satisfying the sweet tooth without the questionable ingredients. Whip up a batch next time you want something special; your family will thank you! What’s your go-to clean treat swap? I’d love to hear in the comments. Happy confecting!
Reese’s is a registered trademark of Hershey Chocolate & Confectionery LLC. I am not affiliated with or endorsed by the Hershey Company”.

Leave a comment