
Fall harvest time—nothing beats the satisfaction of pulling those plump potatoes from the soil after a summer of patient tending. But let’s be real: with every bountiful dig comes a handful (or basketful) of those less-than-perfect spuds. The ones with nicks, bruises, or soft spots that won’t make it through a pretty plate of mashed potatoes or a classic bake.
If you’re like me, staring down a pile of imperfect potatoes and wondering how to keep them from heading straight to the compost, I’ve got just the solution. Turn them into homemade frozen French fries! It’s a game-changer for busy days, and bonus: it slashes kitchen waste while stocking your freezer with crispy, ready-to-cook goodness.
This method is all about simplicity and smarts—perfect for families juggling school runs, homeschool lessons, and everything in between. No fancy equipment needed beyond what you’ve likely got on hand, and the end result? Golden, crunchy fries that rival anything from the freezer aisle, but way healthier and cheaper. (Psst: If gnocchi’s more your speed for those damaged spuds, I’ve got a foolproof recipe tucked away that transforms them into pillowy dumplings in under an hour.)
Stick around, and I’ll walk you through every step, from peeling to flash-freezing, plus tips to make your fries extra crispy and full of flavor. Let’s rescue those potatoes and bless your future self with effortless sides.

Why Homemade Frozen French Fries Are a Harvest Hero
There’s something downright joyful about transforming “oops” moments in the kitchen into triumphs. When you’re harvesting potatoes straight from the garden (or even grabbing a big bag from the market), it’s inevitable that some will bear the battle scars of growth—tiny cuts from the fork, green-tinged skins from too much sun, or just the odd bruise that deepens overnight. Instead of tossing them, we’re flipping the script: these are prime candidates for frozen French fries. Here’s why this recipe has become a staple in my fall routine.
First off, it’s a zero-waste win. Did you know the average household tosses about 20% of its produce? That’s a heartbreaking stat when you think about the time, water, and love poured into growing them. By peeling away only the truly bad bits and slicing up the rest, you’re saving those spuds from the trash bin and stretching your harvest further.
But the real magic? Convenience for the chaos of real life. Picture this: It’s 5 p.m., the kids are hangry from soccer practice, and dinner’s a scramble. No chopping, no thawing—just grab a handful from the freezer, toss with oil and seasoning, and into the air fryer they go. Fifteen minutes later, you’ve got hot, homemade fries alongside burgers, chicken tenders, or even a simple grilled cheese. It’s like having a personal sous chef in your freezer, minus the attitude.
And let’s talk taste and health. Store-bought frozen fries? They’re convenient, sure, but loaded with preservatives, excess oils, and mystery additives. Your homemade version lets you control it all—fresh potatoes mean more nutrients, no funky coatings, and the freedom to season however you like (hello, garlic herb or spicy Cajun vibes). Plus, air-frying keeps things lighter than deep-frying, so you get that satisfying crunch without the guilt. For a family on the go, it’s a sneaky way to sneak in more veggies—er, potatoes count, right?
In short, this isn’t just a recipe; it’s a lifeline for harvest abundance and weeknight ease. If you’ve ever felt overwhelmed by a counter full of wonky veggies, this’ll change your game. Ready to roll up your sleeves? Let’s gather what you’ll need.
What You’ll Need: Simple Tools and Ingredients for Success
One of the best parts of this recipe is its no-fuss approach. We’re keeping it real with everyday kitchen heroes—no need for a commercial dehydrator or a fancy setup. Here’s the lineup to get you started.
Tools
- Cutting board and sharp knife: A sturdy board keeps things stable, and a sharp knife makes quick work of peeling and slicing. (Pro tip: Sharpen your blade before starting to avoid slips—safety first in a busy kitchen!)
- Large bowl: For soaking those slices in water. Go for something deep enough to submerge everything without spilling over onto the counter.
- Clean towels (bath and tea towels): These are your secret weapon for drying. The bath towel soaks up the bulk, while tea towels add a lint-free layer.
- Cookie sheets or baking trays: Rimmed ones are ideal to catch any stray moisture. Line with parchment paper or silicone mats for easy release.
- Freezer bags: Gallon-sized zip-tops work great for storage. Label them with the date so you know they’re fresh.

Ingredients
This is where it gets delightfully minimal—because who has time for a laundry list when potatoes are piling up?
- Potatoes: Start with 5-10 pounds of your damaged ones. Russets are classic for their fluffy interior and crisp exterior, but Yukon Golds or even red potatoes shine too. Just peel and cut off any truly bad spots.
- Water: Cold, fresh from the tap. You’ll need enough to cover the slices for soaking—about 8-10 cups per batch.
- Optional add-ins for cooking: A drizzle of olive or avocado oil, plus your go-to seasoning blend (more on that later).
That’s it! No salt in the prep phase (save it for seasoning), no fancy vinegars or blanching baths. This simplicity is what makes it doable on a harvest afternoon when the kids are underfoot and the clock’s ticking.
Step-by-Step: From Garden to Freezer in a Few Hours
Alright, let’s dive in. This process takes about 30 minutes of active time, plus soaking and freezing. I like to do it in the afternoon while the little ones nap or play outside—pair it with some worship music, and it’s almost therapeutic. Aim to process in batches if you’ve got a mountain of potatoes; it’ll keep things manageable.
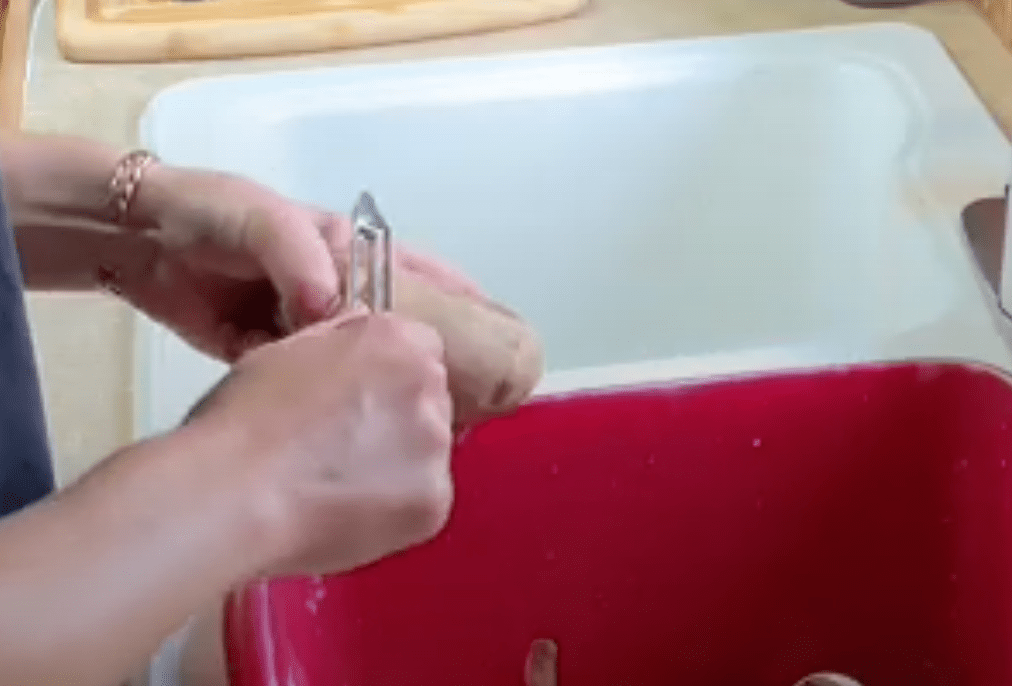
Step 1: Wash and Peel Your Potatoes
Give those spuds a good rinse under cool running water, scrubbing gently with a vegetable brush to remove any lingering dirt from the harvest. Don’t skip this—garden-fresh means real soil, and we want clean fries, not gritty surprises.
Now, peel. Use your sharp knife or a veggie peeler to strip away the skins, focusing on those bruised or green areas. (A quick note on greens: They’re from solanine, harmless in small amounts but bitter—better safe than sorry.) Chop off any deep cuts or soft spots, but don’t stress perfection—these are fries, not jewelry.
Pro tip: If your harvest includes a mix of sizes, sort them. Smaller ones might make thinner fries, while larger ones yield steak-style chunks. Both work beautifully.
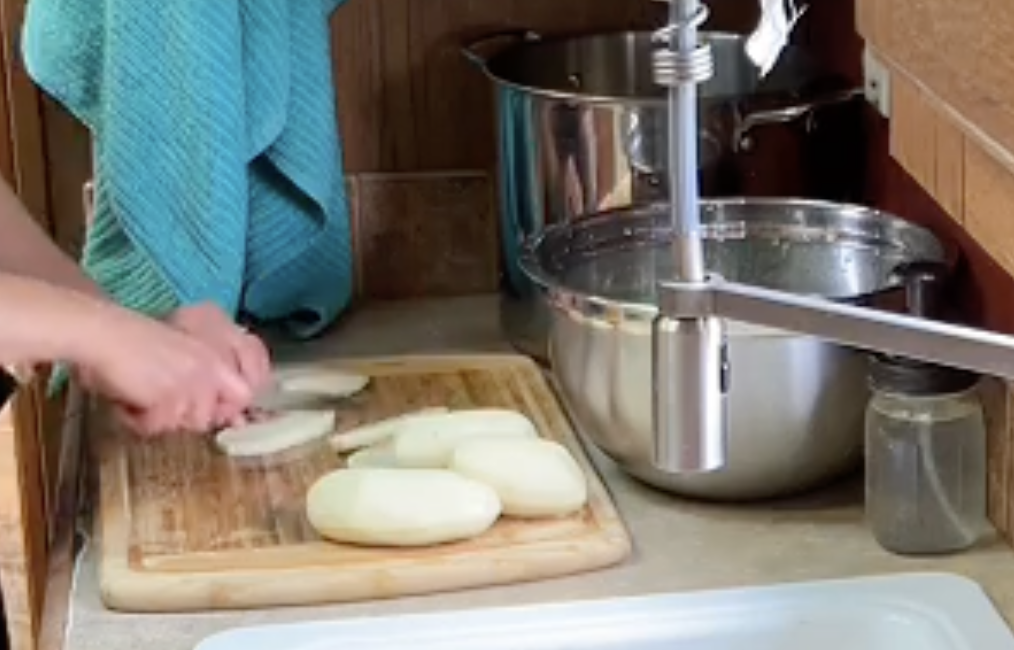
Step 2: Slice into Your Favorite Fry Shapes
Time to get creative with the cut! I lean toward thicker steak fries—they’re heartier, hold up better in the freezer, and feel more substantial as a side. But tailor it to your crew: thin shoestrings for kids who love the crunch, or wedge-style for a fun twist.
Start by cutting slices from each potato lengthwise. From there, slice into even strips—about 1/4 to 1/2 inch wide. Consistency is key for even cooking later, so eye it as you go. If speed’s your goal, a mandoline slicer can help, but watch those fingers!
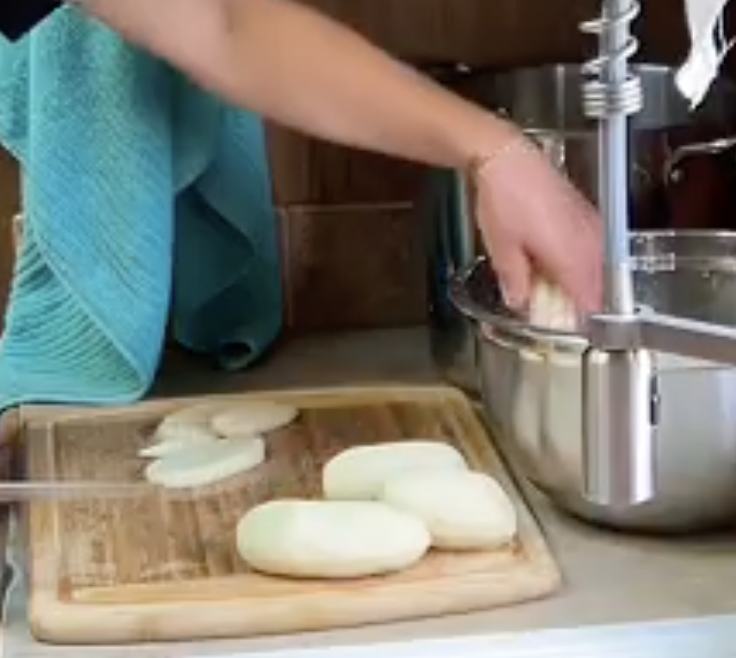
As you slice, drop the pieces into your large bowl right away. This keeps them from browning (oxidation is the enemy of pretty potatoes). If you’re slicing ahead, spritz with a bit of lemon juice in the water for extra insurance.
Step 3: Soak to Banish the Starch
Here’s where the science sneaks in, and trust me, it’s worth every minute. Submerge all those slices in cold water, ensuring they’re fully covered—no peeking air pockets. The goal? Leaching out excess starch, which is what makes fries gummy instead of crisp.
Let them chill for at least 2 hours; I’ve gone up to 24 hours in a pinch (just change the water once if it clouds up). Keep the bowl in a cool spot, like the fridge or a shady counter. Stir occasionally if you’re around. This step isn’t just functional—it’s a built-in break. Sip some tea, fold a load of laundry, or plan tomorrow’s school read-aloud. By the time you’re back, those potatoes are primed for perfection.
Step 4: Dry Thoroughly for Ice-Free Results
Patience pays off here—wet fries lead to freezer burn and soggy cooks. Drain the bowl and spread the slices on your towel setup: a big bath towel as the base, topped with smooth tea towels. Gently pat and roll them around, swapping towels if they get too saturated. The aim is surface-dry, not bone-dry; a little moisture inside is fine for texture.
This might take 20-30 minutes, but it’s mindless work. Enlist the kids for towel duty—they love the “potato picnic” on the floor. Once they’re no longer dripping, you’re golden.
Step 5: Flash Freeze and Stash Away
Line your cookie sheets with parchment or silicone mats (non-stick magic!), and arrange the fries in a single layer. No overcrowding—give them space to freeze individually, or you’ll end up with a solid brick.
Pop into the freezer for 12-24 hours. (Overnight works if you’re prepping early.) The flash-freeze method prevents clumping, so you can portion out just what you need. Once solid, transfer to labeled freezer bags. Squeeze out air, seal tight, and back they go. They’ll keep for up to 6 months, but honestly, they’ll vanish long before that.

Pro Tips for Crispy, Flavor-Packed Homemade French Fries
I’ve tweaked this process over a few harvests, and these nuggets have made all the difference. Skip them at your peril!
- Starch Soak Showdown: Skipping the soak? Your fries might turn out mealy. The water pulls out those starches like a gentle detox, paving the way for that enviable crunch. For extra insurance, rinse the slices under running water post-soak.
- Drying Drama Averted: Ice crystals are the arch-nemesis of frozen fries. Thorough drying means no soggy surprises in the air fryer. If you’re in a humid spot, a quick spin in a salad spinner can speed things up.
- Batch It Smart: Don’t overload your sheets—aim for 2-3 pounds per tray. And if freezer space is tight, portion into meal-sized bags right away (say, enough for four servings).
- Potato Picking: Beyond damaged ones, this works for any potato! But mix in varieties for fun: sweet potatoes for a twist, or purple ones for vibrant color.

Serving Suggestions: From Freezer to Table Magic
The beauty of prepped fries is the “dump and go” factor, but a little love elevates them from side to star. Here’s my foolproof air fryer method, plus ideas to mix it up.
Start by dumping a handful (about 1-2 cups per person) into a bowl straight from the freezer—no thawing needed. Drizzle with 1-2 teaspoons of oil per cup—olive for mellow, avocado for high-heat. Toss to coat, then sprinkle half your seasoning. My homemade all-purpose blend (printable recipe below!) is a crowd-pleaser, but experiment: ranch dip mix for tangy, or everything bagel for herby punch.
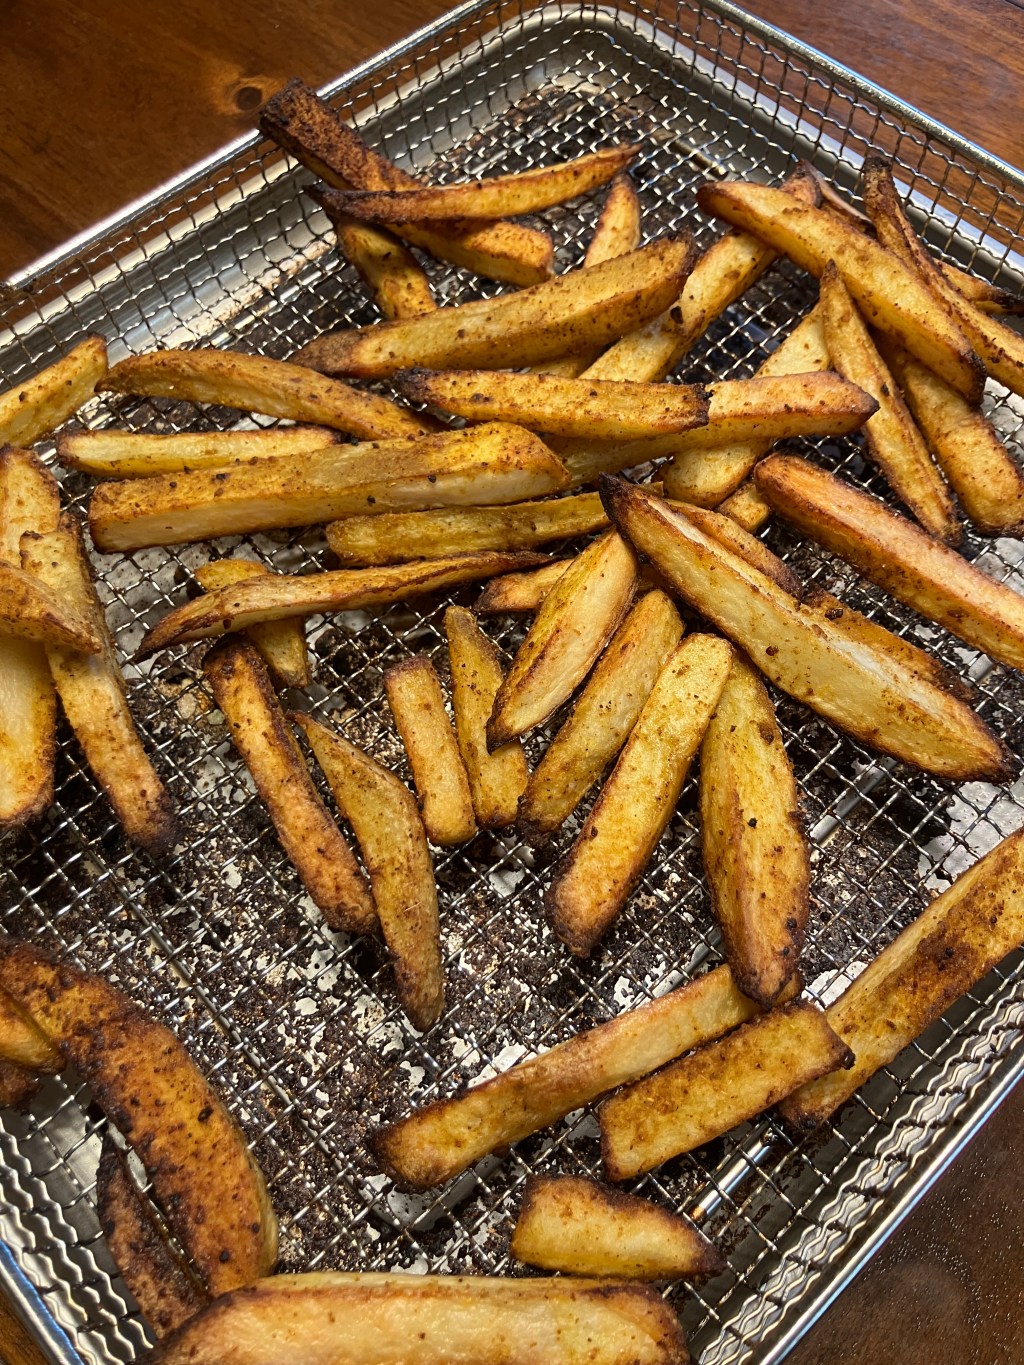
Spread on an air fryer tray, sprinkle the rest of the seasoning on top—it sticks better this way and amps flavor. Air fry for 15-20 minutes at 375°F, shaking the basket every 5 minutes for even browning. They’re done when golden and crisp—test one for that perfect snap.
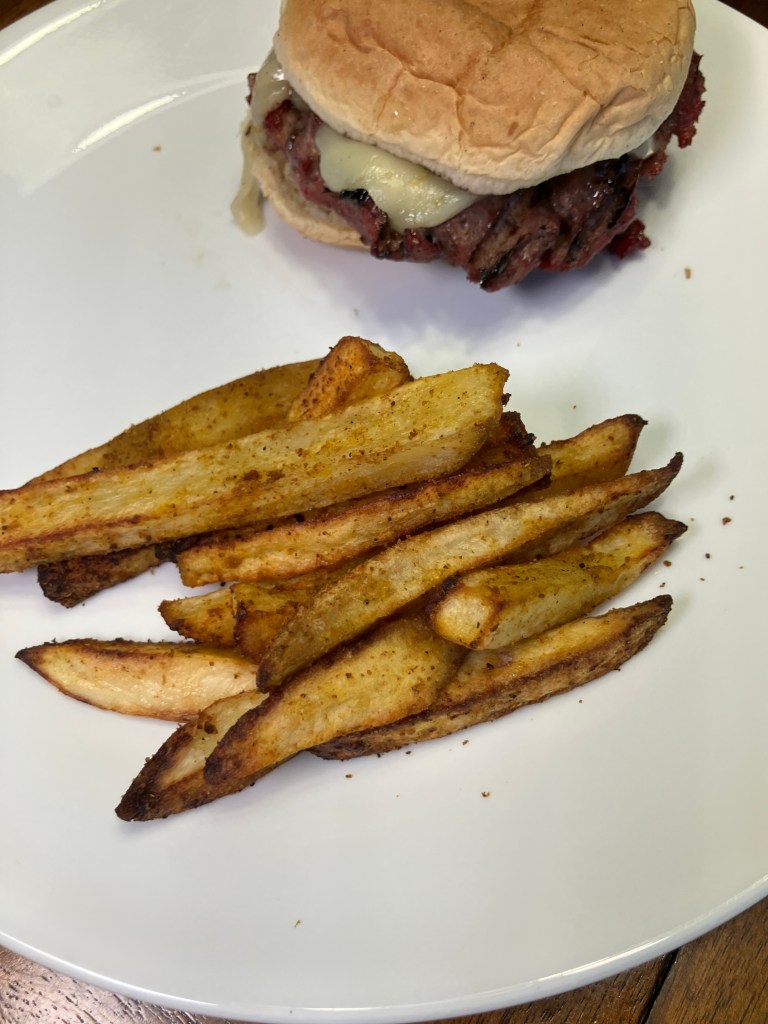
Pairing ideas? Classic with grass-fed burgers and a fresh garden salad. Or go fancy: alongside herb-roasted chicken and steamed broccoli for a homestead sheet-pan meal. For kids, serve with homemade ketchup. Leftover fries? Chop and toss into breakfast hash with eggs and sausage. The possibilities are endless, making these a versatile player in your meal rotation.
Storage, Shelf Life, and Freezer Hacks
Proper storage is key to keeping that just-harvested freshness alive. In airtight bags, your fries stay good for 3-6 months—label with dates to rotate stock. If you notice any freezer burn (those white patches), trim it off before cooking; it won’t hurt, just dries out the texture.
Thawing? Don’t—cook from frozen for max crisp. Got extra space? Double-bag for longevity, or vacuum-seal if you’ve got the gadget. And if the harvest gods bless you with too many, gift bags to neighbors—nothing says “friendship” like homemade fries!
Variations to Keep Things Fresh
Bored of plain? Switch it up:
- Sweet Potato Fries: Swap in damaged sweets for a naturally sweet side. Same process, but season with cinnamon-sugar for dessert vibes.
- Loaded Baked Fries: Top cooked fries with cheese, bacon bits, and green onions—ultimate comfort.
- Oven Option: No air fryer? Bake at 425°F on a wire rack for 25-30 minutes, flipping halfway.
- Spicy Kick: Add chili powder and cumin for taco-night fries.
Frequently Asked Questions
Can I use this method for other veggies?
Absolutely! Try carrots or zucchini for veggie fries—same soak and freeze routine.
What if my fries stick together?
More drying time next round, and ensure single-layer freezing. A spritz of oil before freezing helps too.
Are these gluten-free?
Yep, naturally! Just check your seasonings for hidden gluten.
How many potatoes per batch?
5 pounds yields about 10-12 servings—perfect for a family of four with seconds.
Deep-fry instead?
You can, at 350°F for 3-5 minutes, but air frying’s my go-to for healthier crunch and less mess in the kitchen.
There you have it—a full-circle way to honor your potato harvest without a single spud wasted. Next time you’re knee-deep in the dirt (or the grocery aisle), remember: those “damaged” ones are diamonds in disguise. Whip up a batch, and watch how it simplifies your suppers. What’s your favorite fry topping? Drop it in the comments—I’d love to hear! Happy harvesting, friends.

Leave a reply to 10 Must-Buy Bulk Pantry Items: Easy Storage Hacks to Bless Your Future Self – Cora's Cottage Cancel reply