
Making sandwich bread used to be a daunting idea, because everyone would always talk about how long it takes and how hard it is to make bread. However, after making yeast sandwich bread a couple of times, I realized that it isn’t as hard as people make it sound. In fact, it is just like most other skills in the kitchen: daunting at first, but once mastered it can be done on autopilot.
When I first said I wanted to make sandwich bread, I actually had some people try to discourage me. They told me that it takes a long time and kneading the bread is difficult.
While they aren’t wrong that kneading can be labor intensive, it wasn’t nearly as bad as they made it sound. Not to mention, once I knew that I wanted to make bread consistently, a mixer made the job of kneading bread so easy that I can clean up the kitchen while the mixer takes care of the hard part.
I was also told that making yeast bread takes a long time. While this is somewhat true, the whole process of making yeast sandwich bread does take a long time, a large majority of that time is hands off while allowing the bread to rise.
This is recipe has a bulk rise that takes about 2 hours and another rise in loaf pans after shaping that takes about 30 minutes, though these will both vary depending on the temperature in the area where they are rising.
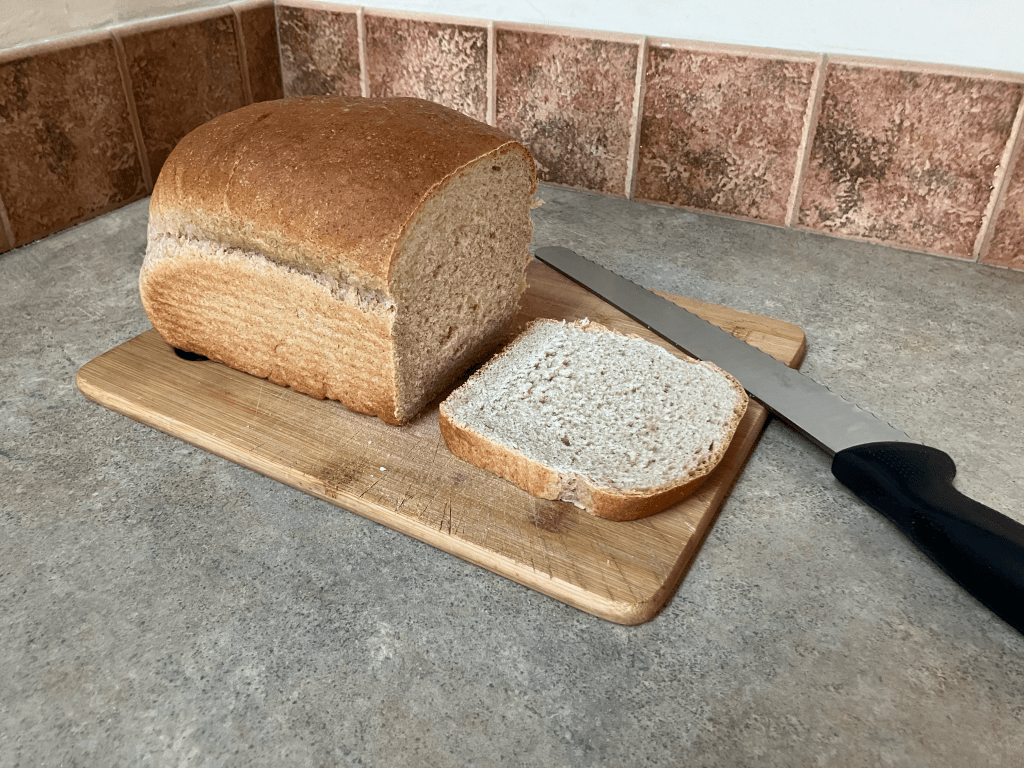
Why You’ll Love This Yeast Bread
Simple Ingredients
This is sandwich loaf has 6 simple ingredients and most (if not all) of them you will already have on hand!
Easy to Make
There are no overly complicated skills to learn to make this homemade bread, but it helps to build your skills and confidence so that you can continue to grow in the kitchen. This yeast bread can be made with or without a mixer and can replace store-bought bread that is full of preservatives that allow it to last for days if not weeks on the shelves of the grocery store.
How to Make Yeast Sandwich Bread
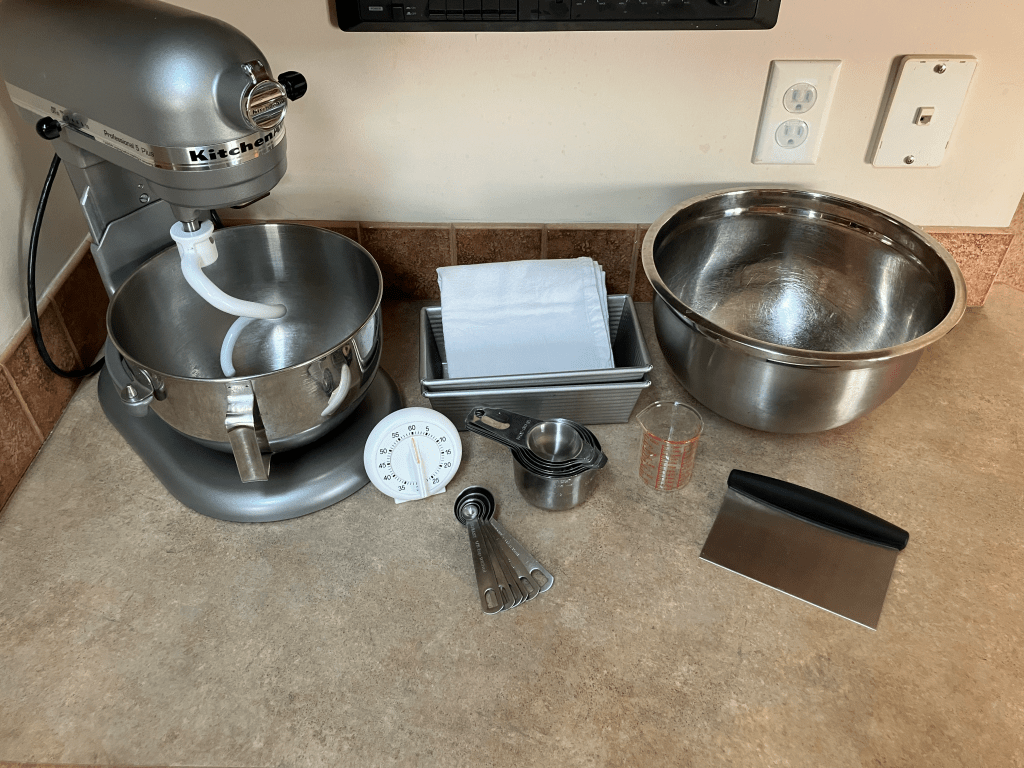
Tools
- Measuring Cups
- Measuring Spoons
- Mixer (optional)
- Towel
- Large Bowl
- Bench Scraper
- Loaf Pans
- Kitchen Timer
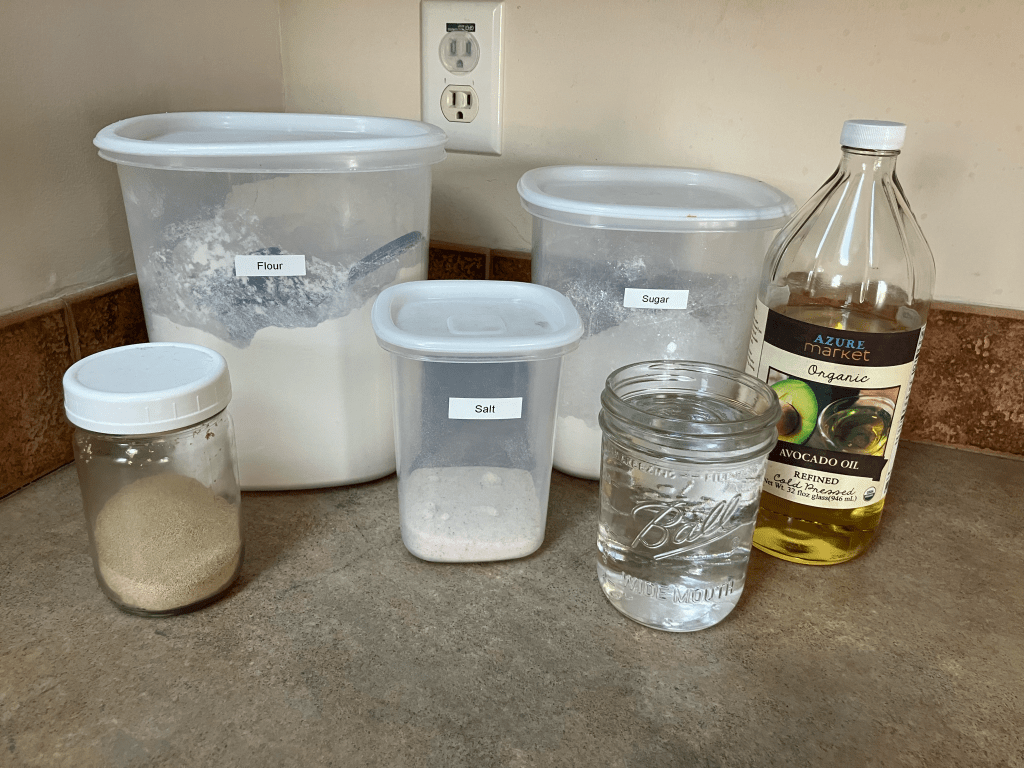
Ingredients
- Water
- Sugar
- Yeast
- Salt
- Oil
- Flour
Step-By-Step Instructions for Homemade Yeast Sandwich Bread
Step 1: Measure out 2 cups of warm water (approximately 110°F).
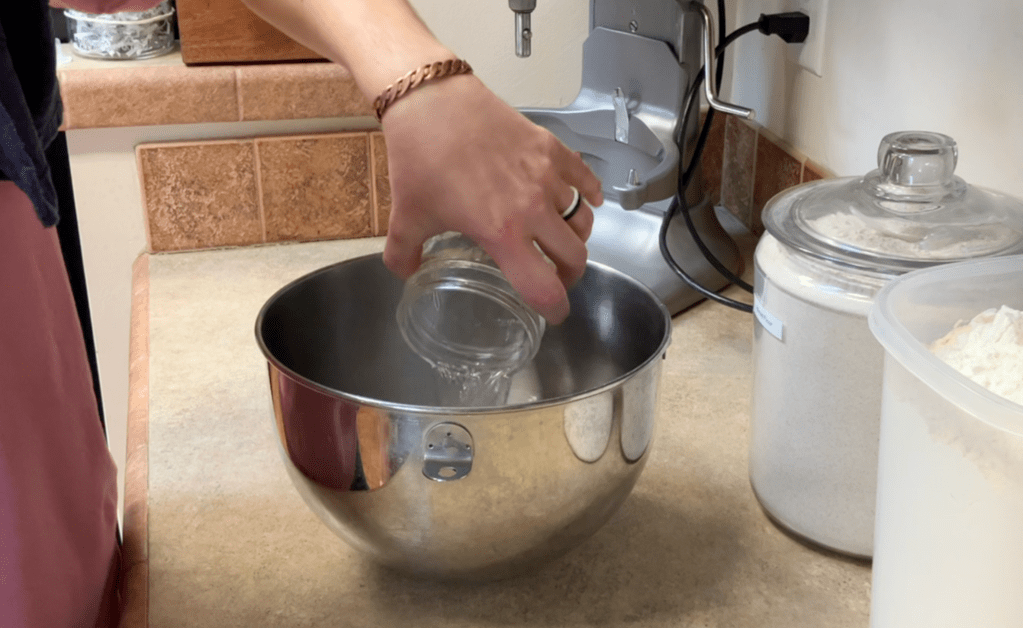
Step 2: Add the warm water to your mixing bowl with 1 tablespoon of the sugar. This sugar measurement doesn’t have to be exact, so I find it easiest to measuring out the sugar in a measuring cup and scoop a tablespoon from the measuring cup.
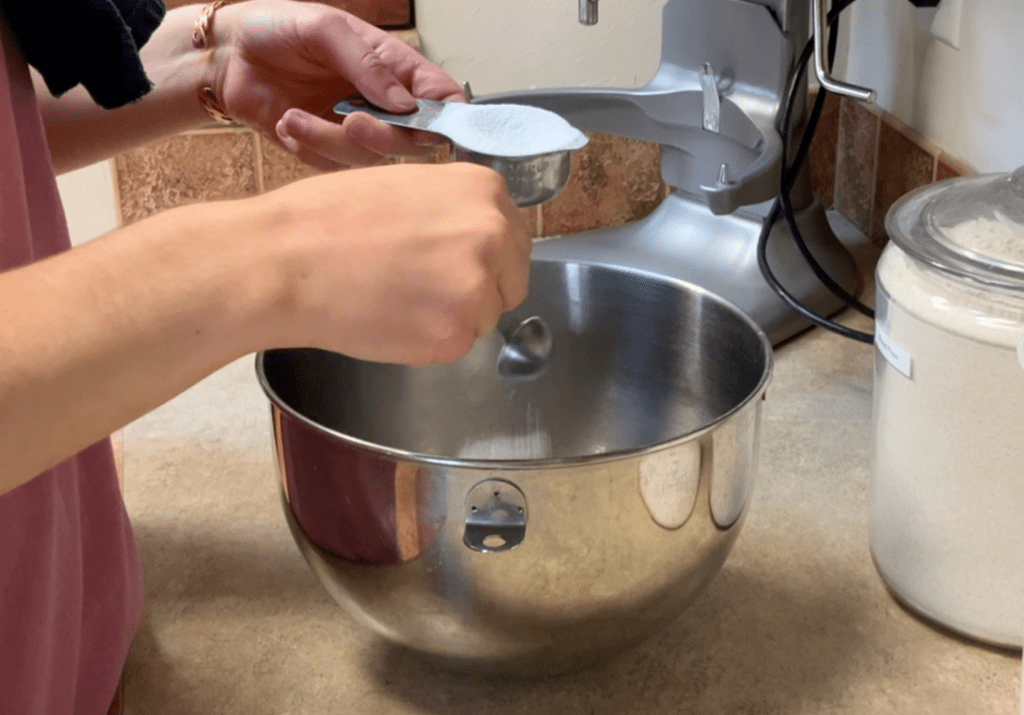
Step 3: Allow the sugar to dissolve for a couple seconds before adding the yeast.
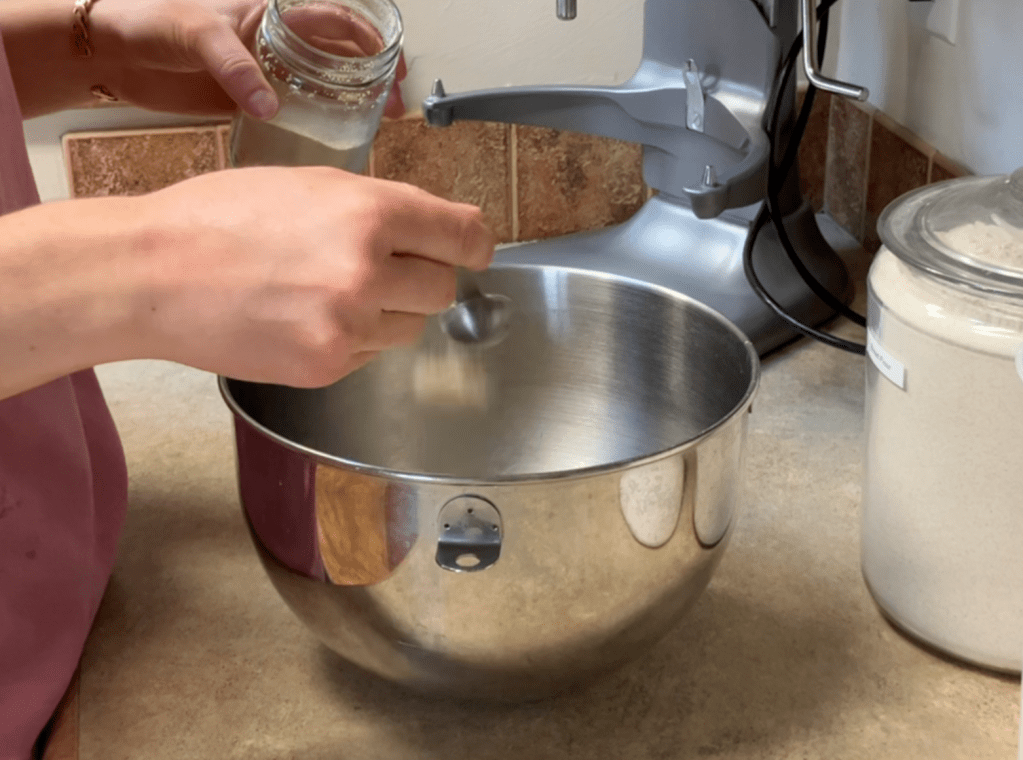
Step 4: Leave the yeast to bloom. This will take about 5 minutes, which is the perfect amount of time to measuring out the rest of the ingredients and do a quick cleanup of the kitchen.
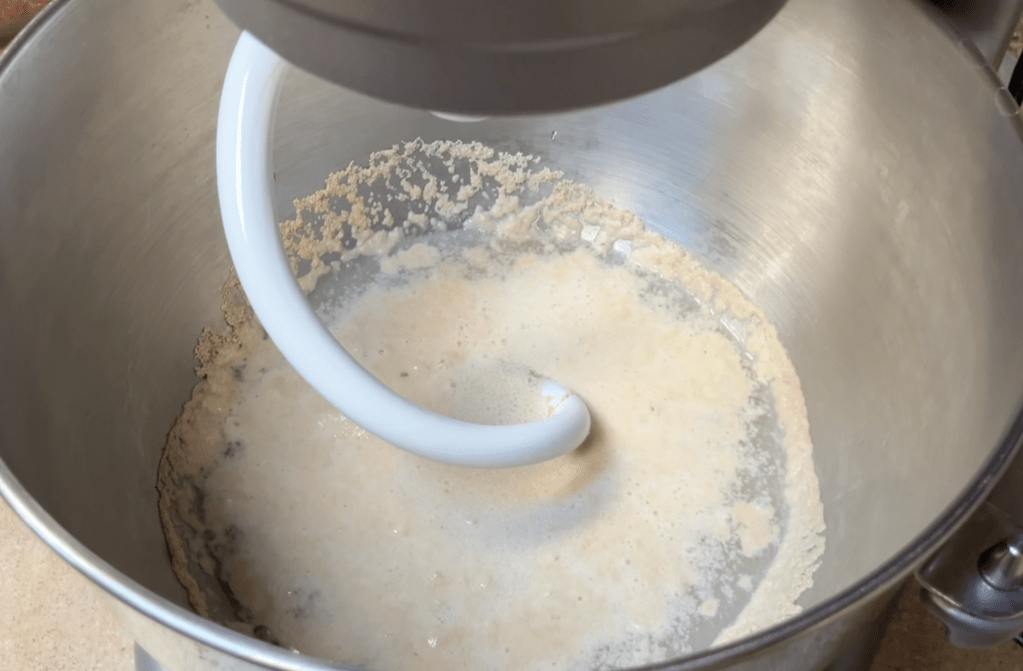
Step 5: Once the yeast has bloomed, add in the salt, oil, and remaining sugar.
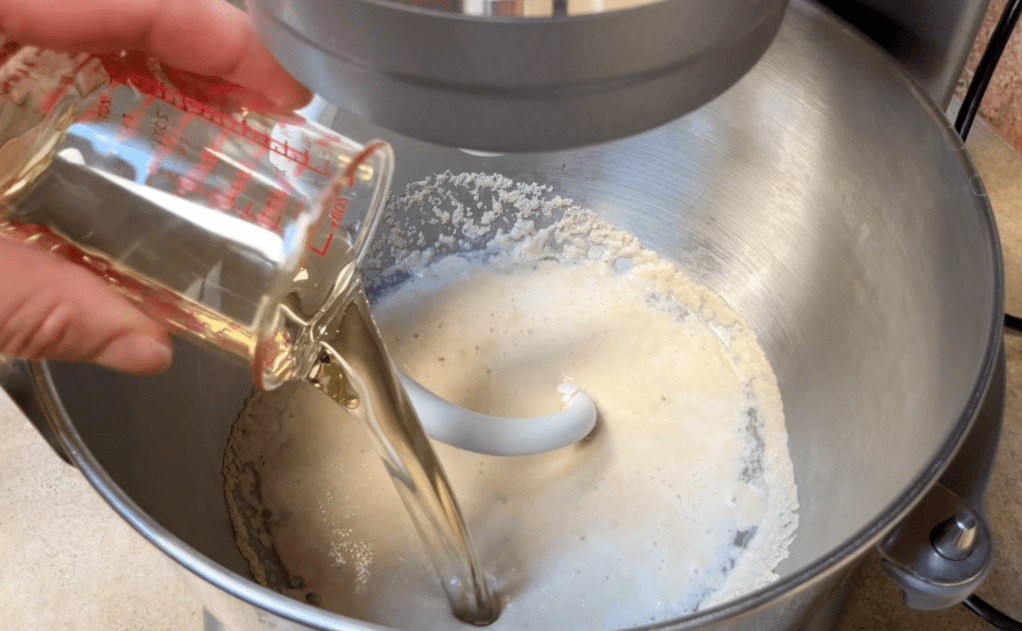
Step 6: Add the flour slowly, starting with 2-3 cups. Then add only 1/2 cup at a time.
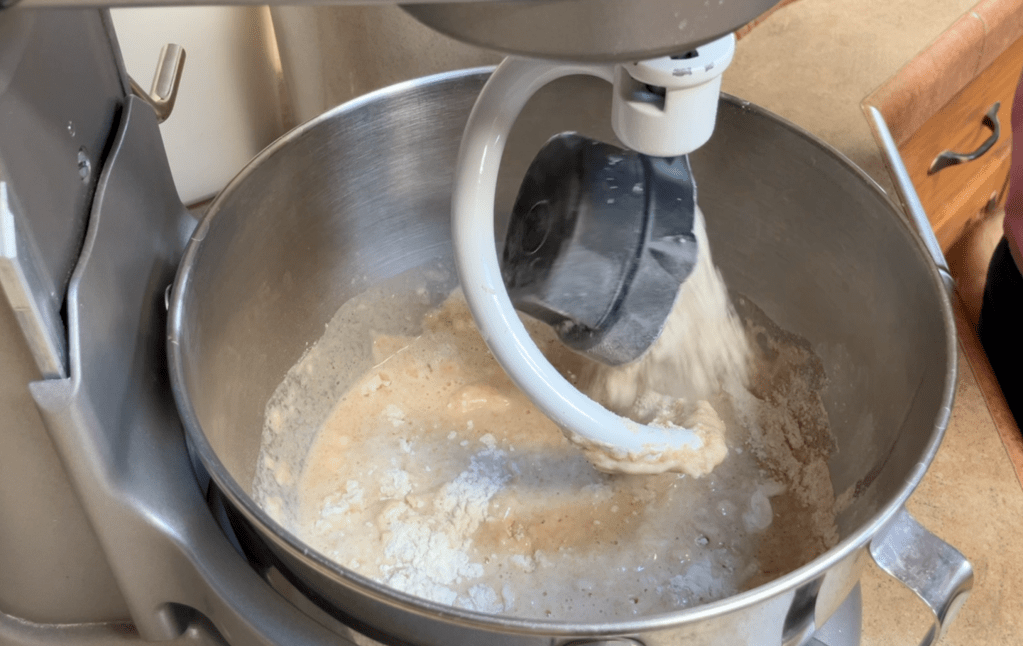
Step 7: Continue to mix and knead the dough until it comes together so that it doesn’t stick to the sides of the bowl. The amount of time and flour can vary slightly based on the type of the flour used and the climate in which you live. Even temperature and humidity levels can fluctuate throughout the year causing the amount of the flour and time to vary slightly from one month to the next. However, the look of the dough when it is ready should stay the same.
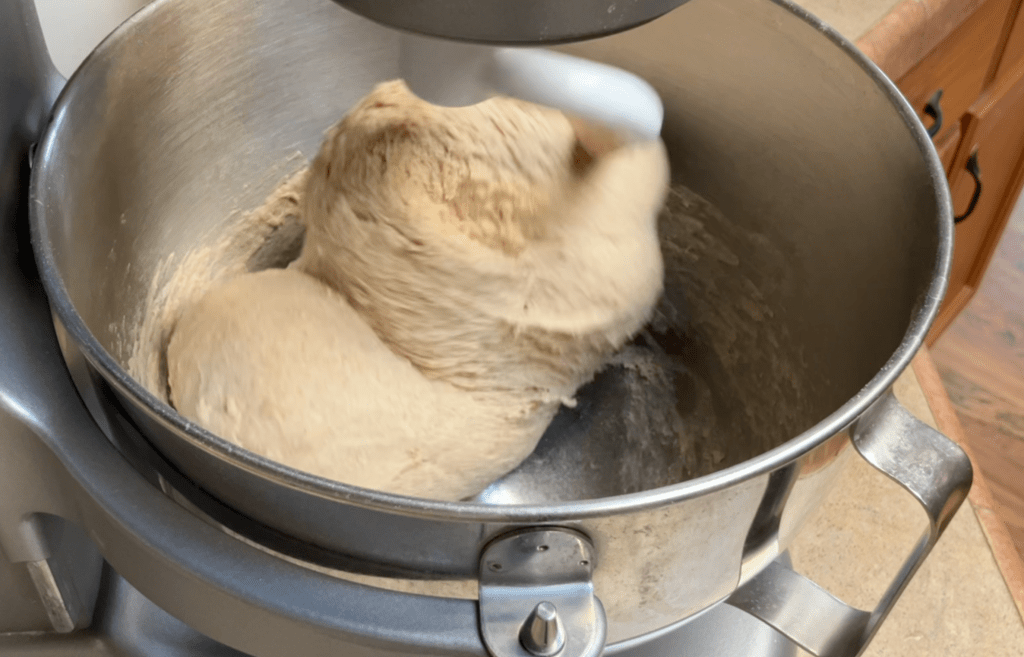
Step 8: Once the dough has come together and is no longer sticking to the bowl, lightly grease a large bowl and transfer the dough. Roll the dough so that it is lightly coated in oil.
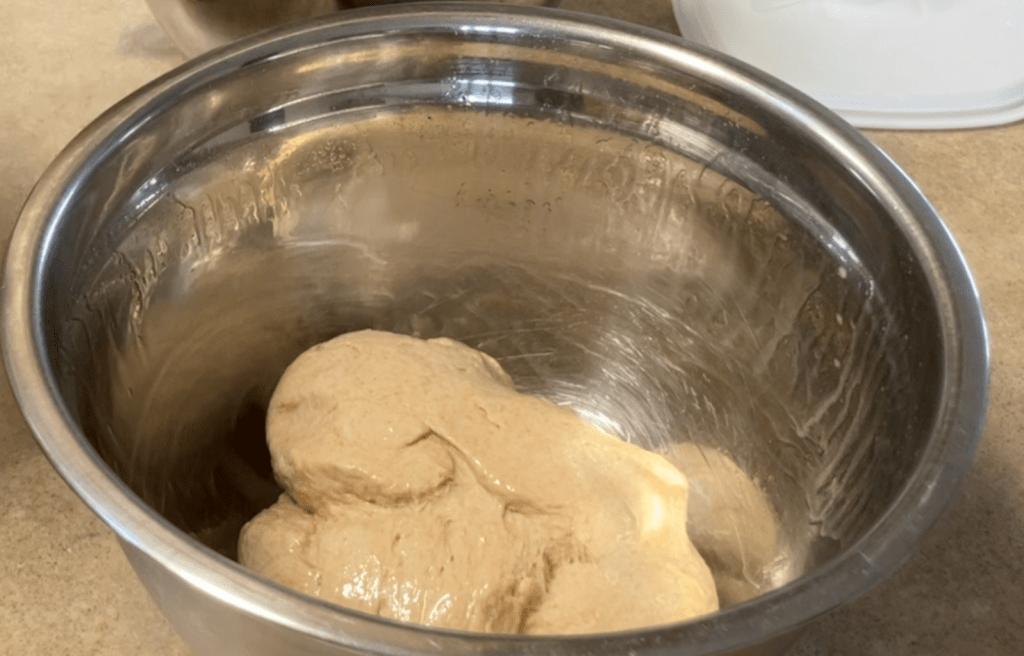
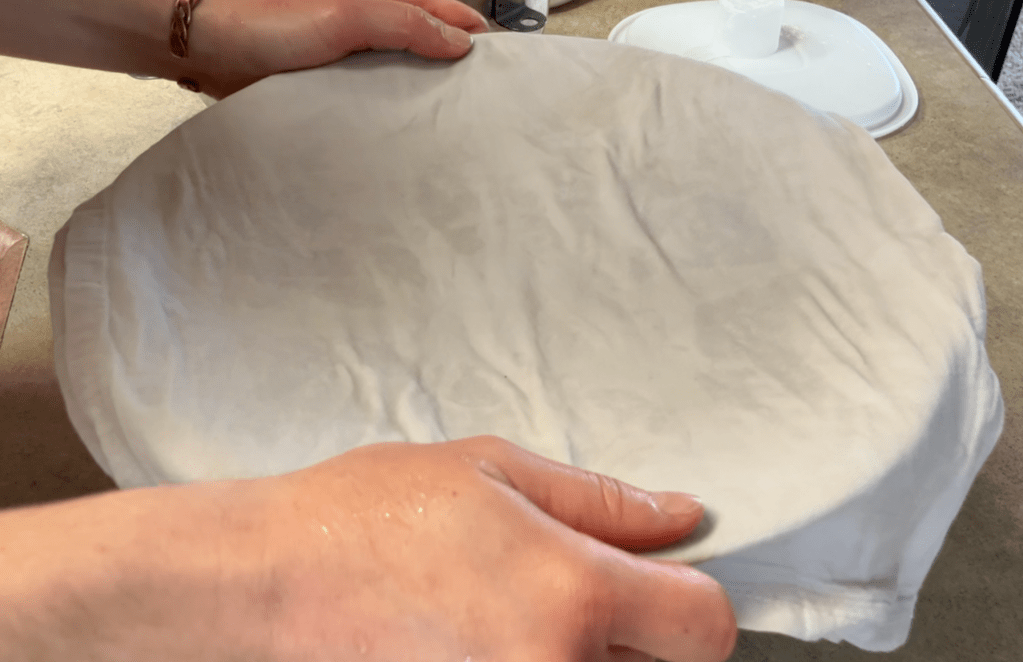
Step 9: Set the dough in warm place for approximately 2 hours covered with a damp towel. The rise time will vary depending on the temperature and humidity.
Step 10: After the dough has doubled in size, dump it onto the counter and divide it into two equal parts.
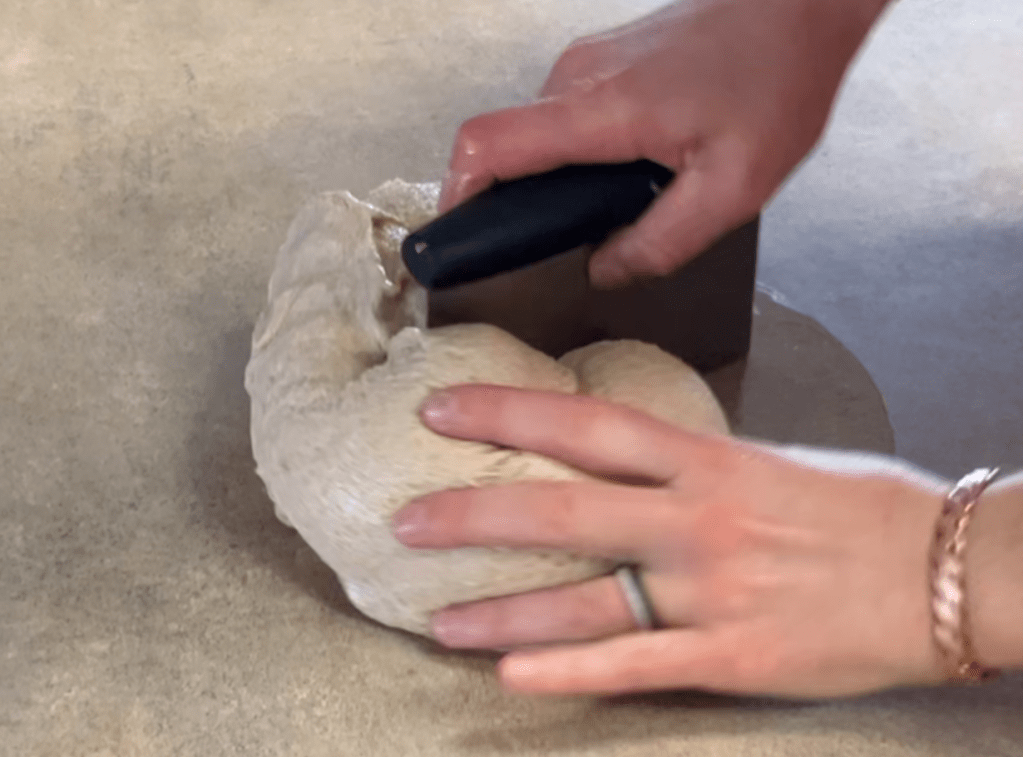
Step 11: Shape each part into a loaf and place it into a greased loaf pan.
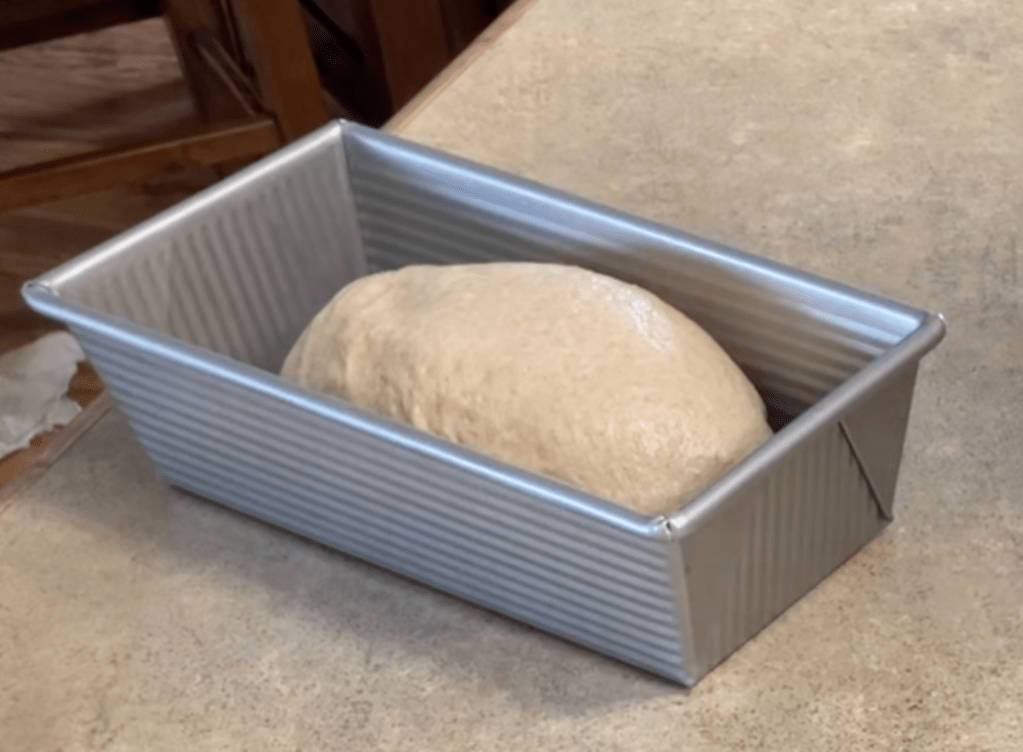
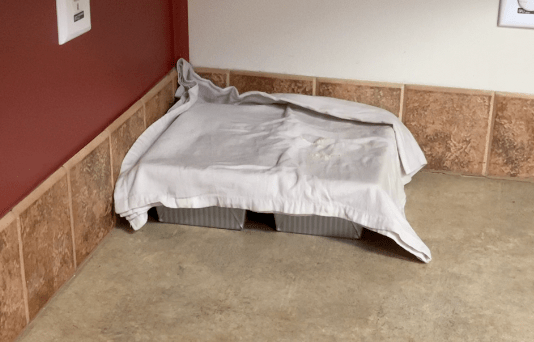
Step 12: Return the loaf pans to a warm place covered with a damp towel to rise for approximately 30 minutes. Preheat the oven to 350°F.
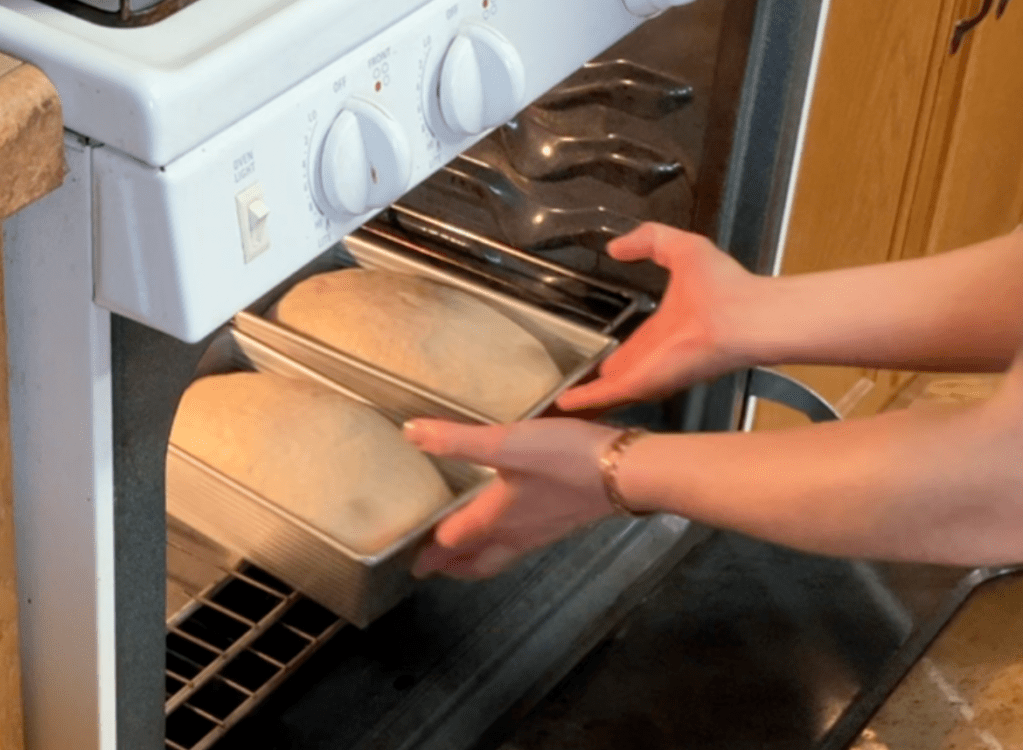
Step 13: After the loaves have risen above the pans 1-2 inches. Transfer them to an oven that has been preheated to 350°F to bake for 30 minutes.
Step 14: After 30 minutes, remove the loaves from the oven and allow them to cool in the loaf pans for 5-10 minutes.
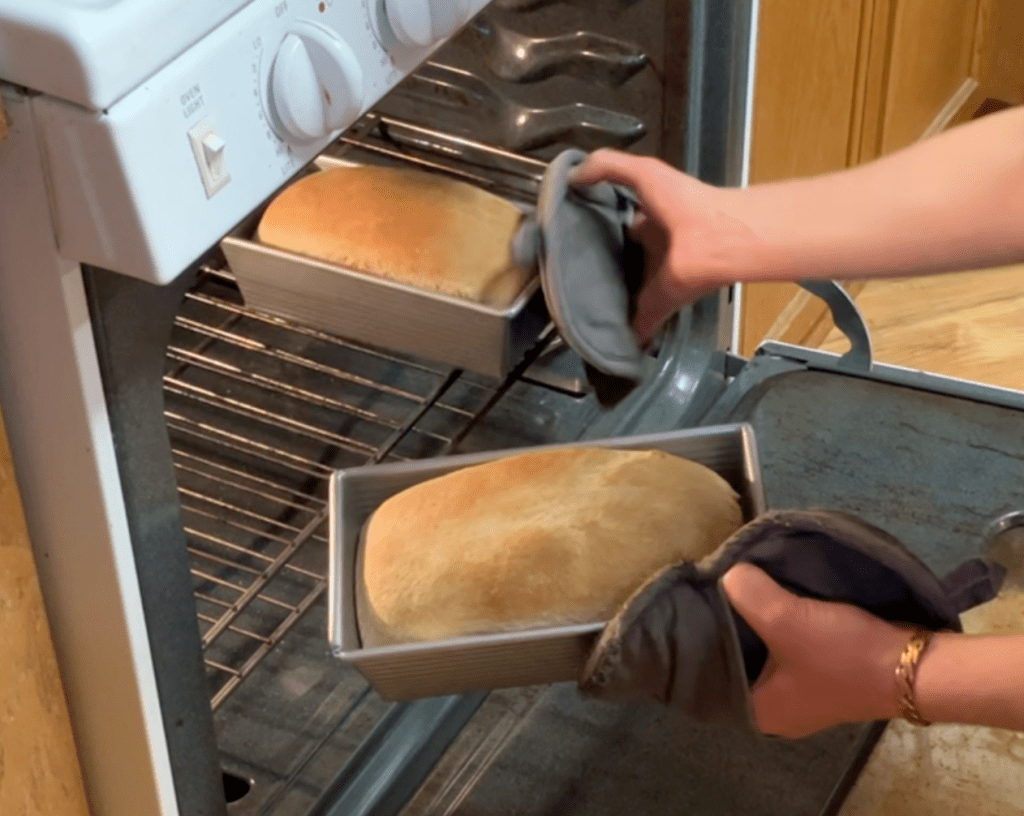
Step 15: Removes the loaves from the pans and allow them to cool completely on a cooling rack before transferring them to a storage container.
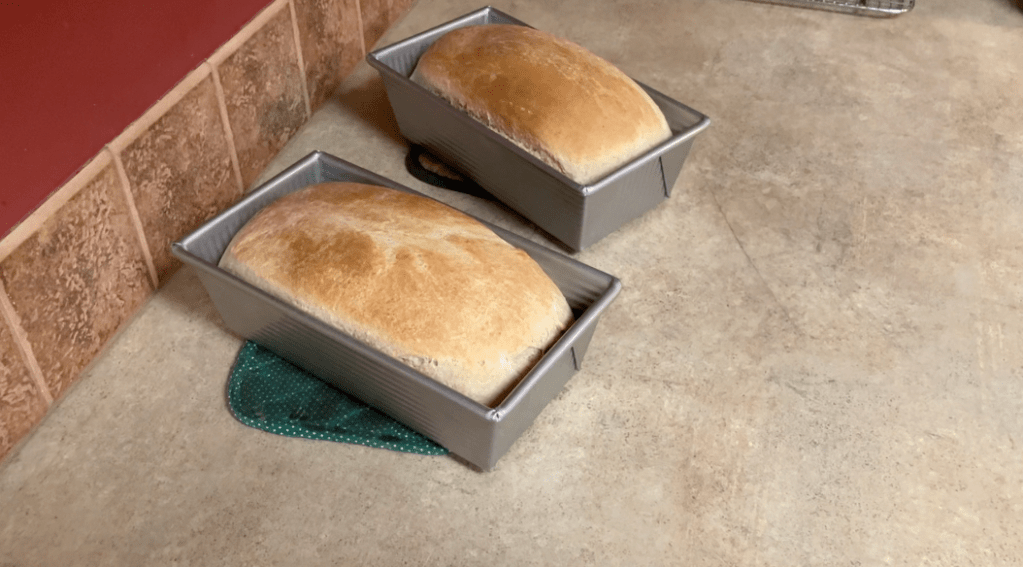
Tips for the Perfect Homemade Sandwich Loaf
Rise Time
The rise time will vary depending on how warm and how humid it is where the yeast bread is rising. A cooler room will result in a longer rise time while a warmer room will result in a shorter rise time. In room that is approximately 70°F, it will take about 2 hours for the initial rise and 30 minutes for the loaves to rise.
Storage
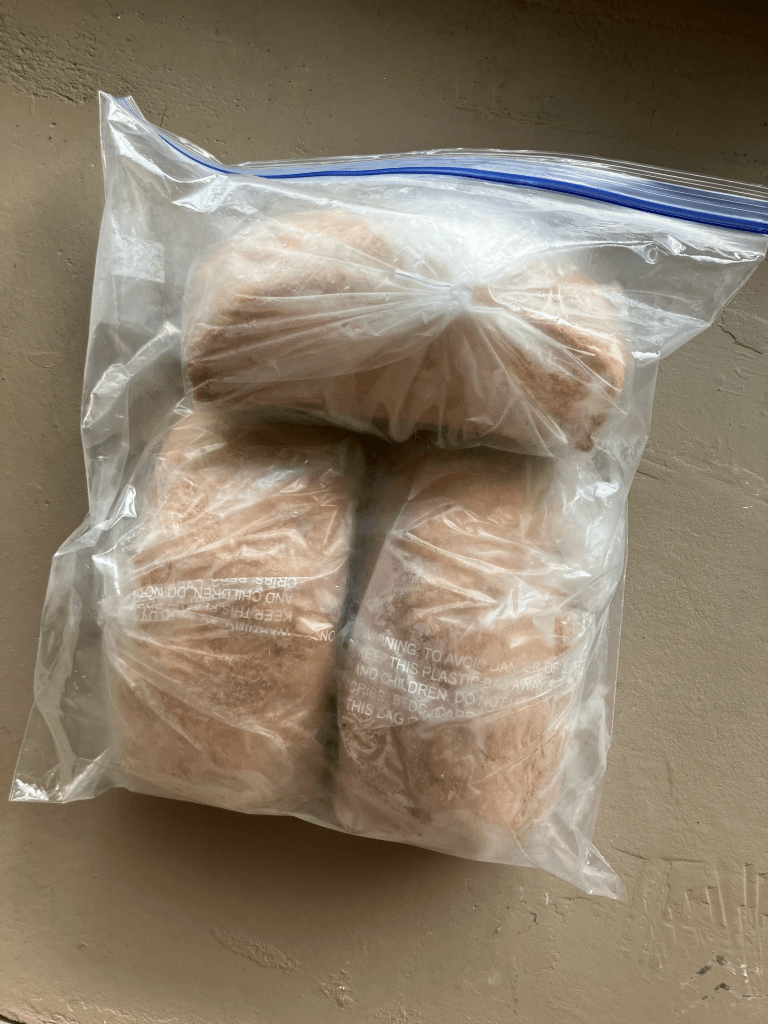
It is best to store this bread in the refrigerator, or even to freeze it for longer storage. Store on the counter for 2-4 days, in the refrigerator for 7-14 days, and in the freezer for up to 3 months.
Bulk Baking
If time is a concern, doing a bulk bread baking day can save time. Rather than making a single batch (2 loaves), make multiple batches and freeze the extra loaves until you need them. Bread thaws quickly making this the perfect solution to replacing store-bought breads that are full of preservatives.
Versatility and Substitutions for Yeast Bread
Flour Alternatives
This homemade yeast bread can be made with white all-purpose flour, bread flour, whole wheat flour or a combination. I find white all-purpose flour to be the easiest to work with and to have the most rise/spring. However, over time I have worked to switch our family over to more whole wheat flour for the health benefits by adding slightly more whole wheat flour in place of white all-purpose flour each time I make this homemade bread.
Dough for All Shapes and Sizes
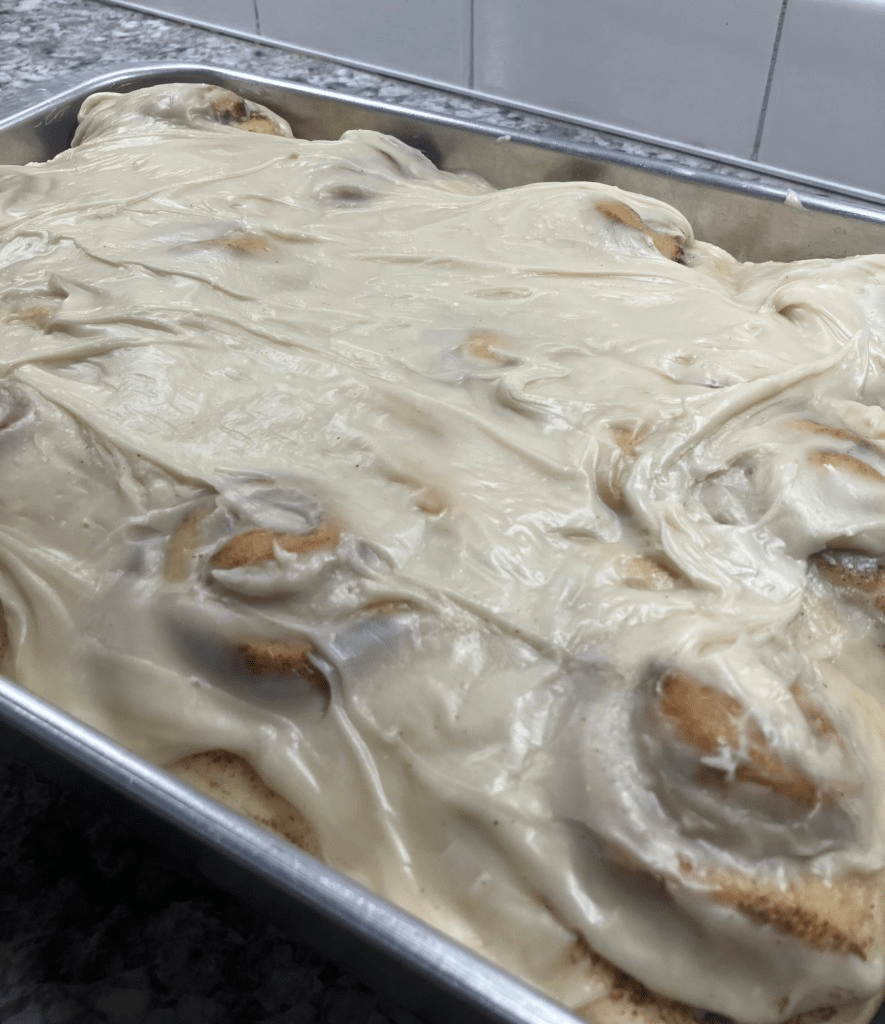
Having one recipe for several different items makes life much easier in the kitchen, and this recipe is just that. This recipe can be used to make hamburger buns, hot dog buns, dinner rolls, candy cane rolls, and cinnamon rolls. This means that mastering this one recipe can help you to master 5 recipes!
FAQs
Why does the water have to 110°F?
The water needs to be approximately 110°F to be warm enough to help activate the yeast but cool enough so that it does not kill the yeast and prevent the bread from rising. Yeast will begin to die between 130°F and 140°F.
How do I store the loaves?
Loaves should be stored on the counter for 2-4 days, the refrigerator for 7-14 days, and up to 3 months in the freezer.
What kind of flour can be substituted?
Whole wheat, bread flour, or white all-purpose flour all work well for this recipe. The rise/spring will be slightly less with bread flour or whole wheat flour, but all these flour options will yield good results!
Why do I need to the cover the dough with a damp towel when it is rising?
Yeast bread needs two things to rise well: heat and humidity. Adding a damp towel over the top of the bowl helps to add and trap humidity in the bowl, allowing the dough to rise and not dry out.
Why I Love This Recipe for My Family
I love this homemade yeast bread for our family because it is so versatile I can make all our bread needs from one simple recipe. I love how quickly this yeast bread comes together when compared to sourdough and how little hands on work it takes now that I have a mixer to do the kneading for me.


Leave a Reply