
Have your kids ever gone through a phase where they LOVED something so much that you stocked up on it… only for them to decide the very next day that they hate it? I think every parent has been there at some point. In our house, a recent obsession was bananas. Of course, I bought a big bunch to keep up with the enthusiasm, but then… suddenly, they were the worst food I could possibly offer my toddler.
Instead of stressing over what to do with all those extra bananas staring me down on the counter, I turned them into these incredible banana muffins. The best part? My little one now happily devours them without even realizing I’ve snuck in those very bananas she claimed to despise! It’s like magic in muffin form.
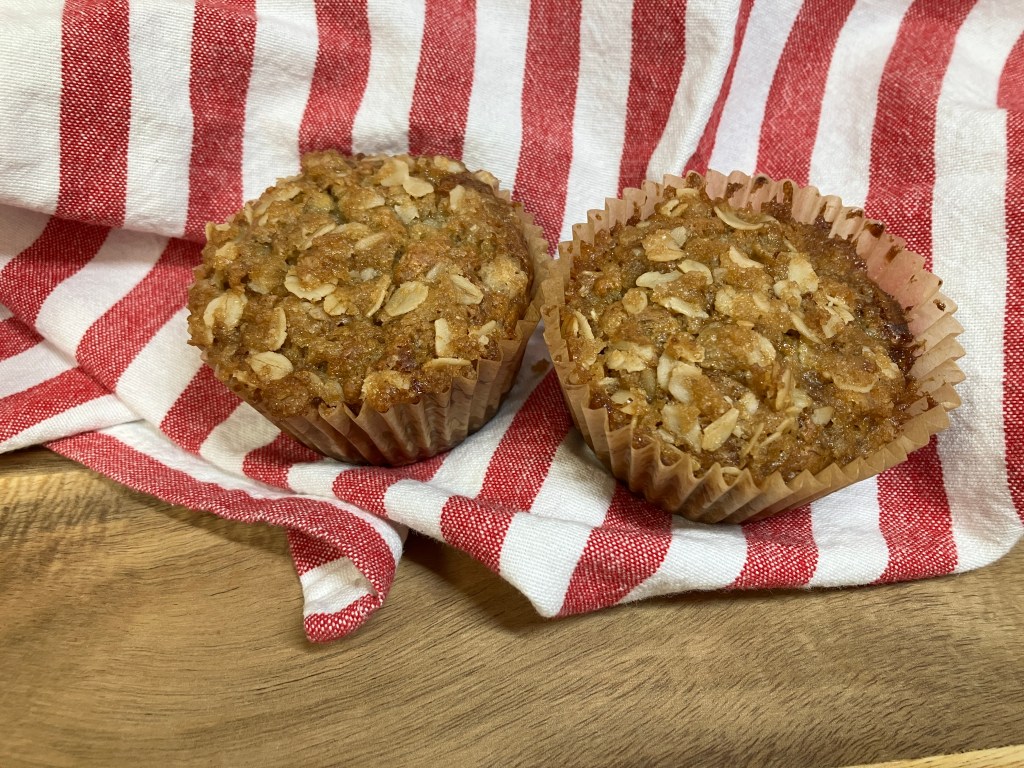
If you’ve ever found yourself with a pile of overripe bananas and no clue what to do next, this banana muffins recipe is exactly what you need. These muffins bake up tender, flavorful, and versatile—they’re delicious fresh from the oven, or you can freeze a batch for quick snacks and breakfasts on busy mornings. It’s a total win-win-win for busy families like ours!
Why You’ll Love This Recipe
Cozy Comfort: There’s something so warm and inviting about these muffins on a chilly winter day. They pair perfectly with a hot cup of coffee or milk for a cozy breakfast that feels like a hug in edible form.
Super Easy: This recipe relies on straightforward ingredients and simple mixing steps, so even if you’re new to baking, you’ll have no trouble whipping up a batch. No fancy equipment or complicated techniques required!
Reduces Food Waste: The real hero here is how perfectly these muffins use up bananas that have gone past their prime. The browner and spottier they get, the sweeter and more flavorful they become in the batter—nature’s way of turning “overripe” into “ideal for baking.”
Family-Friendly and Versatile: These muffins are a sneaky way to get some fruit into picky eaters, and they’re customizable. Add nuts for crunch, skip the topping for simplicity, or make them ahead and freeze for later. They’re great for breakfast, snacks, lunchboxes, or even a quick dessert.
Tools You’ll Need
Mixing Bowl and Spoon (or Stand Mixer): A large bowl and sturdy spoon work great for combining everything by hand, or pull out your stand mixer if you prefer a quicker creaming step.
Measuring Cups and Spoons: Accurate measurements ensure your muffins turn out fluffy and perfectly balanced every time.
Muffin Tins: Standard-size muffin tins are all you need for this recipe—regular 12-cup tins work beautifully.
Muffin Liners: Paper liners make cleanup a breeze and help the muffins release easily. We love eco-friendly options like If You Care liners in our kitchen.
Hot Pads: Essential for safely handling hot pans straight from the oven—no one wants burnt fingers or ruined countertops!
Cooling Rack: Let the muffins cool completely on a wire rack after baking to prevent sogginess and keep that perfect texture.
Ingredients
Sugar: Brings just the right amount of sweetness to balance the natural banana flavor without overwhelming it.
Butter: Adds rich, buttery depth for a tender crumb inside and that golden, slightly crispy edge on top.
Bananas: The absolute star! Overripe ones with plenty of brown spots mash easily and provide intense banana flavor plus natural moisture.
Flour: All-purpose works great for this recipe! It provides the structure that holds all these good ingredients together.
Salt: A tiny pinch that enhances all the other flavors and keeps things from tasting flat.
Plain Greek Yogurt: Our secret weapon for incredible moisture and a soft, tender texture that makes these muffins stay fresh longer.
Eggs: Help bind everything together and give the muffins structure and lift.
Vanilla: Rounds out the sweetness and adds warm, comforting notes that make every bite more delicious.
Baking Soda: Reacts with the acidic ingredients to help the muffins rise beautifully tall and fluffy.
How to Make the Muffins
Preheat your oven and prepare your muffin tins with liners or a light grease.
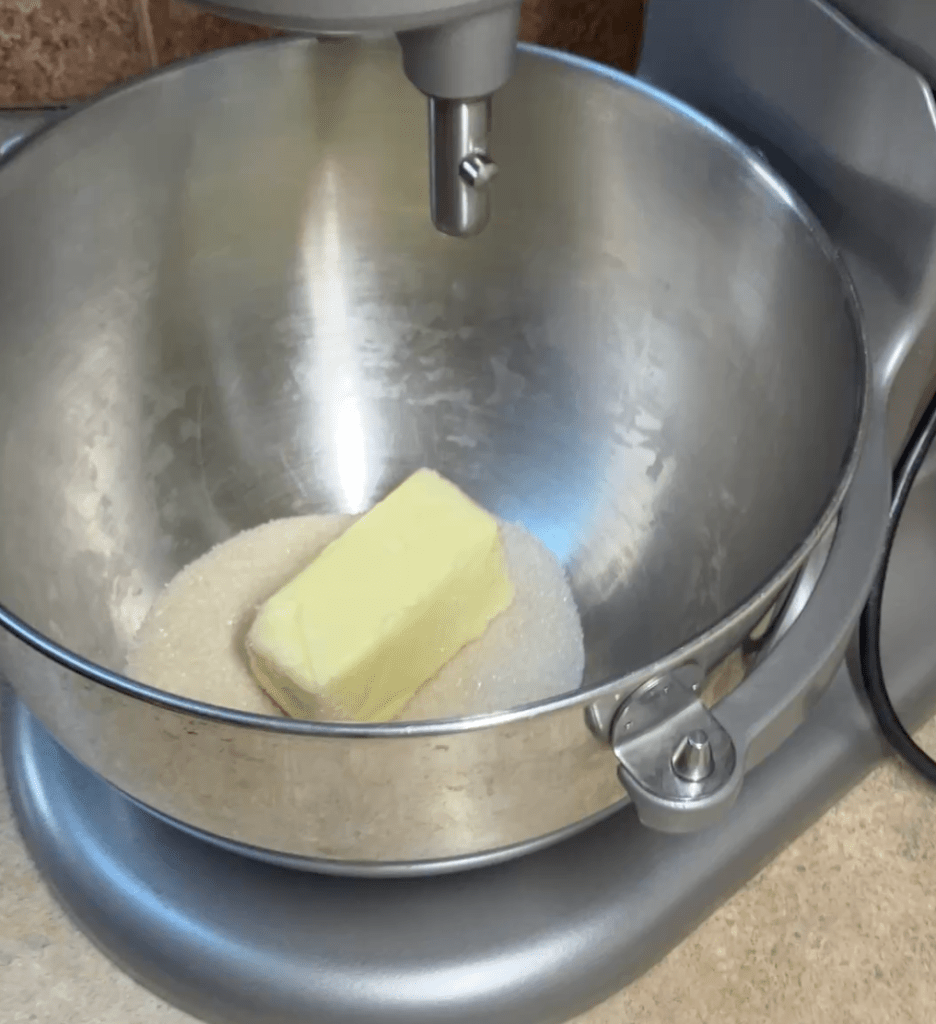
Start by creaming the softened butter and sugar together in your mixing bowl until the mixture turns light and fluffy—this step incorporates air for a nicer rise.
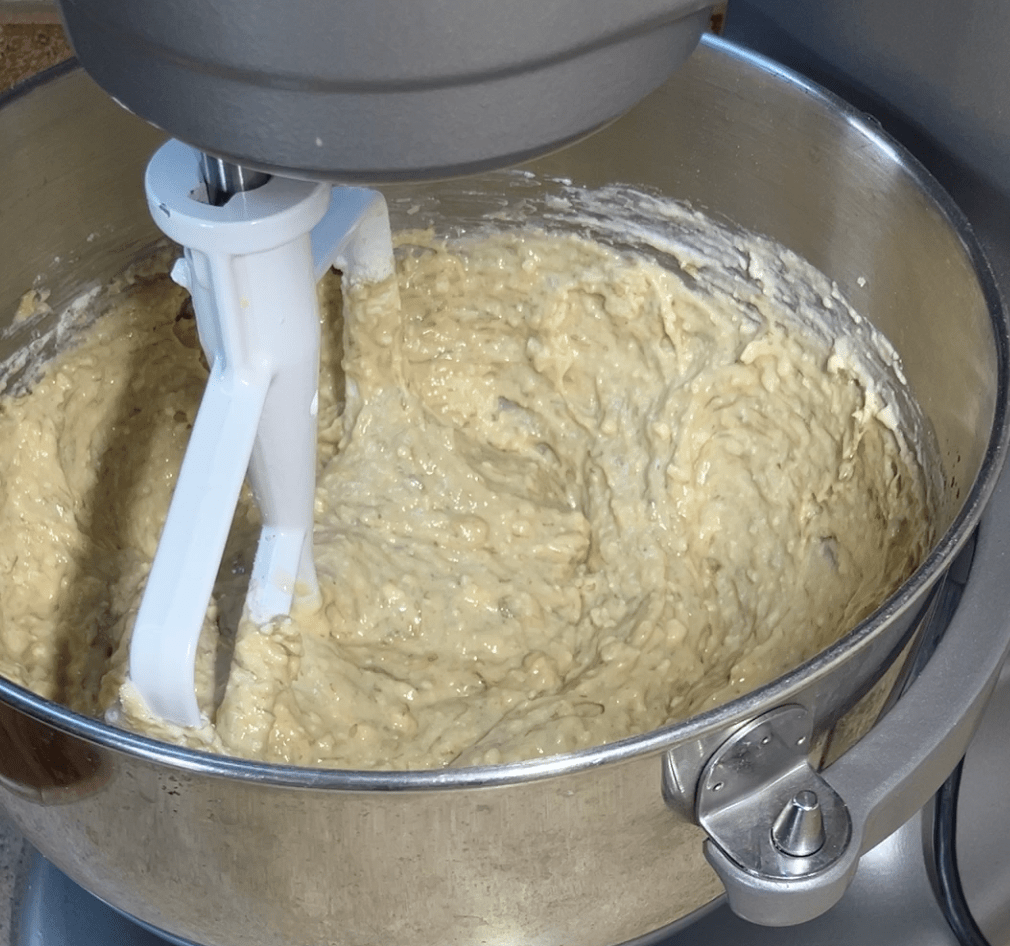
Next, mash your bananas well (a fork works perfectly) and add them to the bowl along with the plain Greek yogurt, eggs, and vanilla. Blend everything until smooth and creamy. The Greek yogurt makes the batter extra luscious here.
Stir in the flour, salt, and baking soda. Mix just until the dry ingredients disappear into the wet—overmixing can make the muffins tough, so stop as soon as it’s combined.
If you’re adding nuts like chopped walnuts for that classic banana nut vibe, fold them in now. The batter will be thick but scoopable.
Portion the batter evenly into your lined muffin tins, filling each about ¾ full for nice domed tops. For an extra-special touch, sprinkle on the crumble topping (instructions below) right before baking.
Bake until the muffins are golden and a toothpick inserted in the center comes out clean or with a few moist crumbs. Let them cool in the tin for a few minutes, then transfer to a cooling rack.
How to Make the Crumble Topping
This optional topping adds a delightful crunchy contrast and extra sweetness.
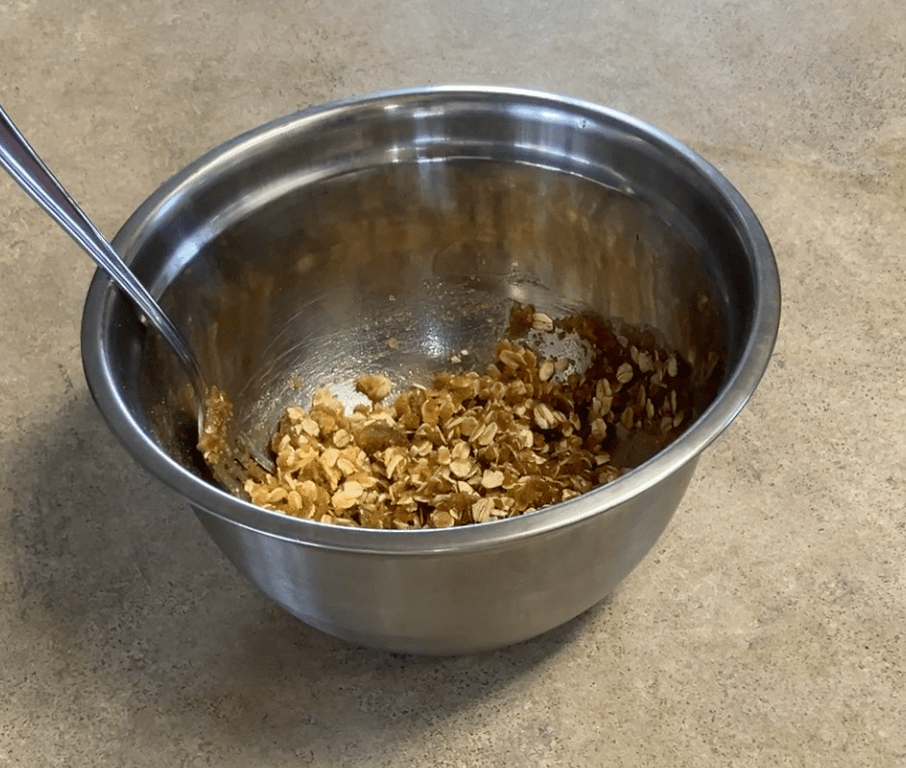
Combine brown sugar, flour, oats, and a bit of melted butter in a small bowl. Use your fingers or a fork to mix until it forms coarse crumbs—like wet sand that holds together when squeezed.
Sprinkle generously (or lightly) over the muffin batter in the tins before popping them in the oven. You can adjust the amount to suit your family’s taste—more for a bakery-style crunch, less for subtlety.
Tips, Tricks, and Substitutions
Sour Cream Swap: No plain Greek yogurt? Sour cream makes an excellent one-for-one substitute. It delivers the same moisture and tenderness with a slight tangy note that pairs wonderfully with bananas.
Frozen Bananas for Later: If bananas are ripening faster than you can bake, peel them, break into chunks, and freeze in a zip-top bag. Thaw them at room temperature or in the microwave when you’re ready—they mash beautifully and work just as well as fresh overripe ones.
Boost with Add-Ins: Beyond nuts, try a handful of chocolate chips, blueberries, or even a dash of cinnamon for warmth. Fold them in gently after combining the wet and dry ingredients.
Make Them Banana Nut Muffins: If your family loves the classic combo, add ½ to ¾ cup of chopped walnuts (or pecans). Not sure about nuts for everyone? Add them to individual muffins after scooping the batter—some plain, some nutty.
Storage and Freezing: Keep cooled muffins in an airtight container on the counter for up to 4 days—they stay soft and flavorful. For longer storage, refrigerate up to a week or freeze individually wrapped for up to 3 months. Thaw overnight in the fridge or warm gently in the microwave for that fresh-baked feel.
Make-Ahead Magic: These freeze exceptionally well, making them ideal for meal prep. Bake a double batch when you have extra bananas, and you’ll have grab-and-go breakfasts or after-school snacks ready for weeks.
Softened vs Melted Butter: If you forget to take out the butter for these muffins, no worries! You can use melted butter, it just slightly changes the texture of the muffins.
Frequently Asked Questions
Can I add both nuts and the crumble topping?
Absolutely! The combination is fantastic—crunchy nuts inside and sweet, buttery crumble on top.
How many nuts should I add?
It depends on preference. I usually go with ½ to ¾ cup of chopped walnuts for a full batch, which gives nice distribution without overwhelming the banana flavor. If you’re unsure, start lighter or add nuts to only some muffins for variety.
How do you store these muffins?
Room temperature in an airtight container for up to 4 days keeps them fresh. The fridge extends that to a week (though they may firm up a bit—warm slightly to soften). Freeze for up to 3 months; thaw in the fridge overnight or at room temperature.
These banana muffins have become a staple in our home, turning potential food waste into something the whole family looks forward to. Whether your kids are in a banana-loving phase or suddenly anti-banana like mine, this recipe saves the day every time. It’s simple, forgiving, and always delivers moist, flavorful results that feel like a little homemade comfort.
Next time those bananas start looking sad on the counter, give this recipe a try—you might just find it’s your new go-to for busy mornings and picky eaters alike. Happy baking!

Leave a comment