
If you’ve ever scrolled through social media and felt intimidated by the idea of making sourdough bread, you’re not alone. The endless tutorials about feeding starters and perfect timing can make it seem like you need a PhD in baking. But here’s the good news: sourdough doesn’t have to be complicated. As someone who juggles a full house and a packed calendar, I’ve perfected a beginner sourdough bread recipe that’s flexible, forgiving, and yields a gorgeous cinnamon swirl loaf every time. No fancy equipment, no rigid schedules—just simple steps for artisan-style bread that rivals your favorite bakery.
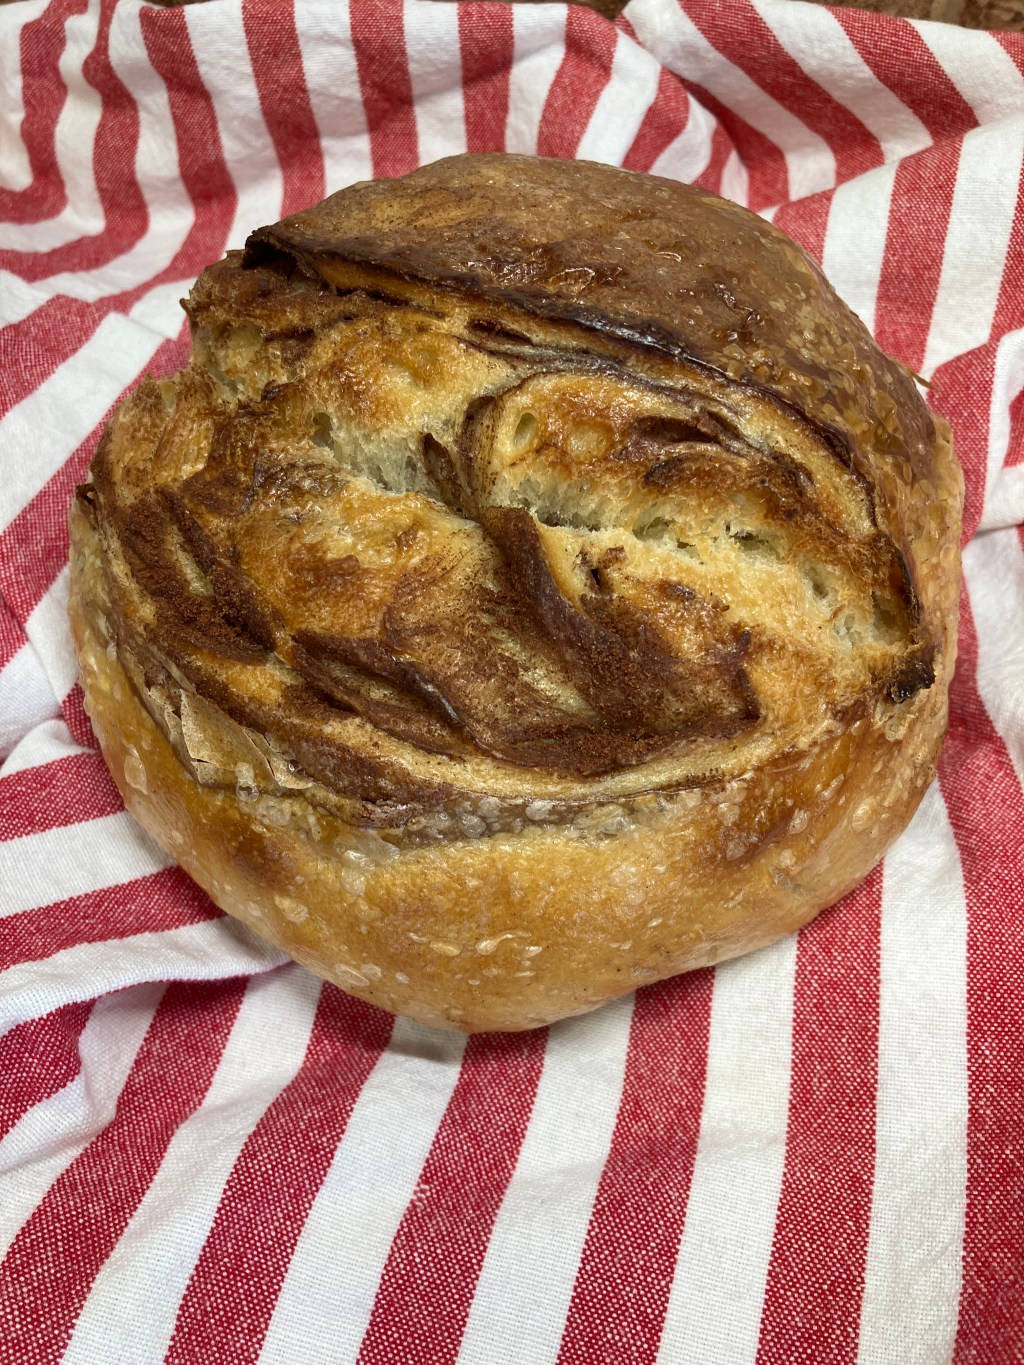
In this guide, I’ll walk you through everything from maintaining an easy sourdough starter without the hassle of daily discard to baking a fluffy, tangy loaf swirled with warm cinnamon. Whether you’re a working parent squeezing in baking after dinner or just dipping your toes into homemade bread, this approach fits right into your life. Imagine pulling a golden, crusty sourdough cinnamon bread from the oven, filling your kitchen with that irresistible yeasty aroma. It’s achievable, even on your busiest week. Let’s dive in and demystify sourdough together.

Why This Easy Sourdough Recipe is Perfect for Beginners
One of the best things about sourdough bread for beginners is its simplicity. At its core, it’s just four basic ingredients: flour, water, salt, and your starter (which is, surprise—also just flour and water fermented over time). No commercial yeast, no preservatives, just natural wild yeast doing its magic for that signature tangy flavor and chewy crumb.
But don’t let the basics fool you—this recipe is endlessly adaptable. Craving a sweet twist? We’ll swirl in cinnamon for a cozy treat that’s like cinnamon rolls meet classic sourdough. Prefer savory? Swap it for jalapeños and cheddar (more on inclusions later). And the real game-changer? It’s incredibly flexible for busy schedules. Unlike finicky yeast breads that demand precise rising times, sourdough is more forgiving. Your dough can chill in the fridge for hours (or even days) without ruining the batch, giving you room to run errands, chase kids, or binge your favorite show.
The result? A delicious artisan sourdough loaf with a crisp crust, open crumb, and that satisfying sourdough tang. It’s versatile too—toast it for breakfast with butter and jam, slice it for sandwiches, or tear it apart for a cozy soup night. With this beginner-friendly method, you’ll be churning out bakery-worthy bread without the stress. Ready to see why home bakers swear by this no-fail approach?
Simple Sourdough Starter Maintenance: No Daily Discard Required
Let’s talk about the heart of any great sourdough bread recipe: the starter. If you’ve been putting off baking because maintaining a starter sounds like a full-time job, I get it. But here’s the secret I’ve learned after years of trial (and a few hooch-filled errors): you can keep a healthy sourdough starter thriving with minimal effort, no daily feedings, and zero waste from discard.
I store my starter in the fridge, pulling it out only when I’m ready to bake. This “hibernation” method slows fermentation way down, so it stays happy for weeks without attention. Here’s how I do it, step by step, so you can skip the guilt of tossing discard and focus on the fun part—baking.
My Go-To Fridge Storage Routine
- Weekly Baking Plan: If I’m baking on Monday, I grab the starter from the fridge Sunday morning. Let it warm up for a couple of hours, then feed it around noon; however, you could just grab it out at noon and feed it. The only downside to not letting the starter warm a bit is it can be a little harder to mix when feeding.
- Feeding Basics: Aim for equal parts by weight—say, 50g starter, 50g flour, and 50g water. Stir until it’s like thick pancake batter (not too runny, not peanut butter-thick yet). No scale? Eyeball it; sourdough forgives rough estimates. I don’t ever use a scale to feed my starter anymore!
- Post-Bake Prep: After mixing your dough, push all the starter down from the jar’s sides to avoid drying spots. If baking again soon (within a week), just put a lid on it and put it in the fridge. For longer stretches, feed it extra thick (like peanut butter consistency) and dust the top with a thin layer of flour. This acts like a cozy blanket—seals out air, prevents drying, and gives it slow-release food while it sleeps.
Pro Tip: Your starter’s vibe changes with your kitchen’s temperature. In my home which tends to stay about 68-70°F, it perks up in 6-8 hours; in a warmer spot, it might double faster and in a cooler spot it might double slower. Does your starter have bubbles on the top and sides, plus a tangy (not vinegary) smell? It’s ready. And if it’s been neglected? Stir in any liquid layer (that’s just “hooch” from hunger), feed it, and give it a room-temp revival. Starters are tougher than they look—mine’s survived months in the fridge while I was postpartum. Yours will too.
No starter yet? Mix 50g flour and 50g water and then feed your start the same daily for 5-7 days until bubbly. Or snag some from a friend or online. It’s easier than you think, and soon you’ll have a bubbly starter that makes the best sourdough bread.
Essential Tools and Ingredients for Your First Cinnamon Sourdough Loaf
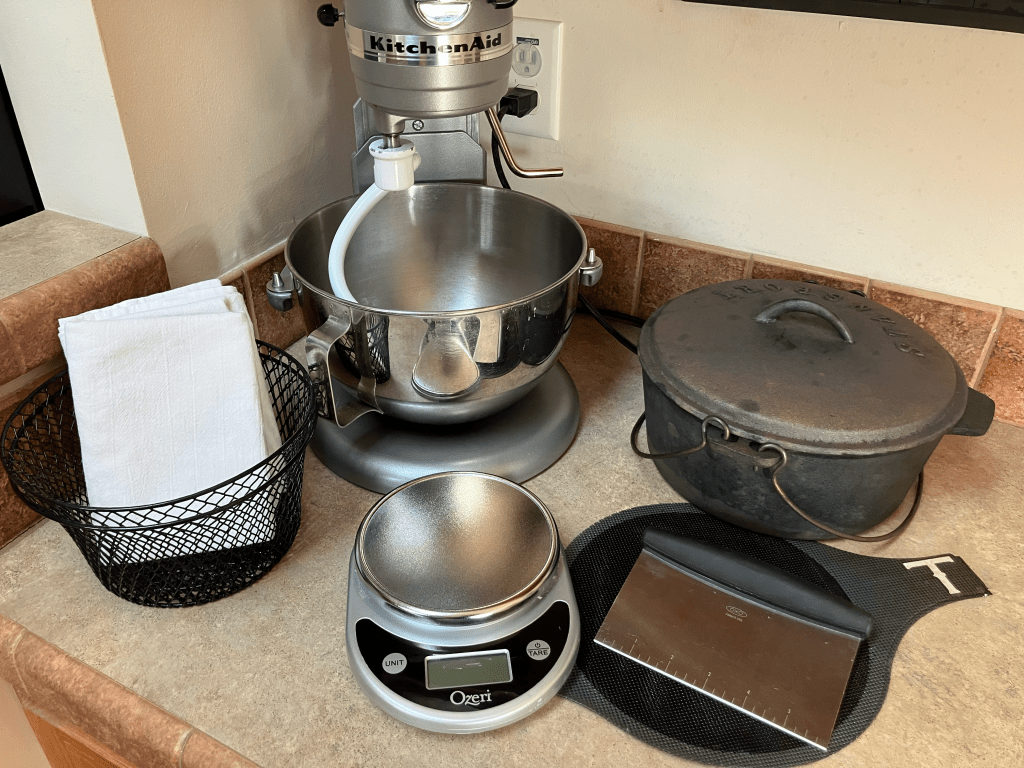
Before we get to the hands-on steps, let’s cover what you’ll need. I’ve kept this list beginner-friendly—most items are kitchen staples. No need to splurge on gadgets; improvise with what’s in your pantry.
Must-Have Tools
- Large Mixing Bowl: For mixing and resting dough.
- Measuring Cups/Spoons or Kitchen Scale: A scale is ideal for precision, but cups work fine.
- Damp Tea Towel: To cover dough during rests.
- Bench Scraper (or Knife): For dividing dough—careful with knives!
- Banneton Basket or Bowl with Tea Towel: For proofing; flour the towel to prevent sticking.
- Parchment Paper: For easy transfer to the oven.
- Dutch Oven (Cast Iron Preferred): Traps steam for that pro crust. One works; two speeds up batches.
- Cooling Rack: Lets steam escape for even cooling.
- Optional Upgrades: Stand mixer with dough hook (saves the arm workout), sharp bread lame or razor for scoring.
Simple Ingredients
- Sourdough Starter: Bubbly and floaty.
- Water: Filtered and room-temp; chlorine can zap microbes.
- All-Purpose or Bread Flour: Start with all-purpose for easier handling.
- Salt: Fine sea salt or real salt—not iodized for best taste.
- Cinnamon: For a sweet treat with beautiful swirls.
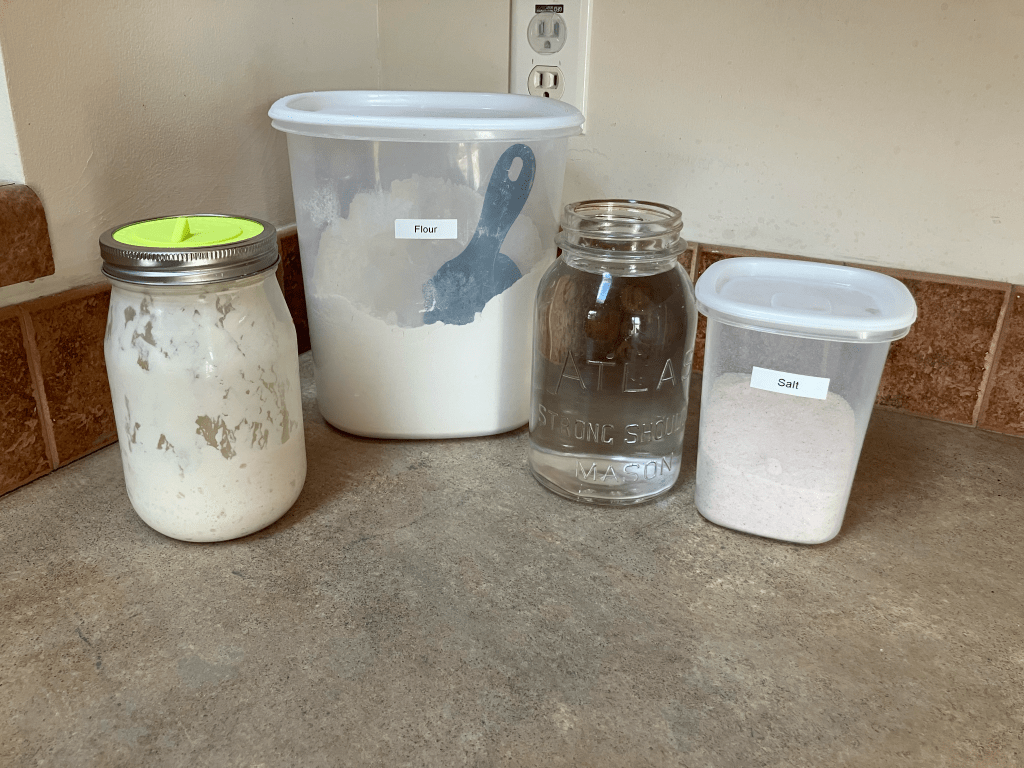
That’s it! Total cost per loaf? Pennies compared to store-bought. Scale up or down as needed.
Step-by-Step: How to Bake Beginner Cinnamon Swirl Sourdough Bread
Now, the magic. This timeline assumes an overnight bulk ferment for flexibility, but I’ve included tweaks for your schedule. Total hands-on time: About 30 minutes spread out. Let’s make dough!
Step 1: Feed and Activate Your Starter
Timing varies by kitchen warmth—feed 6-8 hours ahead in mine. Mix equal parts starter, flour, and water to pancake-batter consistency. Cover loosely and wait for bubbles and doubling. Float test: Drop a spoonful in water; if it bobs, it’s prime. Don’t stress perfection; bubbly is good enough for great bread.
Step 2: Check Starter Readiness
Bubbles galore? Tangy aroma? Go time! If it’s active but you’re delayed, no biggie—sourdough waits for no one, but it adapts.
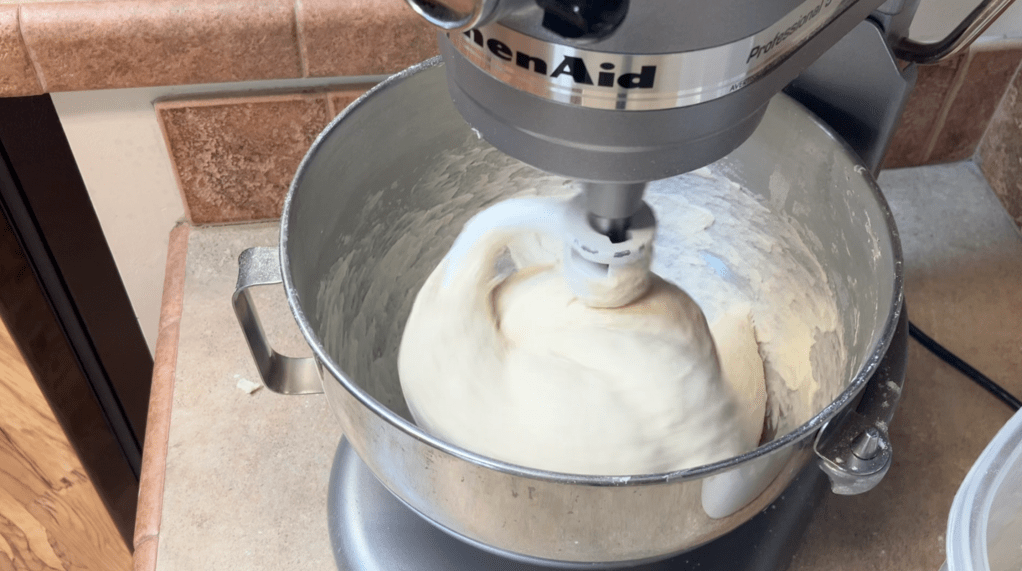
Step 3: Mix the Dough
In a large bowl, dissolve the starter in the water. Add about 3/4 of the flour and salt. Stir with a spoon or hands until shaggy—no dry bits. Gradually add the remaining flour until it pulls from sides. It’ll be sticky; that’s normal. Cover with a damp towel and rest 30-60 minutes. (Mixer tip: Use dough hook on low for 5 minutes.)
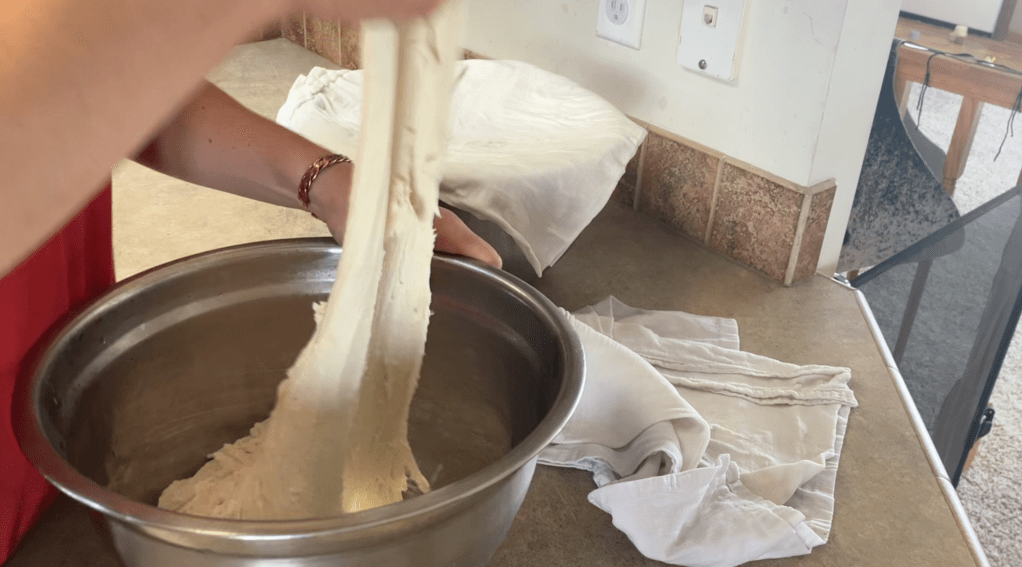
Step 4: Stretch and Folds for Strength
Every 30-60 minutes for 3-4 rounds: Wet your hands, grab one dough edge, stretch up, and fold over center. Rotate bowl 90 degrees; repeat four times. This builds gluten gently. Re-cover between sets. Dough will smooth out, feeling silkier.
Step 5: Bulk Ferment Overnight
Cover tightly (double the towel if it’s thin) and let rise at room temp until puffy and bubbly—doubled in size. In cooler kitchens, it might take 15 hours; warmer? 6-8. Poke test: Gentle indent should spring back slowly. Over-ferment? It’ll be slack—save for flatbreads!

Step 6: Shape the Cinnamon Swirl Loaves
Flour your counter lightly. Divide dough in half with scraper. For each: Stretch gently into a rectangle (windowpane test: Thin without tearing). Sprinkle cinnamon evenly and generously over the center. Then fold one side like a letter (thirds), sprinkle more cinnamon, fold again, and sprinkle more cinnamon. Roll into a tight log, tucking ends under and build tension in the dough. Pinch seams. Place seam-side up in floured banneton. Tension is key for pretty swirls.
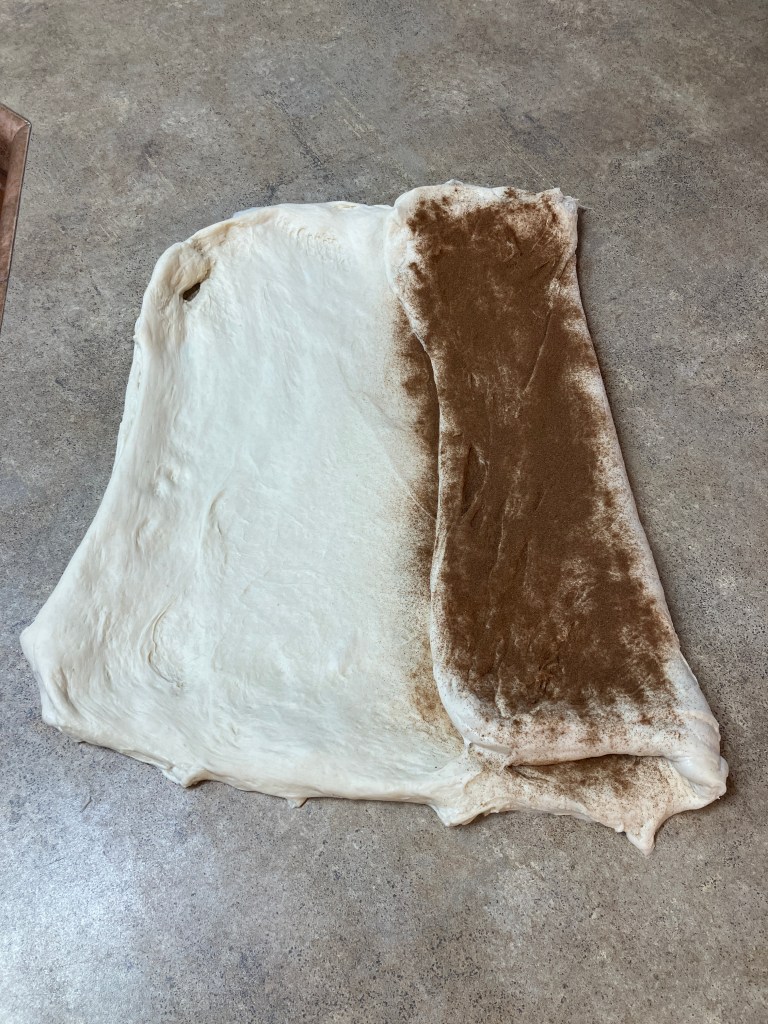
To build tension, use a gentle push-and-pull motion. See this video to see the whole shaping process.
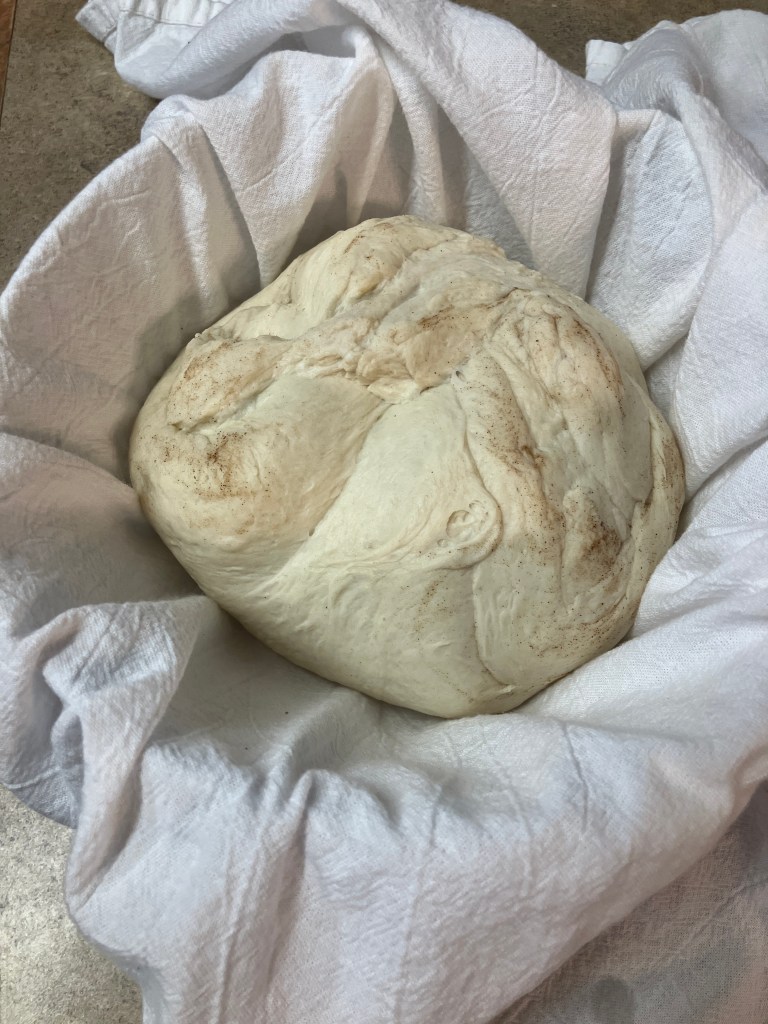
Step 7: Cold Proof in the Fridge
Place the loaf in the banneton/proofing basket or a bowl with a tea towel and place it in the fridge for at least 2 hours—up to 2 days for a more sour flavor. This slows proofing, fitting busy days perfectly.
Step 8: Preheat Oven
Preheat the oven to 475°F with the Dutch oven(s) inside. This builds heat for oven spring.
Step 9: Score for Beautiful Rise
Place two squares of parchment on the counter. Gently turn out the loaves onto them. Score deeply (½-inch at least) with a lame or sharp knife—one long slash down center, or creative leaves. Deep cuts let steam escape dramatically.

Step 10: Bake with Steam Magic
Carefully lower parchment into hot Dutch oven. Add 2-3 ice cubes beside the parchment for steam. With the lid on, bake 20 minutes then remove the lid; bake 20 more until deep golden (internal temp 205-210°F).
Step 11: Cool Completely
Transfer to a cooling rack. If you want, you can place a damp tea towel on the rack and wrap the loaves in it to cool. Resist slicing warm—steam keeps crumb gummy. Full cool = perfect texture.
Step 12: Store and Enjoy
Store on the counter for 3-5 days (freshest the first 2) or the fridge up to a week (great for toast). Freeze sliced for up to 3 months.
Troubleshooting Your Sourdough Bread: Fixes for Common Hiccups
Even pros have off days—here’s how to bounce back:
- Dense Loaf: Starter too sleepy? Wait for full bubbles next time. You can also place your starter in a warmer your spot like in the oven with the light on. Float test prevents this.
- Off Smells or Hooch: Hungry starter! Stir in liquid, feed, and leave at room-temp until bubbly.
- Flat or Spreading Loaf: Over-proofed. Shorten bulk ferment or fridge proof. Shape the loaves tighter.
- Tough Crust: Less uncovered bake time, or towel-wrap while cooling.
These tweaks turn “oops” into “aha!” Your next loaf will soar.
Flavor Boost: Add Inclusions to Your Sourdough Loaf
Plain sourdough? Delicious. But inclusions elevate it. During shaping (Step 6), layer in:
- Jalapeño Cheddar: Sliced jalapeno peppers + shredded cheddar for a spicy kick.
- Cinnamon Raisin: Sweet cinnamon + chewy raisins to elevate the flavor.
- Sun-Dried Tomato Mozzarella: Chopped tomatoes + fresh mozzarella for Italian vibes.
- Blueberry Lemon: Zest + berries for summery twist.
- Almond White Chocolate: Chopped nuts + white chocolate chunks for sweet indulgence.
Sprinkle between folds; they’ll swirl beautifully. Watch bake time—moist add-ins need extra minutes.
Flexible Baking Schedules: Sourdough That Fits Your Life
Sourdough shines in adaptability. Here are schedules for real life:
For Full-Time Workers
Option 1:
- Day 1 Eve: Starter out of the fridge.
- Day 2 Morning: Feed.
- Day 2 Eve: Mix, ferment overnight.
- Day 3 Morning: Shape, fridge proof.
- Day 3 Eve: Bake.
Option 2:
- Day 1 Morning: Starter out of the fridge.
- Day 1 Eve: Feed.
- Day 2 Morning: Mix, daytime ferment.
- Day 2 Eve: Shape, proof, bake. (Baking can be pushes to the next morning or even evening as well!)
For Stay-at-Home Days
- Day 1 Morning: Starter out of the fridge.
- Day 1 Noon: Feed.
- Day 1 Eve: Mix, overnight ferment.
- Day 2 Morning: Shape, fridge.
- Day 2 Noon: Bake.
Tweak for your rhythm—colder house? Add time. Hotter? Subtract. The beauty is in the wiggle room.
Sourdough isn’t about perfection; it’s about the joy of creating something nourishing from scratch. Your first cinnamon swirl loaf might have a quirky shape, but it’ll taste like victory. Grab that jar, flour up your hands, and bake. What’s your twist—sweet or savory? Share in the comments; I can’t wait to cheer your success. Happy kneading!

Leave a comment