
Disclosure: This recipe is for informational purposes only and has not been approved by the USDA/FDA. You assume all responsibility for the safety and quality of your home-canned products. Always use modern, tested canning recipes from reputable sources, such as the USDA or the National Center for Home Food Preservation (NCHFP). Altering ingredients, processing times, or canning methods may result in an unsafe product.
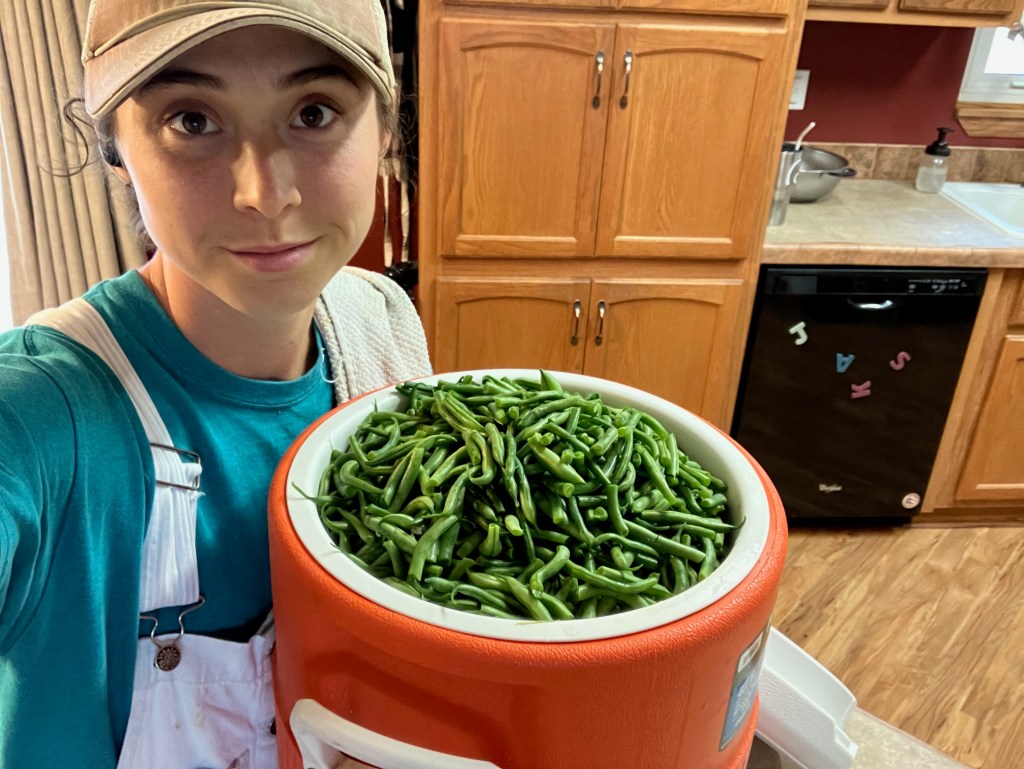
Canning green beans at home is a rewarding way to preserve the fresh, vibrant flavor of summer’s bounty. Whether you’re picking beans straight from your garden or grabbing them from a local farmer’s market, this time-honored method lets you enjoy crisp, delicious green beans all year long. This guide walks you through every step of the process, from gathering the right tools to sealing your jars, with tips to make it easy and fun, even if you’re new to canning.
Why You’ll Love Canning Green Beans
Canning green beans isn’t just about saving your harvest—it’s about capturing flavor, quality, and the satisfaction of self-sufficiency. Here’s why this method is worth your time:
Simple and Beginner-Friendly
If you’re new to canning, green beans are a fantastic starting point. The process is straightforward, requiring just a few steps and basic equipment. With clear instructions, you’ll feel confident in no time, and the results will leave you eager to try more canning projects.
Unmatched Quality Control
When you can your own green beans, you control every aspect of the process. You choose the freshest beans, decide how much salt to add (if any), and ensure no unnecessary preservatives sneak in. The result? A product that’s tailored to your taste and free from the additives often found in store-bought versions.
Cost-Effective and Sustainable
Canning at home saves money compared to buying canned goods, especially if you grow your own beans or buy in bulk during peak season. Plus, it’s an eco-friendly choice—reusing jars and reducing reliance on commercially processed foods lowers your environmental footprint.
Year-Round Enjoyment
Imagine pulling a jar of crisp, home-canned green beans from your pantry in the middle of winter. That burst of summer flavor can elevate soups, casseroles, or simple side dishes, bringing a taste of your garden to every meal.
Essential Tools for Canning Green Beans
Before diving into the canning process, gather these must-have tools to ensure success. Most are likely already in your kitchen or easy to find at a local store or online.
- Pressure Canner: Green beans are a low-acid food, so a pressure canner is essential for safe canning. Unlike water bath canning, pressure canning reaches the high temperatures needed to eliminate harmful bacteria.
- Canning Jars: Use pint or quart-sized mason jars designed for canning. Check for cracks or chips before use to ensure a proper seal.
- Lids and Bands: New lids are critical for a secure seal, as reused lids may not seal properly. Bands can be reused if they’re in good condition.
- Jar Tongs: These specialized tongs safely lift hot jars in and out of the canner without burning your hands.
- De-Bubbler: A simple tool (or even a chopstick) to remove air bubbles from jars before sealing, ensuring proper headspace and a tight seal.
- Washcloth: A clean cloth is key for wiping jar rims to remove any residue, which could prevent a proper seal.
- Measuring Spoon: For accurately measuring salt to add to each jar.
- Towel: Place jars on a towel-covered counter to cool, protecting both the jars and your surfaces.
- Canning Funnel: This helps you fill jars neatly without spilling beans or water. I love the ones from ForJars because they included a headspace tool right on them!
- Headspace Tool: A small ruler or tool to measure the correct headspace (the empty space between the food and the jar’s lid).
Having these tools ready makes the process smoother and safer, setting you up for canning success.
Ingredients for Canning Green Beans
The beauty of canning green beans lies in its simplicity. You only need three ingredients:
- Green Beans: Choose fresh, firm beans without blemishes. About 1–1.5 pounds of beans will fill a quart jar, or 0.5–0.75 pounds for a pint.
- Water: Clean, potable water for filling the jars and processing in the canner.
- Salt (Optional): Adding salt enhances flavor but isn’t necessary for safety. Use 1 teaspoon per quart or ½ teaspoon per pint. I like to use Redmond’s Real Salt.
Opt for the freshest beans possible—ideally picked the same day—for the best texture and flavor in your finished product. However, if you are like me and you have a toddler, it isn’t always possible to pick beans and can them the same day. If this is the case, keep the beans as cold as possible without freezing by placing them in water in the fridge or placing a towel over top of the water covered beans in a cooler and covering the towel with ice.
Step-by-Step Guide to Canning Green Beans
Follow these detailed steps to can green beans safely and efficiently. This method is designed for pressure canning, the only safe way to preserve low-acid foods like green beans.
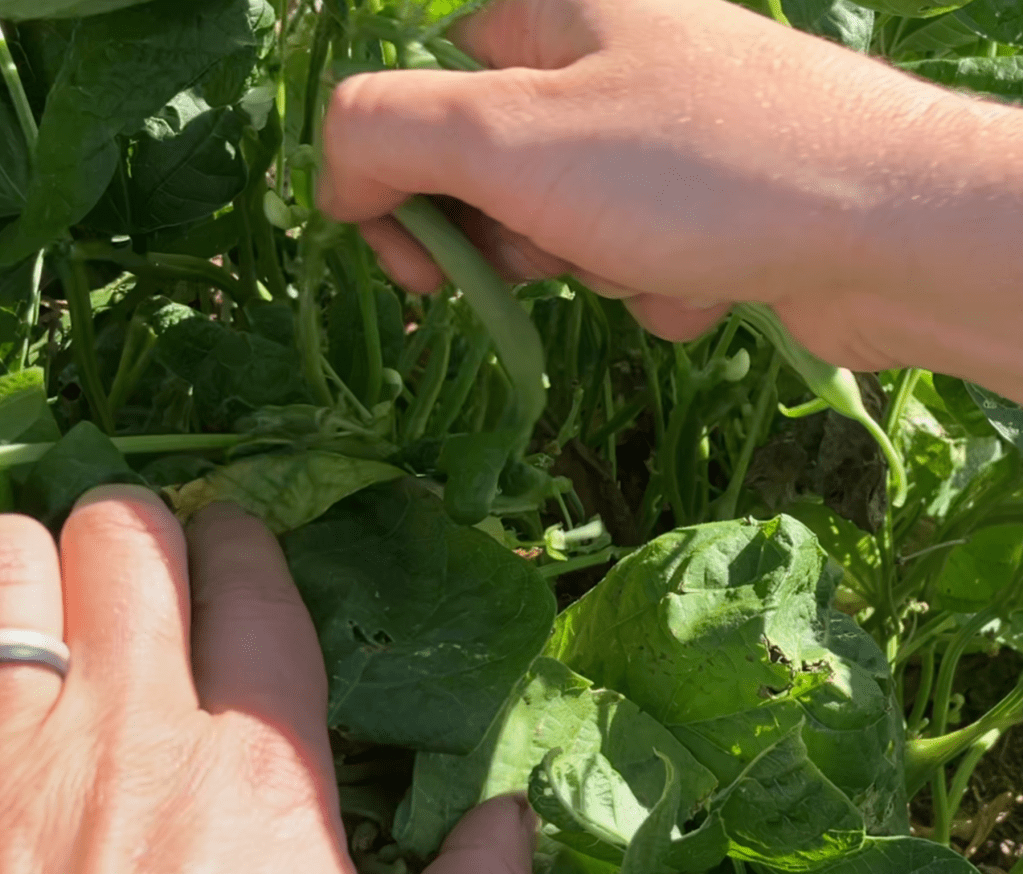
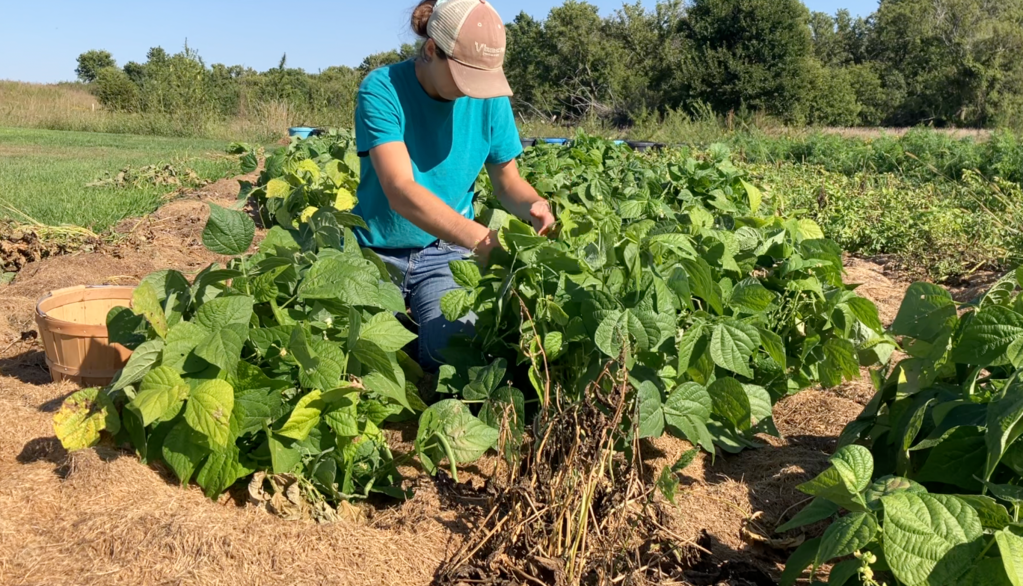
Step 1: Harvest or Select Green Beans
Start with fresh, tender green beans. If you’re growing your own, pick them in the morning when they’re crisp. If buying, look for bright, firm beans without spots or wilting. Aim for young, medium-sized beans for the best texture.
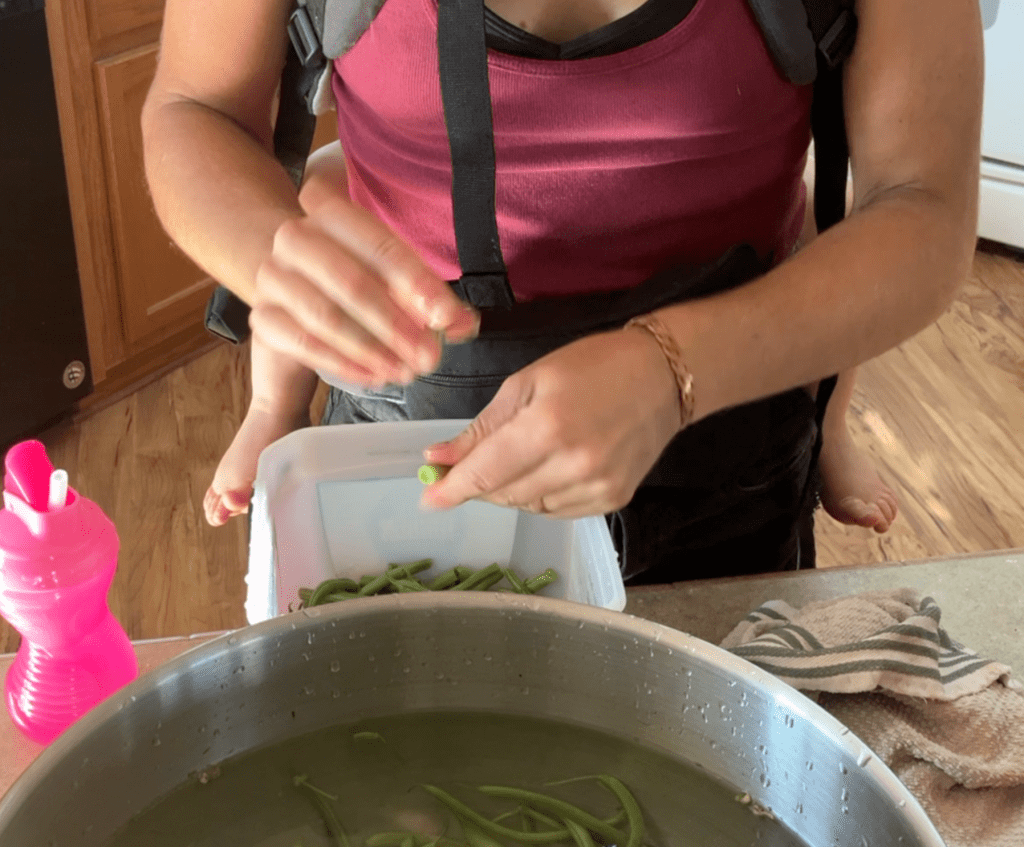
Step 2: Wash and Prepare the Beans
Rinse the beans thoroughly under cool water to remove dirt or debris. Snap or cut them into 1–2 inch pieces, trimming off the ends. This size fits well in jars and cooks evenly during processing.
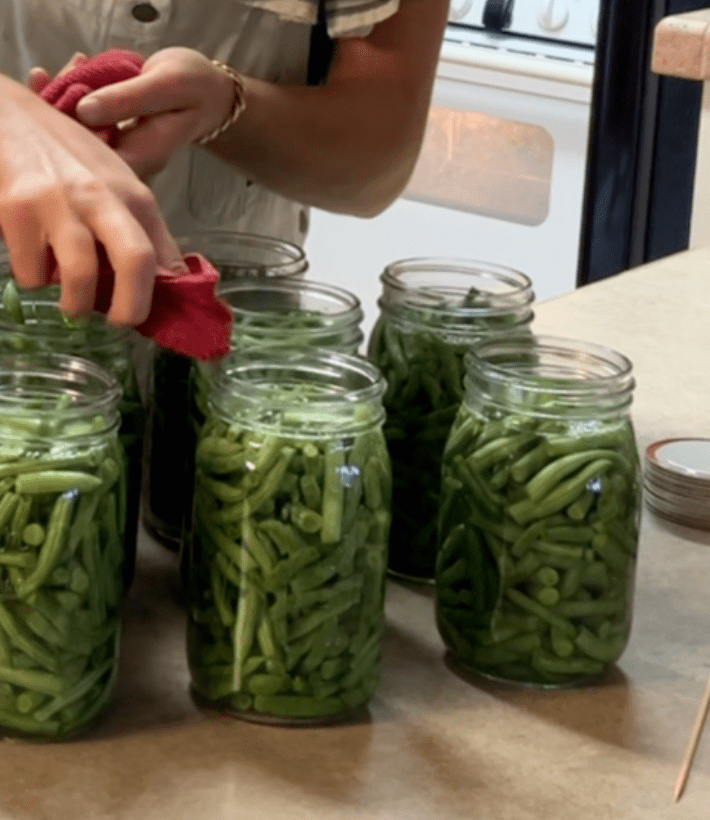
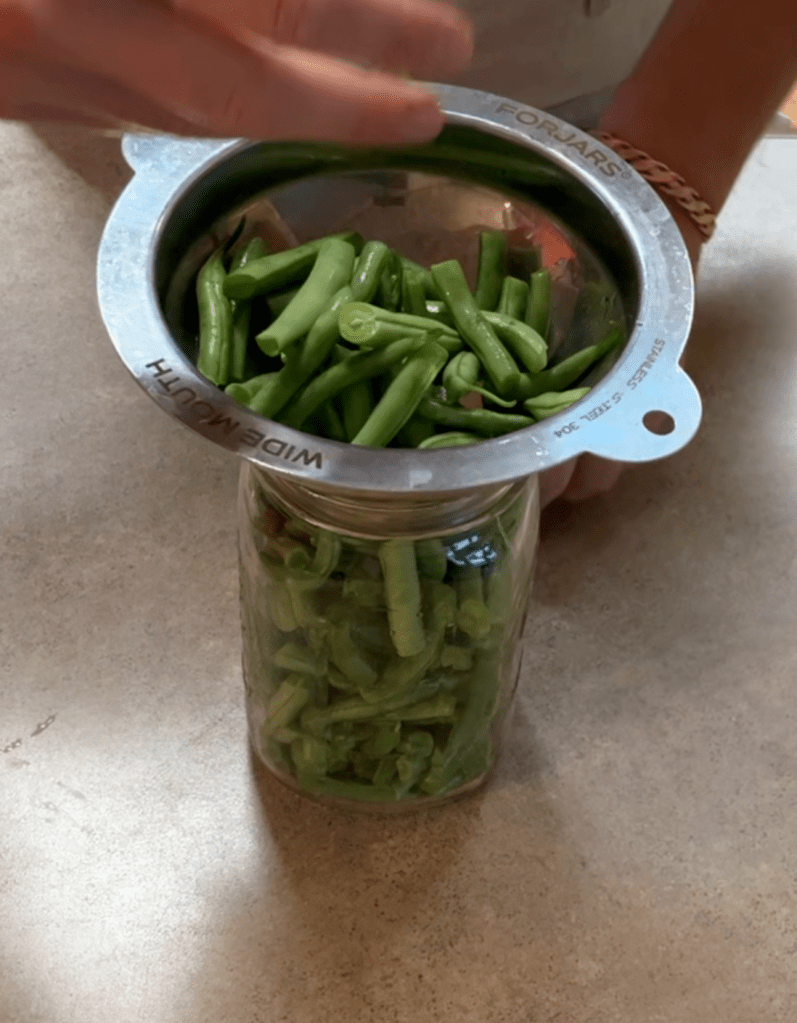
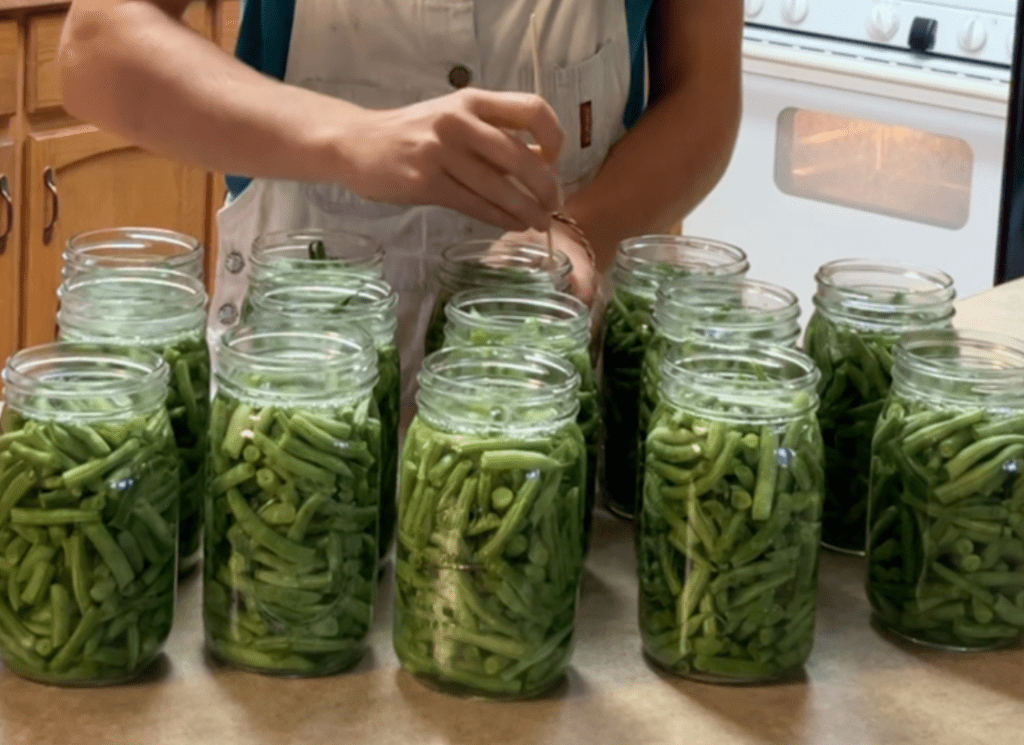
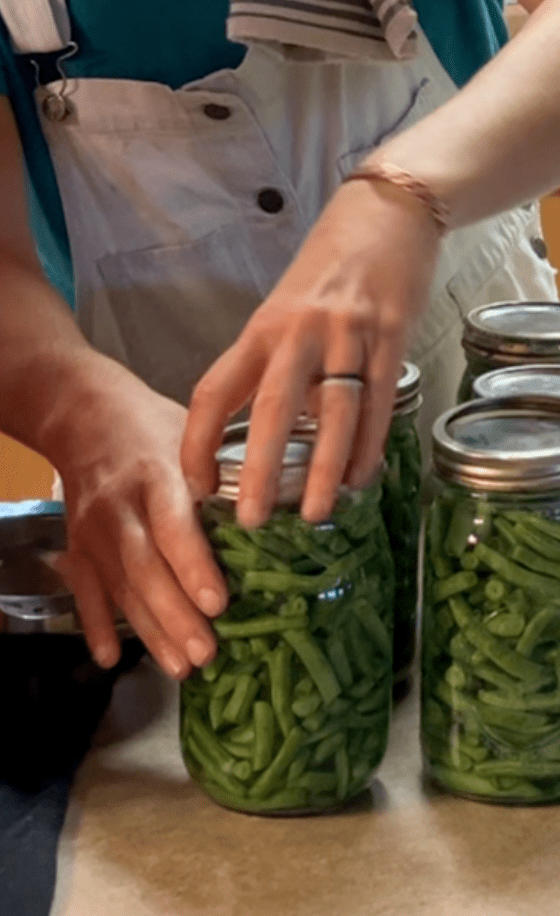
Step 3: Pack the Jars
Sterilize your canning jars by washing them in hot, soapy water or running them through a dishwasher cycle. Place the snapped beans into the jars, shaking gently to settle them and maximize space. You can pack them tightly, but leave enough room for water to circulate.
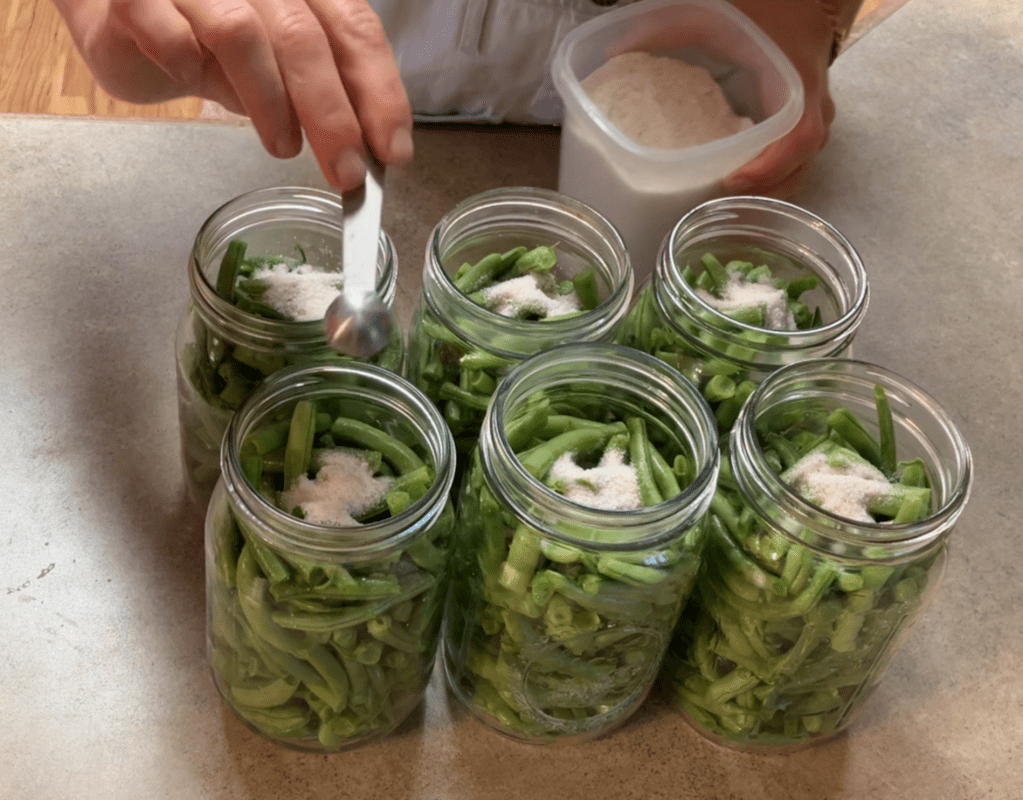
Step 4: Add Salt (Optional)
Sprinkle 1 teaspoon of canning salt into each quart jar or ½ teaspoon into each pint jar. This step enhances flavor but can be skipped if you prefer low-sodium beans.
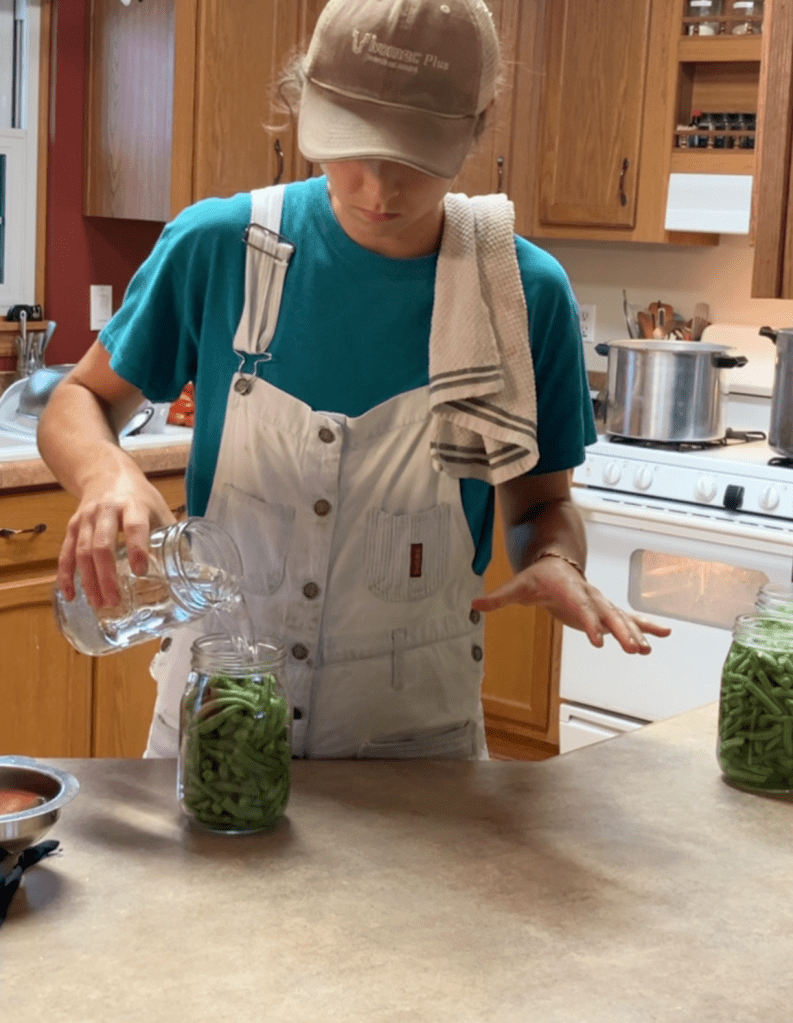
Step 5: Fill with Water
Using a canning funnel, pour clean, hot water into each jar, leaving a 1-inch headspace from the top. A headspace tool or ruler helps ensure accuracy—too little or too much headspace can affect sealing.
Step 6: Remove Air Bubbles and Seal
Run a de-bubbler or a clean chopstick around the inside of the jar to release trapped air bubbles. Wipe the rim of each jar with a clean, damp washcloth to remove any residue. Place a new lid on each jar, then screw on a band until it’s fingertip-tight—snug but not overly tight.
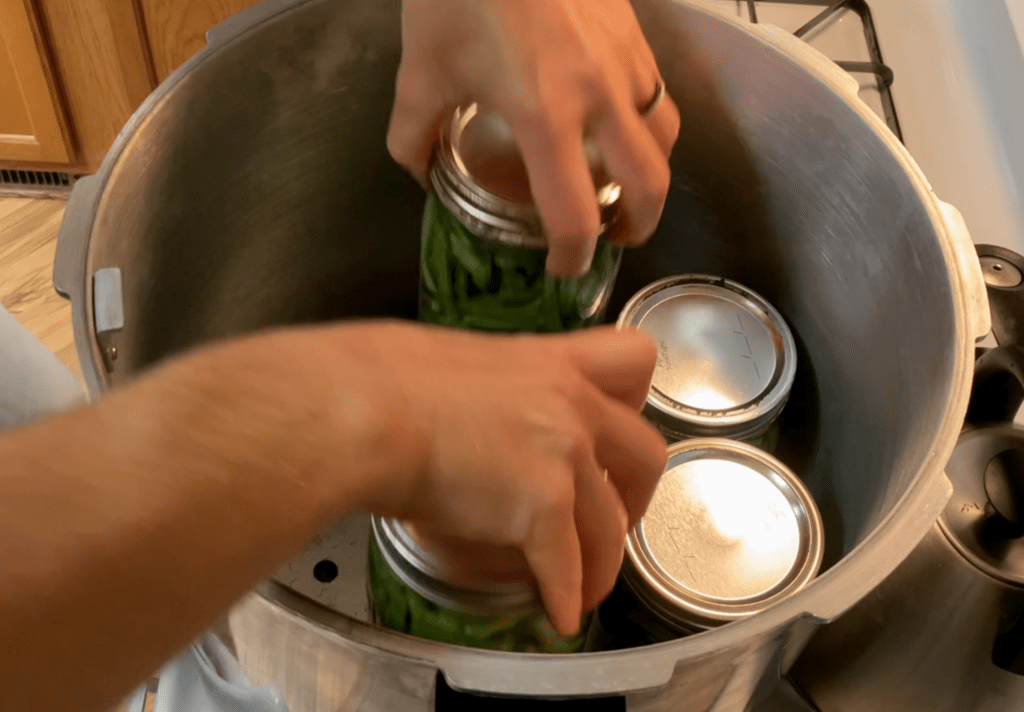
Step 7: Process in a Pressure Canner
Place the jars in your pressure canner, following the manufacturer’s instructions. For my altitude, I process at 12 pounds of pressure: 20 minutes for pints or 25 minutes for quarts. Adjust pressure and time based on your altitude if needed (check a canning guide for specifics).
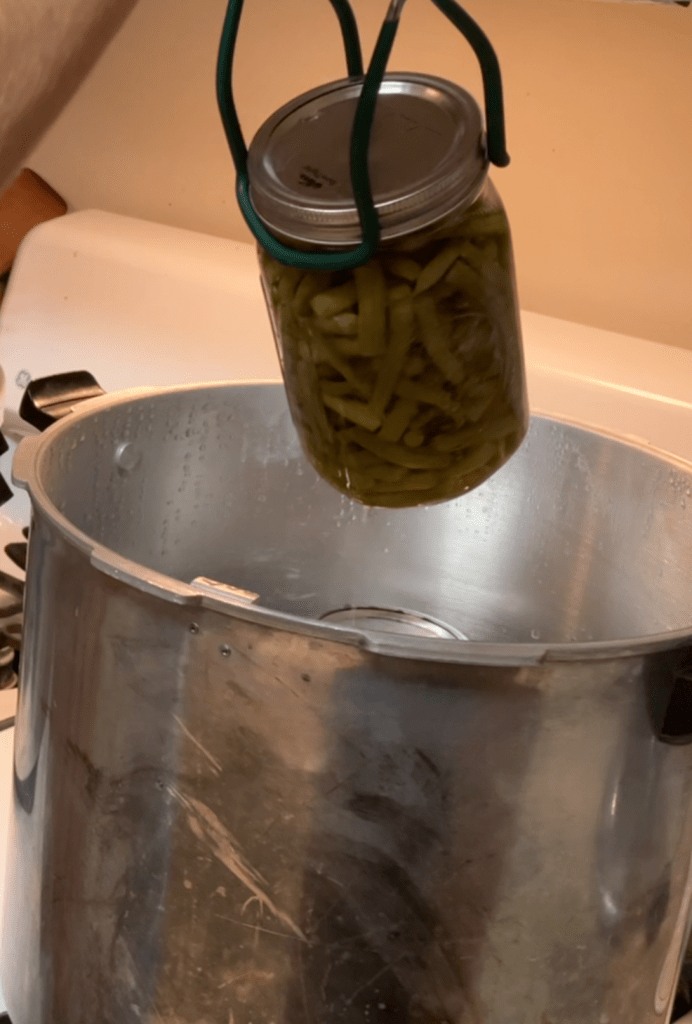
Step 8: Cool and Check the Jars
Once the canner has fully depressurized, carefully remove the jars using jar tongs and place them on a towel-lined counter. Let them cool undisturbed for 12–24 hours. After cooling, remove the bands and press the center of each lid to check the seal—it should not pop up. If a jar didn’t seal, refrigerate and use it within a few days.
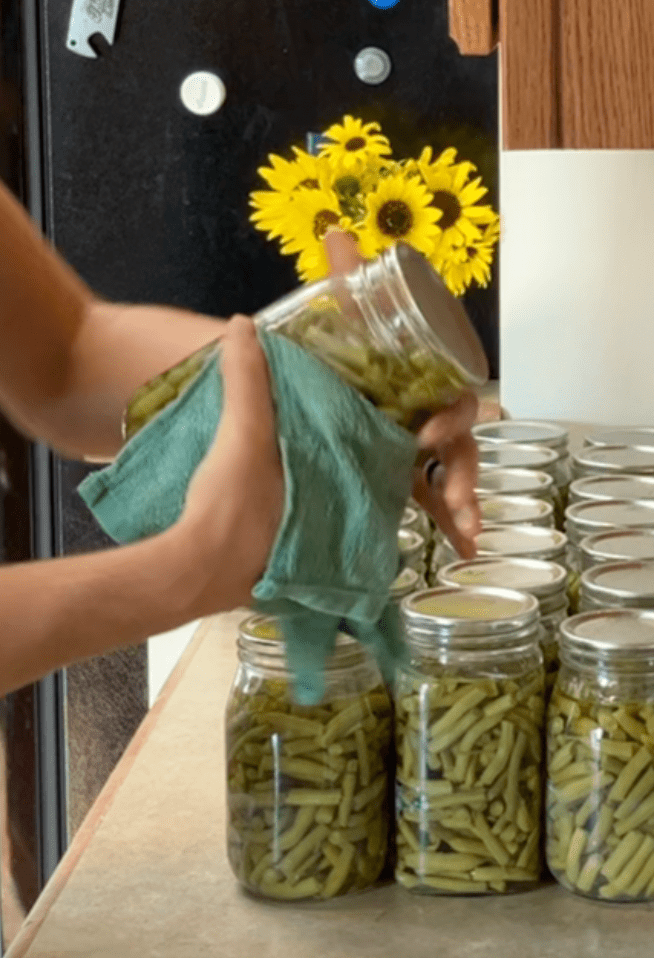
Step 9: Store Your Canned Beans
Wipe the jars clean, label them with the date, and store them in a cool, dry, dark place. Properly sealed jars can last up to a year, though the best flavor is within 6–8 months.
Tips and Tricks for Perfect Canned Green Beans
Here are some expert tips to elevate your canning game and avoid common pitfalls:
- Snapping vs. Cutting Beans: Snapping beans by hand gives a rustic, traditional feel and ensures you feel for any tough spots. Cutting with a knife is faster and creates uniform pieces, which some prefer for presentation. Either method works—choose what feels right for you.
- Maximize Freshness: Process beans within a day of picking for the best flavor and texture. If you can’t can immediately, store beans in the fridge to keep them crisp.
- Check Your Equipment: Inspect jars for cracks and lids for dents before starting. A small flaw can prevent a proper seal.
- Altitude Matters: Pressure canning times and pressures vary by altitude. Consult a reliable canning resource (like the USDA or Ball Canning) to adjust for your location.
- Batch Size: Start with a small batch (4–6 jars) if you’re new to canning. It’s easier to manage and lets you perfect your technique. A typical canner will fit 7 jars at a time.
- Label Clearly: Write the canning date and contents on each jar. This helps you track shelf life and avoid confusion with other canned goods.
Frequently Asked Questions About Canning Green Beans
Can I use a water bath canner instead of a pressure canner?
No, green beans are a low-acid food, and a pressure canner is required to reach the temperatures needed to kill harmful bacteria like botulism. Water bath canning is not safe for green beans unless you’re pickling them (a different process).
How long do home-canned green beans last?
When properly sealed and stored in a cool, dry, dark place, canned green beans are safe for up to a year. For the best flavor and texture, use them within 6–8 months.
Can I add spices or other seasonings?
Yes, you can experiment with flavors like garlic, dill, or red pepper flakes. However, stick to small amounts to avoid affecting the canning process, and always follow a tested recipe for safety.
What if a jar doesn’t seal?
If a lid pops up when pressed after cooling, the jar didn’t seal. Refrigerate it and use the beans within a few days. Don’t attempt to reprocess unsealed jars.
Canning green beans at home is more than just a practical skill—it’s a way to connect with your food, preserve the season’s best, and create something you can be proud of. With just a few tools, fresh ingredients, and a little time, you’ll have jars of vibrant, delicious beans ready to enjoy any time.
Whether you’re adding them to a cozy winter stew or serving them as a simple side, these home-canned green beans bring a taste of summer to your table.
Ready to get started? Grab your beans, fire up your pressure canner, and dive into the joy of canning. Share your canning adventures or favorite recipes in the comments below, and happy preserving!

Leave a comment