
Disclosure: This recipe is for informational purposes only and has not been approved by the USDA/FDA. You assume all responsibility for the safety and quality of your home-canned products. Always use modern, tested canning recipes from reputable sources, such as the USDA or the National Center for Home Food Preservation (NCHFP). Altering ingredients, processing times, or canning methods may result in an unsafe product.
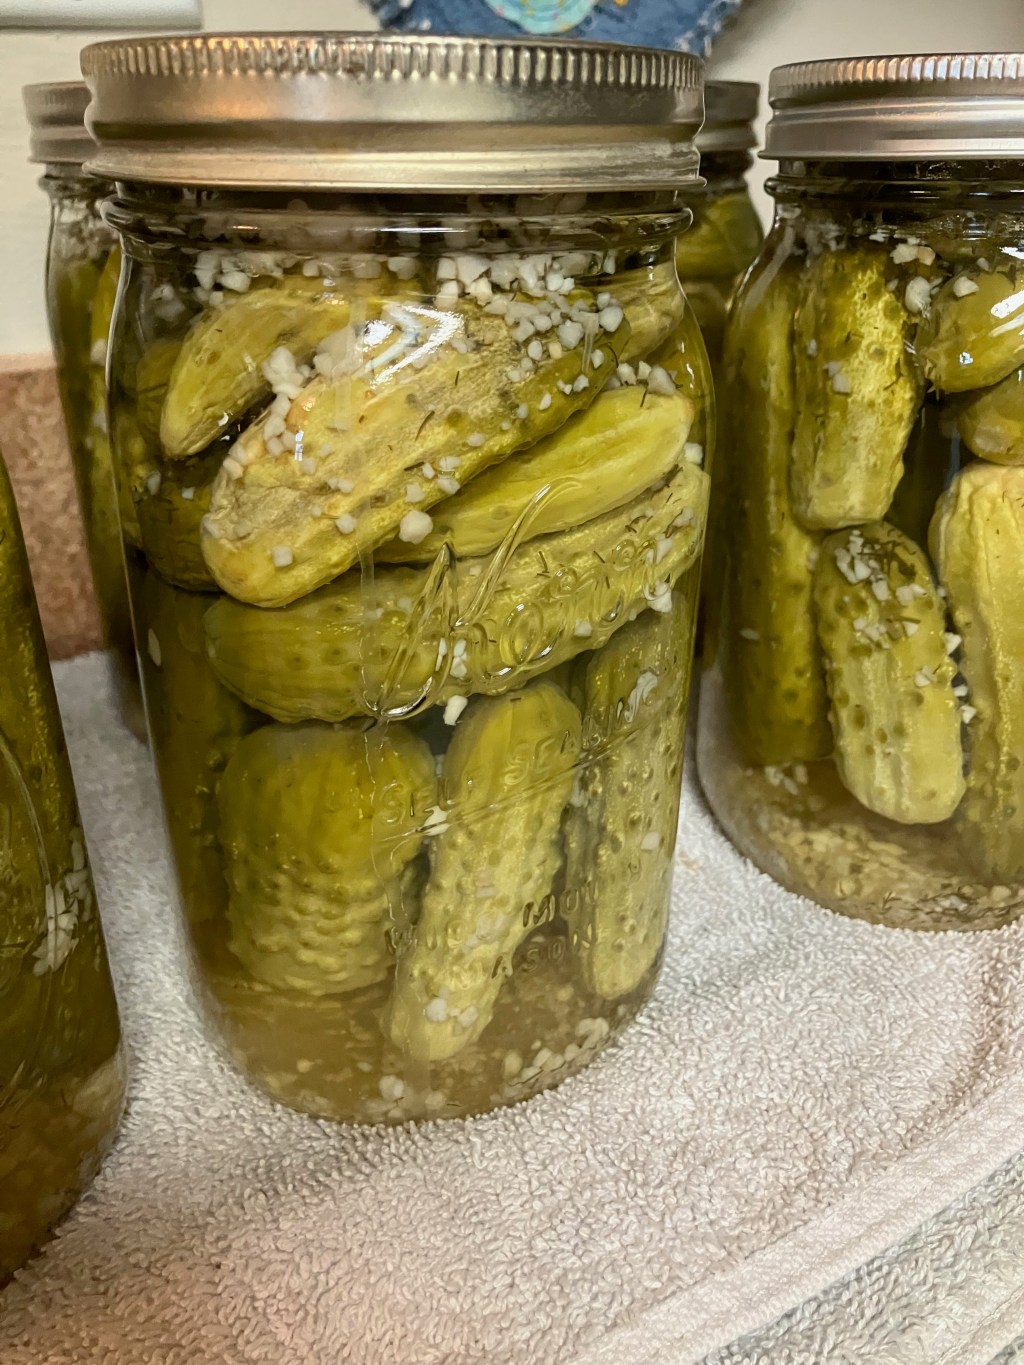
Nothing beats the satisfying crunch of a homemade dill pickle, especially when it’s made with fresh cucumbers straight from your garden. Whether you’re topping a juicy burger after a sunny day or enjoying a tangy snack, these pickles bring a burst of flavor to any meal. This easy dill pickle recipe is perfect for beginners and seasoned canners alike, requiring no fancy equipment—just a love for fresh, vibrant ingredients. Let’s dive into how to make your own crispy dill pickles at home, preserve your summer harvest, and add a touch of zesty goodness to your pantry.
Why You’ll Love Making Homemade Dill Pickles
Easy for Beginners
This dill pickle recipe is straightforward, making it ideal for those new to canning. With clear steps and minimal tools, you’ll be preserving your cucumbers like a pro in no time. No need for complicated setups or specialized gadgets—just a few kitchen basics and a little enthusiasm.
Crispy, Flavorful Results
There’s something magical about biting into a pickle that’s crisp, tangy, and packed with flavor. By making your own, you control the ingredients and ensure every jar is filled with garden-fresh goodness. These pickles are perfect for snacking, adding to sandwiches, or gifting to friends and family.
Preserve Your Summer Harvest
If your garden is overflowing with cucumbers, this recipe is a fantastic way to save that bounty for year-round enjoyment. Canning your own pickles means you can savor the taste of summer even in the depths of winter.
Tools You’ll Need for Canning Dill Pickles
To make this process smooth and stress-free, gather these essential tools before you start:
- Mason Jars: Quart-sized jars work best for this recipe, but pint jars are great for smaller batches.
- Lids and Bands: Ensure you have new lids for a proper seal and reusable bands in good condition.
- Large Stock Pot: For preparing the brine.
- Ladle and Funnel: To fill jars cleanly and efficiently.
- Bubble Remover: A chopstick or plastic utensil works to release trapped air bubbles.
- Wash Cloth: For wiping jar rims to ensure a tight seal.
- Water Bath Canner: A large pot with a canning rack to process the jars.
- Jar Tongs: To safely lift hot jars in and out of the canner.
- Cooling Mat or Towel: To protect your countertops and allow jars to cool properly.
- Sharp Knife and Cutting Board (Optional): For trimming cucumbers or slicing if desired.
Having these tools ready will make your canning experience seamless and enjoyable.
Ingredients for Perfect Dill Pickles
The beauty of this recipe lies in its simplicity. Here’s what you’ll need to make about 4-6 quart jars of dill pickles:
- Cucumbers: 8-10 pounds of fresh, small to medium-sized pickling cucumbers (like Kirby or Persian varieties).
- Fresh Dill: 8-12 sprigs (or 4-6 tablespoons of dill weed).
- Garlic: 8-12 cloves (or 8-12 teaspoons of minced garlic).
- Water: 3 quarts (12 cups) for the brine.
- White Vinegar (5% acidity): 1 quart (4 cups) for that classic tangy flavor.
- Salt: 1 cup (use non-iodized salt to avoid cloudiness).
- Optional Spices: 1-2 teaspoons mustard seeds, peppercorns, or red pepper flakes for extra flavor.
- Optional Heat: 1-2 jalapeños per jar for spicy pickles.
Choose fresh, firm cucumbers for the best texture. If possible, pick them the same day you plan to can for maximum crispness, but if you can’t get enough in one day you can place them in the fridge until you have enough.
Step-by-Step Instructions for Making Dill Pickles
Follow these simple steps to create your own batch of crispy dill pickles. This recipe yields approximately 4-6 quart jars, depending on cucumber size and packing.
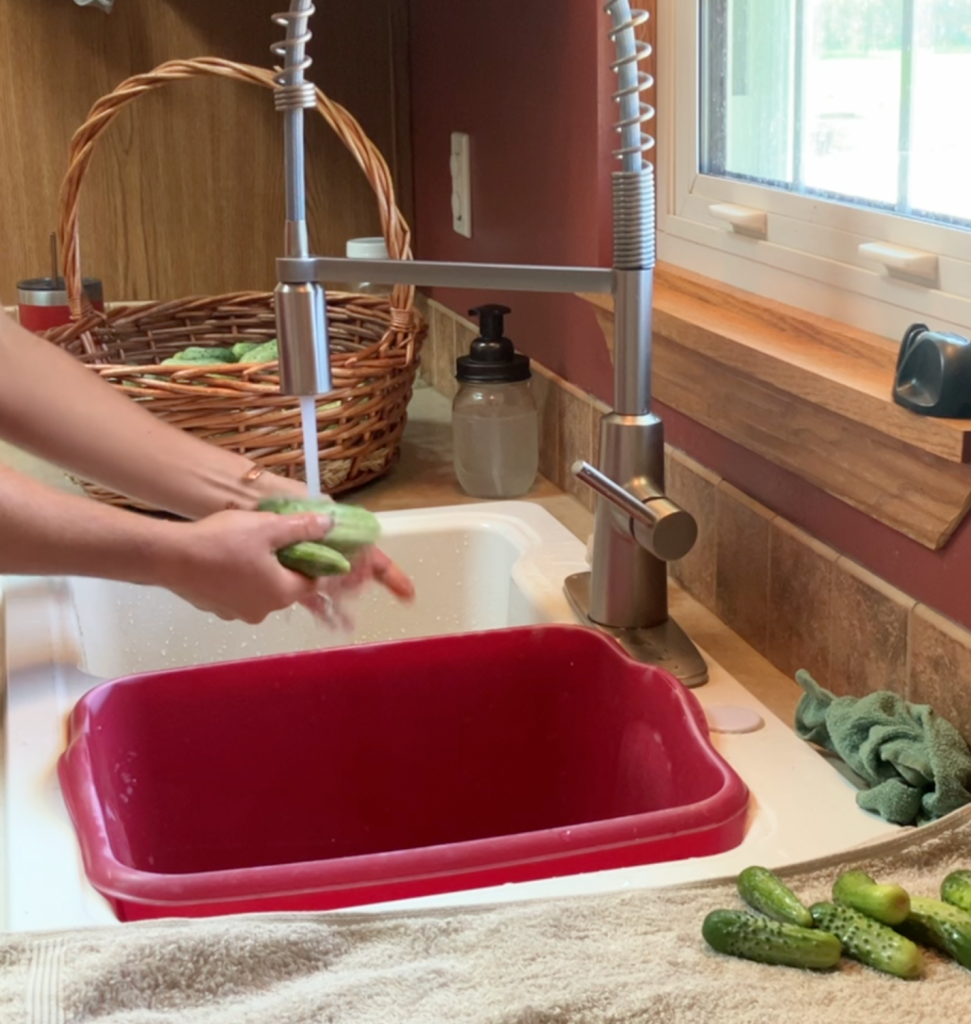
Step 1: Prepare Your Cucumbers
Rinse your cucumbers under cool water to remove dirt or debris. Trim off the blossom end (about 1/16 inch) to prevent softening enzymes from affecting your pickles. You can leave cucumbers whole, slice them into spears, or cut them into rounds based on your preference. For consistent texture, pack jars with cucumbers of similar size.
Step 2: Set Up Your Jars
Sterilize your mason jars by washing them in hot, soapy water or running them through the dishwasher. Place 2-3 garlic cloves (or 2-3 teaspoons minced garlic) and 1-2 sprigs of fresh dill in the bottom of each quart jar. If you’re adding optional spices like mustard seeds or peppercorns, include them now. For spicy pickles, add 1-2 sliced jalapeños per jar.

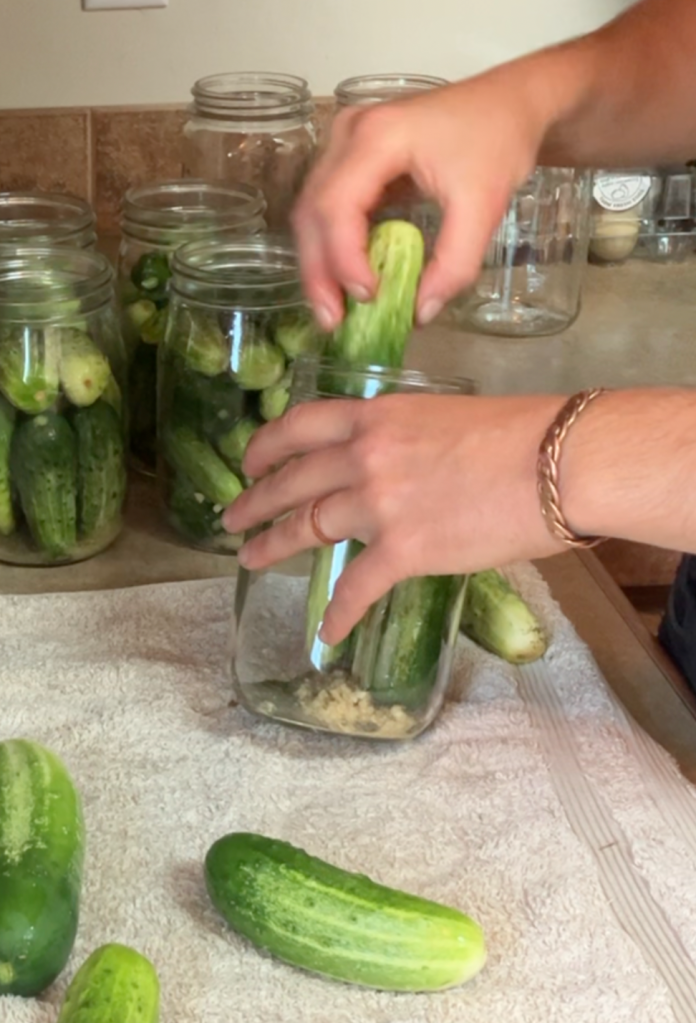
Step 3: Pack the Jars
Tightly pack the prepared cucumbers into the jars, leaving about ½ inch of headspace at the top. Packing them snugly prevents floating and ensures even brining.
Step 4: Make the Brine
In a large stock pot, combine 1 quart of white vinegar, 3 quarts of water, and 1 cup of salt. Bring the mixture to a boil over medium-high heat, stirring until the salt dissolves completely. Reduce heat and keep the brine hot.
Step 5: Fill the Jars
Place a funnel over each jar and carefully ladle the hot brine over the cucumbers, covering them completely but leaving ½ inch of headspace. Use a bubble remover or a clean chopstick to release any trapped air bubbles by gently stirring around the inside of the jar. Wipe the rim of each jar with a clean, damp wash cloth to ensure a proper seal.
Step 6: Seal the Jars
Place a new lid on each jar and secure it with a band, tightening just until finger-tight (don’t overtighten, as air needs to escape during processing).

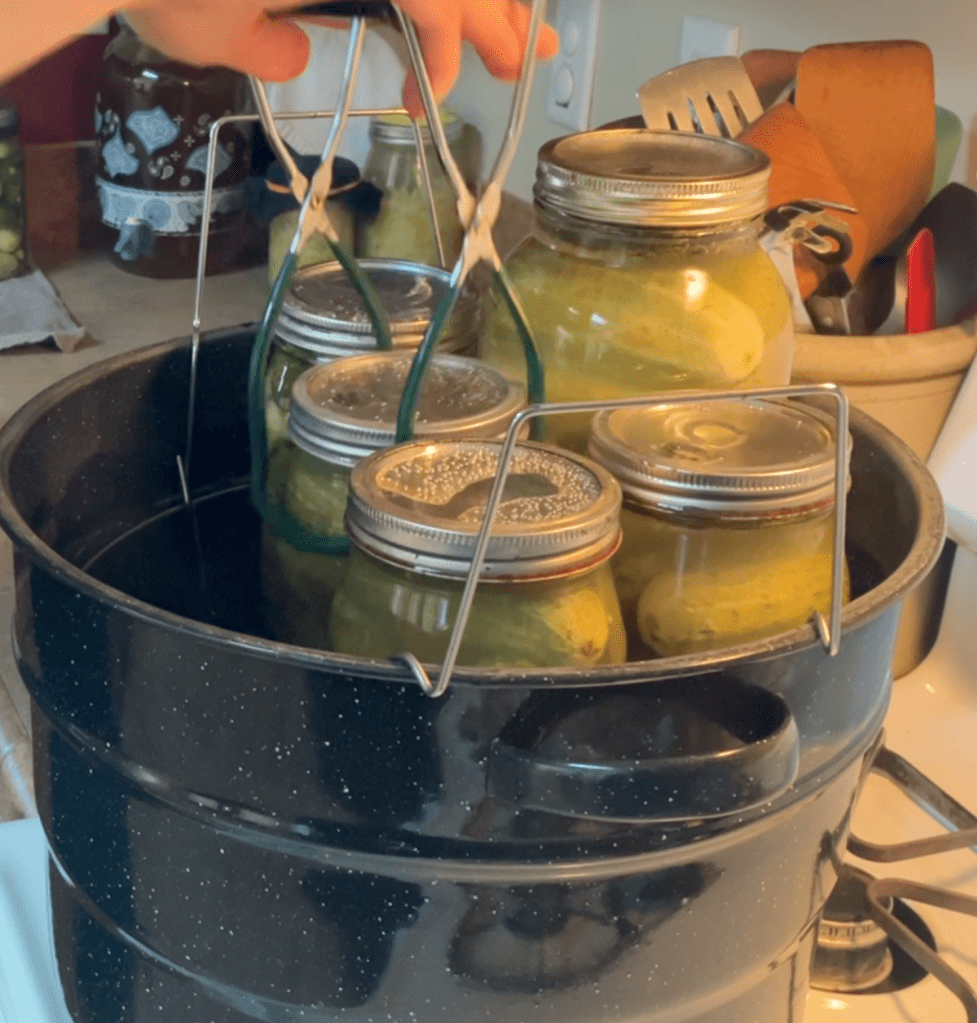
Step 7: Process in a Water Bath Canner
Place the filled jars in a water bath canner. Bring the water to a rolling boil (a boil that continues even when the lid is removed). Once a rolling boil is achieved, remove the jars to avoid over-processing to maintain crispness.

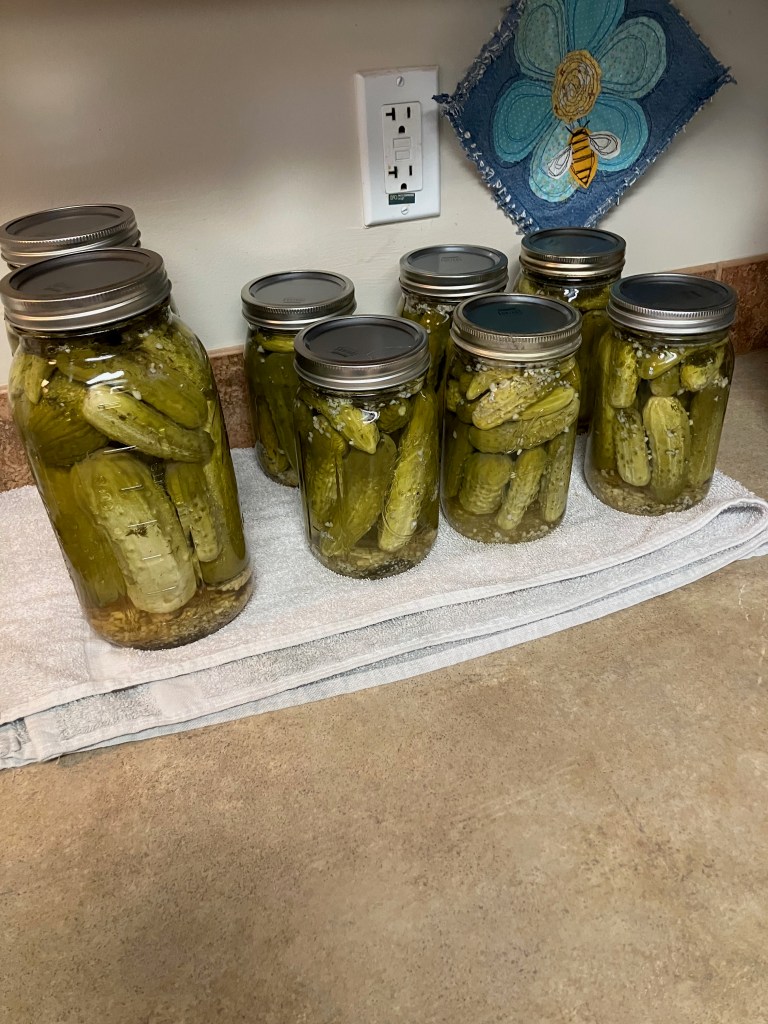
Step 8: Cool and Store
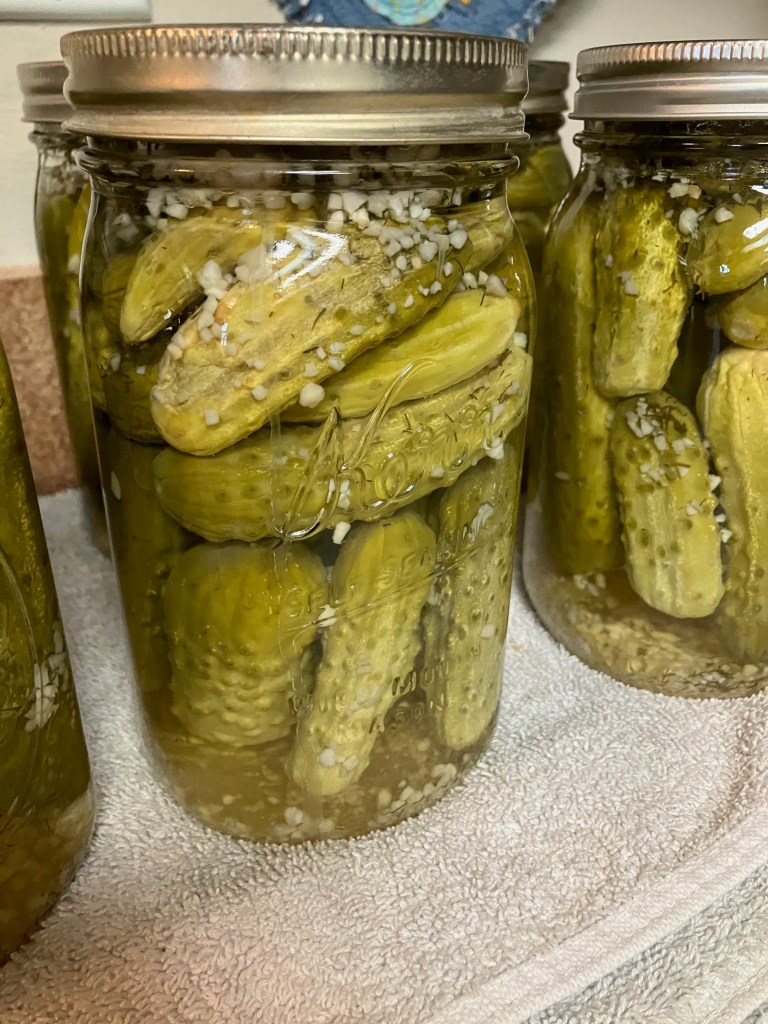
Using jar tongs, carefully remove the jars from the canner and place them on a cooling mat or towel. Let them cool undisturbed for 12-24 hours. You’ll hear a satisfying “pop” as the lids seal. Check the seals by pressing the center of each lid; it should not flex. Store sealed jars in a cool, dark place for up to a year. Refrigerate any unsealed jars and consume within a month.
Step 9: Wait for Flavor
For the best flavor, let your pickles sit for at least 2-4 weeks before opening. This allows the dill, garlic, and spices to fully infuse.
Tips for the Crispiest Dill Pickles
- Choose Small Cucumbers: Pick cucumbers when they’re 3-5 inches long. Smaller cucumbers have less water content, resulting in a crisper pickle.
- Use Fresh Ingredients: Fresh dill and garlic enhance flavor and texture. Avoid wilted or old produce.
- Add a Crisping Agent: For extra crunch, consider adding a grape leaf or oak leaf to each jar.
- Don’t Overprocess: Overcooking in the water bath can soften pickles. Stick to the recommended processing time and remove jars promptly.
- Chill Before Serving: Refrigerate your pickles for a few hours before eating for maximum crispness.
Spice Up Your Pickles
Want to add a kick to your dill pickles? Here are some ideas to customize your jars:
- Spicy Pickles: Add 1-2 sliced jalapeños, serranos, or a pinch of red pepper flakes per jar.
- Herb Infusions: Experiment with fresh herbs like thyme, tarragon, or bay leaves for unique flavor profiles.
- Garlic Lovers: Double the garlic for an extra bold taste.
- Sweet and Tangy: Add a teaspoon of sugar to the brine for a slightly sweeter pickle.
Feel free to mix and match to suit your taste buds!
Frequently Asked Questions About Canning Dill Pickles
Will water bath canning make my pickles mushy?
No, as long as you follow the recipe and only process the jars until a rolling boil is reached, your pickles will stay crisp. Over-processing is the main culprit for mushy pickles, so stick to the recommended times.
Why just a rolling boil?
Processing to a rolling boil and then immediately removing the jars helps create a vacuum seal as the jars cool. This quick temperature change ensures a tight seal without overcooking the cucumbers.
Can I use regular salt Instead of pickling salt?
Pickling salt is usually recommended because it’s free of additives that can cloud the brine and is not iodized. Table salt or kosher salt may contain anti-caking agents that affect clarity, but they won’t impact safety.
How Long Do Homemade Pickles Last?
Properly sealed jars stored in a cool, dark place can last up to a year. Once opened, refrigerate and consume within 1-2 months for the best quality.
Troubleshooting Common Pickle Problems
- Soft Pickles: This can happen if cucumbers are too large, the blossom end wasn’t trimmed, or the jars were over-processed. Next time, use smaller cucumbers, trim the ends, and stick to the recommended processing time.
- Cloudy Brine: This is often caused by using table salt or low-quality vinegar. Stick to pickling salt and 5% acidity vinegar.
- Jars Didn’t Seal: If a lid flexes when pressed, the jar didn’t seal. Refrigerate and use within a month, or reprocess with a new lid within 24 hours.
Serving Suggestions for Dill Pickles
Homemade dill pickles are incredibly versatile. Here are some ways to enjoy them:
- Burger Topper: Add a few slices to your favorite burger for a crunchy, tangy bite.
- Charcuterie Board: Pair with cheeses, meats, and crackers for a crowd-pleasing spread.
- Sandwich Star: Elevate deli sandwiches or grilled cheese with pickle spears.
- Snack Time: Enjoy straight from the jar for a refreshing, low-calorie snack.
- Pickle Relish: Chop finely and mix with mayo for a quick tartar sauce or sandwich spread.
Storing Your Dill Pickles
Store sealed jars in a cool, dark place like a pantry or cellar. Check seals before storing and ensure jars are free of cracks or damage. Once opened, keep pickles in the refrigerator and enjoy within 1-2 months for the best flavor and texture.
Why Make Your Own Pickles?
Canning your own dill pickles is more than just preserving food—it’s about creating memories, savoring the fruits of your garden, and sharing delicious results with loved ones. This recipe is budget-friendly, customizable, and a great way to connect with the tradition of home preserving. Plus, there’s nothing quite like the pride of opening a jar of pickles you made yourself.
This easy dill pickle recipe is your ticket to enjoying crisp, tangy pickles all year long. With simple ingredients, basic tools, and a little time, you can transform fresh cucumbers into a pantry staple that’s perfect for snacking, gifting, or elevating your meals.
Whether you’re a canning newbie or a seasoned pro, this recipe is sure to become a favorite. So grab those cucumbers, fire up the canner, and get ready to enjoy the unbeatable flavor of homemade dill pickles!

Leave a comment