
As summer winds down, the golden ears of sweet corn are at their peak, bursting with flavor and ready to be savored year-round. Our family likes to cherish the simple joys of seasonal bounty, and preserving sweet corn is one of our favorite ways to keep summer’s sweetness alive through the chilly months.
This comprehensive guide will walk you through how to freeze sweet corn like a pro, ensuring your freezer is stocked with vibrant, farm-fresh flavor for cozy winter meals. Whether you’re a homesteader, a busy parent, or a foodie looking to capture summer’s essence, this easy sweet corn preservation method is for you!
Why You’ll Love Freezing Sweet Corn
Freezing sweet corn is a game-changer for anyone who loves farm-fresh flavor but wants to enjoy it beyond summer’s fleeting days. Here’s why this preservation method will steal your heart:
- Simple and Beginner-Friendly: No fancy equipment or canning expertise needed—just a few kitchen staples and some elbow grease.
- Preserves Peak Flavor: Blanching locks in the corn’s natural sweetness, ensuring every bite tastes like summer.
- Versatile for Meals: Use your frozen corn in soups, casseroles, or as a buttery side dish for quick weeknight dinners.
- Budget-Friendly: Buy corn in bulk at farmers’ markets or grow your own to save money while stocking up.
- Family-Oriented: Customize portion sizes to suit your household, making meal prep a breeze.
Whether you’re new to food preservation or a seasoned pro, this method is approachable, rewarding, and perfect for savoring sweet corn all year long.
Tools You’ll Need for Freezing Corn
Before diving into the process, gather these kitchen essentials to make your corn-freezing adventure smooth and efficient:
- Large Stock Pot: For blanching the corn to lock in flavor.
- Tongs: To safely handle hot corn.
- Colander: For draining and cooling the corn.
- Sharp Knife: A must for cutting kernels off the cob cleanly.
- Cutting Board: Provides a stable surface for kernel removal.
- Large Bowl: To collect kernels before bagging.
- Measuring Cup: For portioning corn into freezer bags.
- Ziploc Freezer Bags: Durable bags for long-term storage.
- Optional: Bundt Pan: A clever hack for catching kernels as you cut and an alternative to using a cutting board.
- Optional: Cooling Basin or Sink: For an ice bath to halt cooking. This really helps to make the steps flow smoothly!
Having these tools ready will streamline the process and make preserving sweet corn feel like a cozy kitchen ritual.
Ingredients
- Fresh Sweet Corn: Choose ears with bright green husks, plump kernels, and no signs of wilting. Farmers’ markets or local farms are your best bet for the freshest corn and many will even let you see an ear.
Step-by-Step Guide to Freezing Sweet Corn
Preserving sweet corn for the freezer is straightforward but requires attention to detail to ensure the best flavor and texture. Follow these steps to transform fresh ears into freezer-ready kernels:
Step 1: Husk and Silk the Corn
Start by peeling away the husks and removing the silky threads from each ear. This can be a fun task for kids or a relaxing moment to connect with the season’s bounty. If you’re prepping a large batch, husk the corn the night before and store it in the fridge or a cooler with ice to keep it fresh.
Husking the corn the night before has become my go to method even when preserving in small batches because it allows me to put up corn during nap times and it gives my husband and I a chance to sit and talk. An impromptu date night!
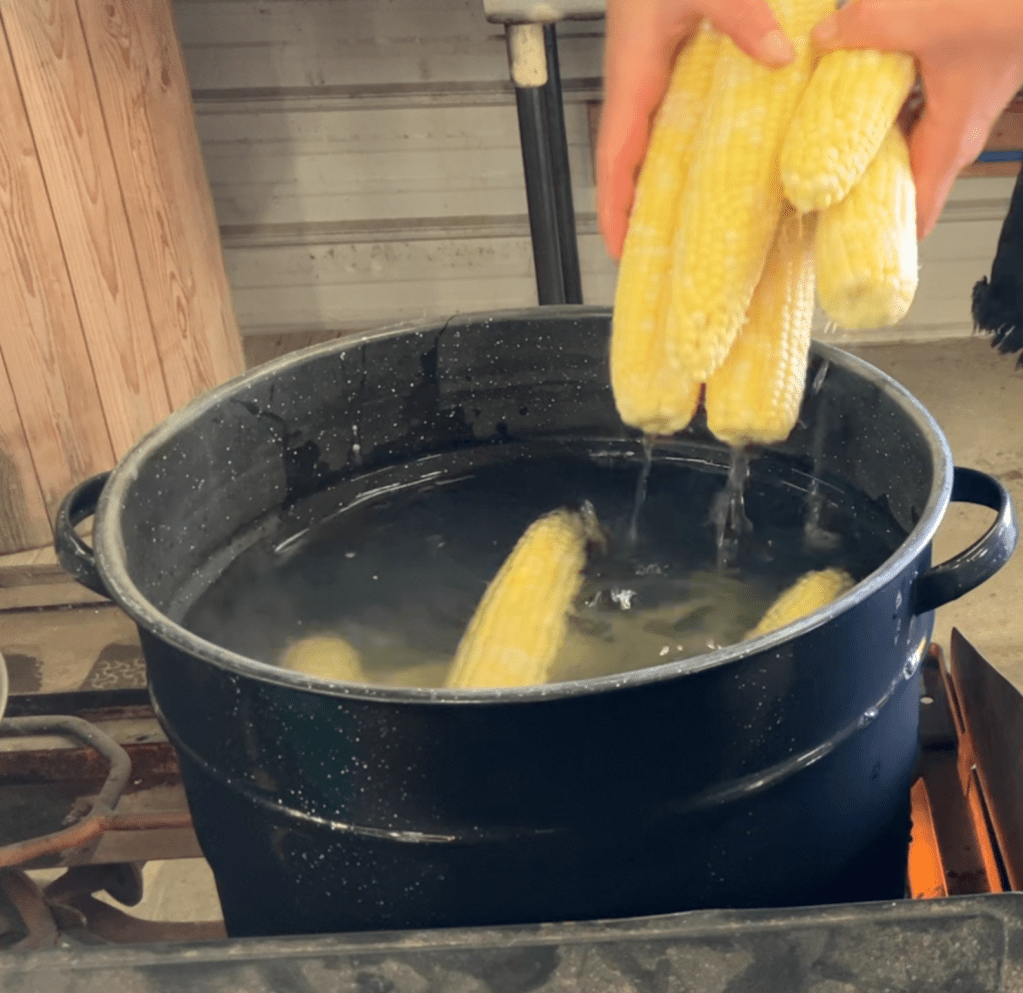
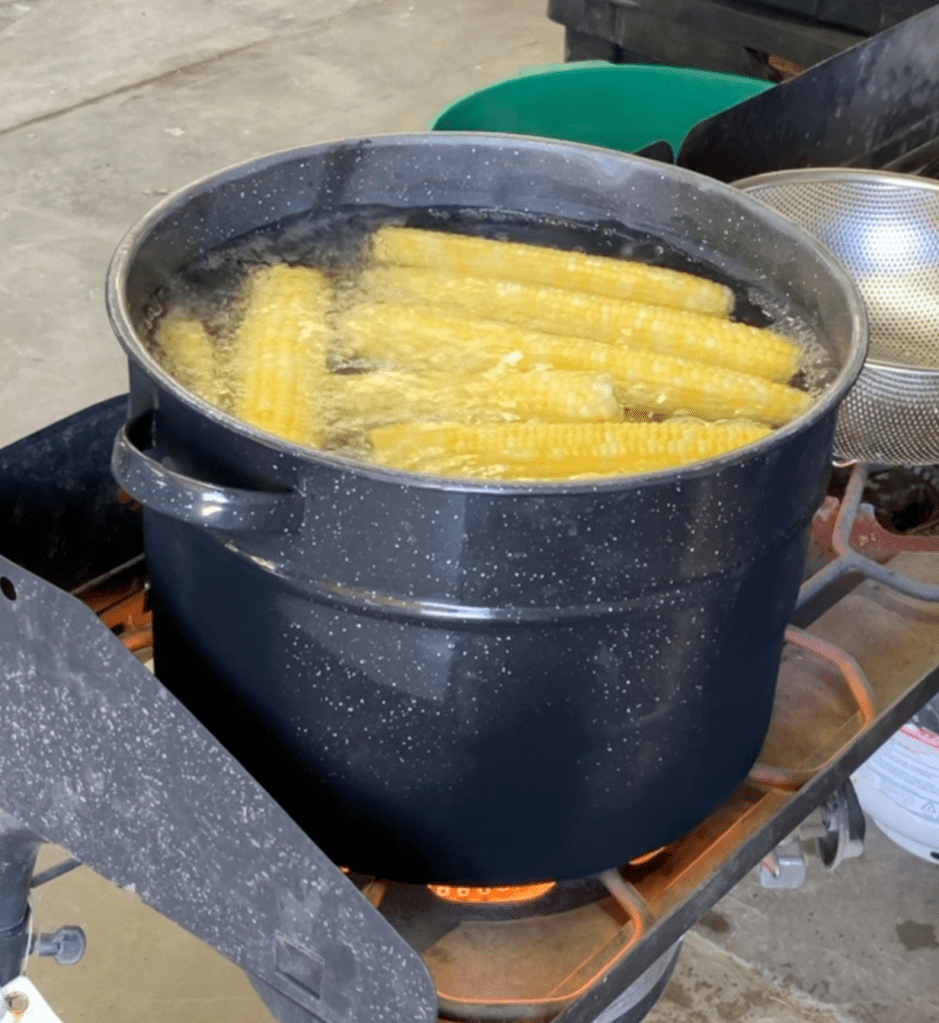
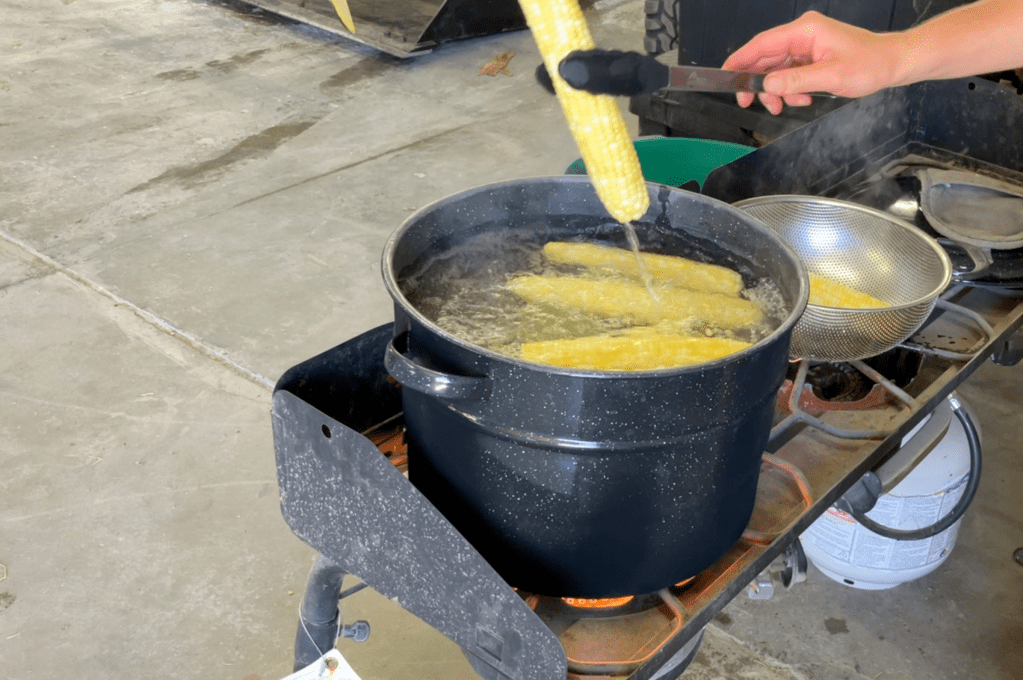
Step 2: Blanch the Corn
Blanching is the key to preserving the corn’s sweetness and texture. Bring a large stock pot of water to a rolling boil. Carefully add the corn ears (work in batches if needed to avoid overcrowding). Boil each ear for about 3 minutes—this brief cook time deactivates enzymes that can degrade flavor over time.
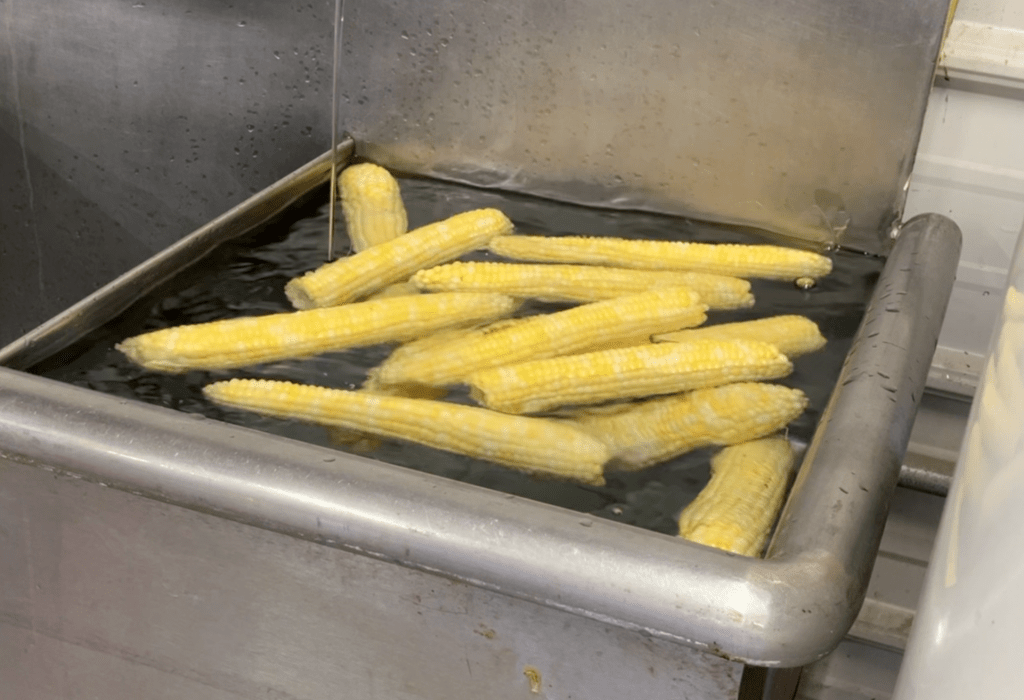
Step 3: Cool in an Ice Bath
Immediately after blanching, use tongs to transfer the corn to a cold water bath. A large basin, sink, or even a clean cooler works well. Keep fresh, cold water flowing in and let hot water overflow to maintain a chilly temperature. This step stops the cooking process and cools the corn for safe handling, usually in about 3-5 minutes.
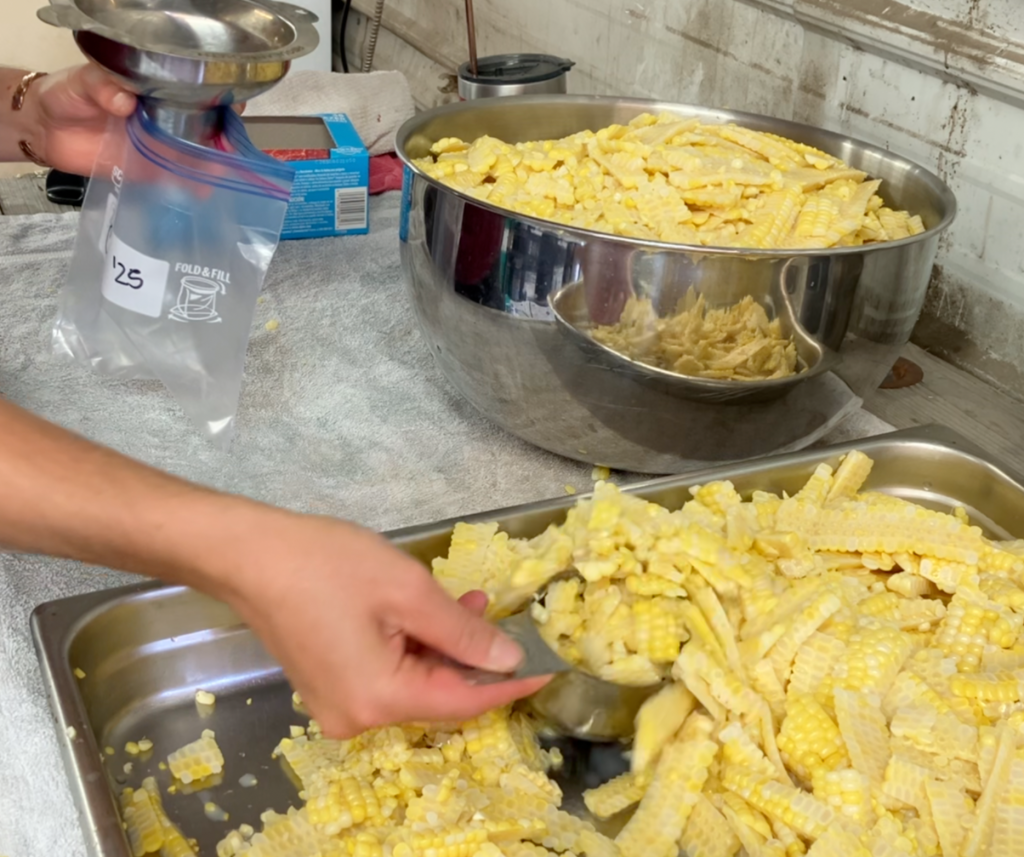
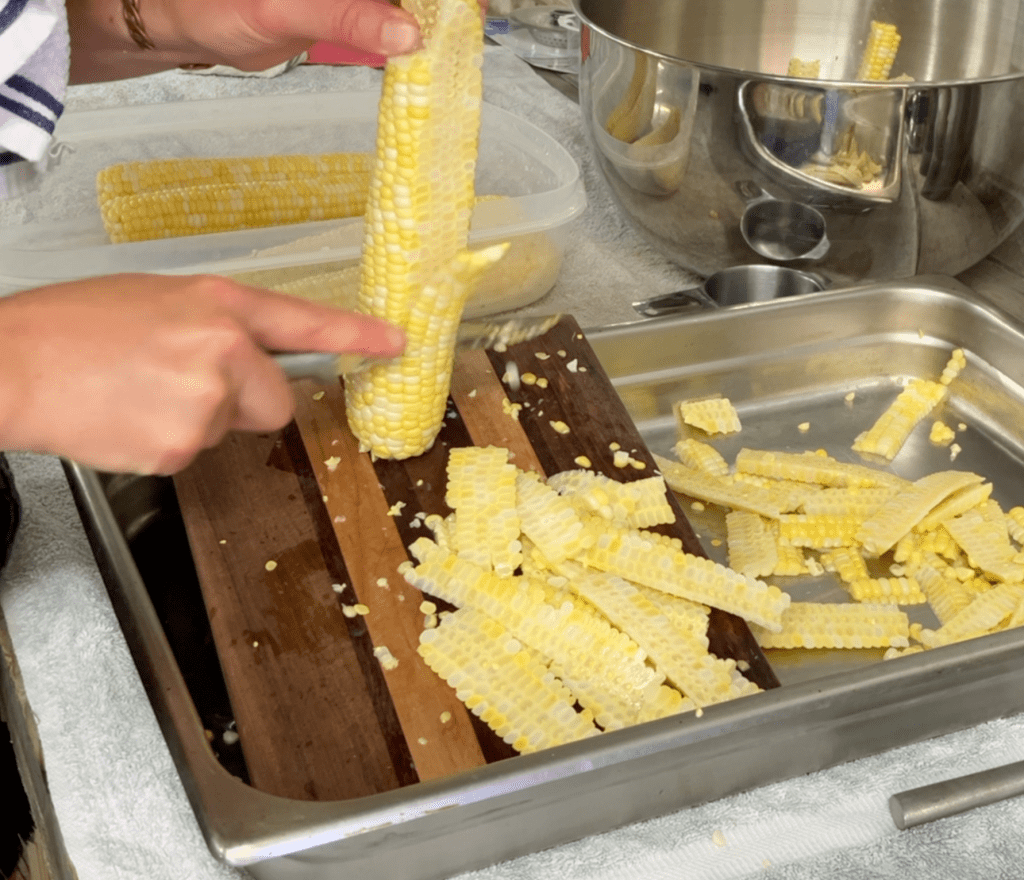
Step 4: Cut Kernels Off the Cob
Once the corn is cool enough to handle, stand each ear upright on a cutting board or in the center of a bundt pan (a brilliant hack for catching kernels!). Using a sharp knife, carefully slice downward to remove the kernels, rotating the cob as you go. Compost the cobs or save them for making corn stock or corn cob jelly. Transfer the kernels to a large bowl.
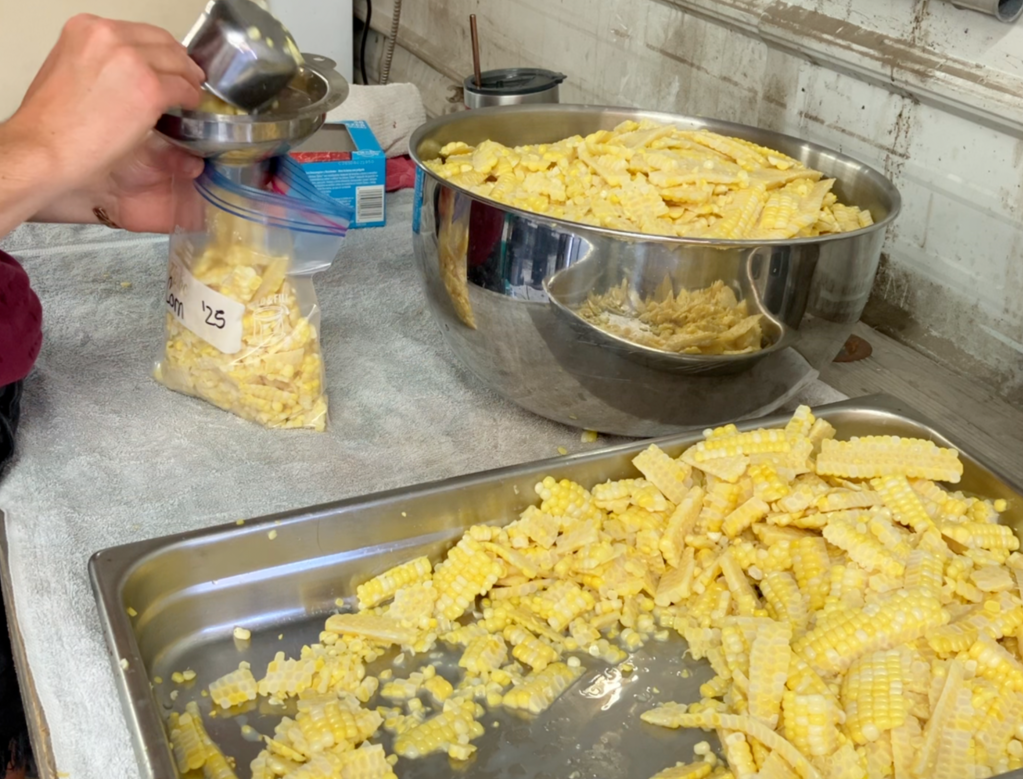
Step 5: Portion and Bag
When your bowl is full or you’ve processed all your corn, use a measuring cup to scoop kernels into Ziploc freezer bags. For most families, 2-cup or 4-cup portions are ideal for side dishes or recipes. Squeeze out as much air as possible before sealing to prevent freezer burn.
Step 6: Freeze Flat
Lay the bags flat on a baking sheet or directly in the freezer. Freezing them flat saves space and allows for quick thawing later. Once frozen solid, stack the bags to keep your freezer organized.
How to Cook Frozen Sweet Corn
When you’re ready to enjoy your preserved corn, it’s incredibly versatile and easy to prepare:
- Stovetop Method: Remove a bag from the freezer and pour the kernels into a skillet with ¼ cup of butter. Cook over medium heat until warmed through and the butter is melted, about 5-7 minutes. Season with salt, pepper, or your favorite herbs.
- Casseroles and Soups: Add frozen corn directly to recipes like shepherd’s pie, corn chowder, or cornbread casserole. No thawing needed—it blends seamlessly into hearty dishes.
- Microwave Option: For a quick side, place frozen corn in a microwave-safe dish with a splash of water, cover, and heat for 3-5 minutes, stirring halfway.
This preserved corn brings a burst of summer to winter meals, from cozy family dinners to festive holiday spreads.
Tips and Tricks for Perfectly Preserved Corn
Here are some tried-and-true tips to make your corn-freezing experience even better:
- Keep Knives Sharp: A sharp knife makes cutting kernels easier and safer. Have a knife sharpener or extra knives on hand to rotate through for large batches.
- Use a Bundt Pan: If you own a bundt pan, place the corn cob in the center hole and cut downward—the pan catches the kernels neatly, reducing mess.
- Efficient Cooling: A large basin with running cold water or an ice bath speeds up cooling, keeping the process moving and preserving the corn’s crisp texture.
- Label Your Bags: Write the date and portion size on each bag with a permanent marker to stay organized and track freshness.
- Compost Cobs: Don’t toss those cobs! Add them to your compost pile or simmer them with herbs for a flavorful homemade stock.
These small hacks add up to a smoother, more enjoyable preservation process.
Frequently Asked Questions About Freezing Sweet Corn
Here are answers to common questions to help you freeze corn with confidence:
Can I add seasonings like salt or sugar to my bags?
Absolutely! You can mix in seasonings before freezing, but we recommend keeping the corn plain for maximum versatility. Plain kernels work in any dish, from savory casseroles to sweet cornbread, letting you season to taste during cooking.
How long does frozen corn last?
When stored properly in airtight freezer bags, sweet corn stays fresh for up to 12 months. For the best flavor, try to use it within 6-8 months.
Can I freeze corn on the cob instead of cutting the kernels?
Yes, you can freeze whole cobs after blanching and cooling. Wrap each cob tightly in plastic wrap, then place in a freezer bag. Note that whole cobs take up more freezer space and may require longer cooking when preparing. They also do not have the same quick versatility that kernels do for quick meals.
Do I need to thaw frozen corn before cooking?
Nope! Frozen corn can go straight from the freezer to the pan or recipe, making it a convenient ingredient for quick meals.
Why Preserve Sweet Corn at Home?
Freezing sweet corn isn’t just about saving money or reducing waste—it’s about capturing the essence of summer and bringing comfort to your table year-round. Our family believes in the magic of homemade, and this method lets you savor the fruits of the season long after the fields are bare. Plus, it’s a wonderful way to connect with family, whether you’re husking corn together or sharing a buttery bowl of kernels on a snowy evening.
By preserving your own corn, you control the quality, avoid preservatives, and create a stockpile of wholesome ingredients for countless recipes. From creamy corn chowder to vibrant summer salads, your frozen corn will elevate every dish with its fresh-picked flavor.
Recipe Ideas Using Frozen Corn
To inspire you, here are a few ways to use your frozen sweet corn:
- Sweet Corn Chowder: A creamy, comforting soup perfect for fall and winter. Combine your frozen corn with potatoes, cream, and bacon for a hearty meal.
- Corn and Black Bean Salad: A vibrant, healthy side dish with frozen corn, black beans, tomatoes, and a zesty lime dressing—great for meal prep or potlucks.
- Cheesy Corn Casserole: A crowd-pleasing holiday side that’s rich, cheesy, and oh-so-easy with your freezer stash.
- Corn Fritters: Crispy, golden fritters made with frozen corn, flour, and spices—perfect for breakfast or a snack.
Preserving sweet corn for the freezer is more than a practical task—it’s a love letter to summer, a way to hold onto the warmth and abundance of the season. Our family is all about celebrating the simple joys of home, and this method is a perfect way to enjoy home grown produce.
With just a few tools, a little time, and a lot of heart, you can fill your freezer with sweet corn that’s ready to shine in your favorite dishes all year long.
So, grab those ears of corn, gather your loved ones, and make some memories in the kitchen. Your future self will thank you when you’re enjoying buttery, farm-fresh corn in the depths of winter. Happy preserving!

Leave a comment