
If you’re diving into the wonderful world of canning, you might’ve heard about two main methods: water bath canning and pressure canning. Both are fantastic ways to preserve your garden’s bounty or that haul from the farmer’s market, but they’re used for different foods and work in totally different ways.
Grab a cup of tea, and let’s chat about what sets these two apart, why it matters, and how to pick the right one for your canning adventure. It’s like choosing the perfect recipe for your favorite summer fruit—each has its own special vibe!
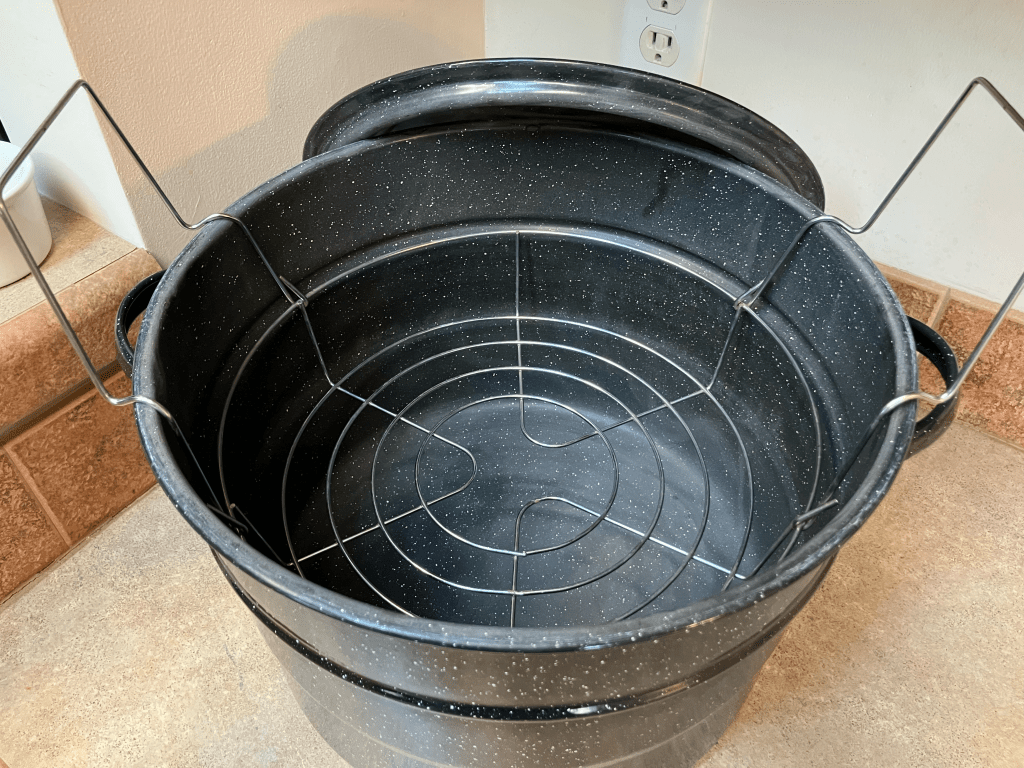
Water Bath Canning: The Easy, Bubbly Classic
Picture this: a big pot of boiling water, jars tucked happily inside, and the sweet smell of strawberry jam filling your kitchen. That’s water bath canning in all its cozy glory! This method is perfect for beginners because it’s straightforward, uses simple equipment, and works like a charm for high-acid foods.
How Water Bath Canning Works
Water bath canning involves submerging sealed jars in a large pot of boiling water, usually in a special canner with a rack to keep jars off the bottom. However, you can use a large stockpot and extra lids to keep the jars from touching the bottom of the pot.
The boiling water heats the jars to 212°F (at sea level, but this will vary based on your elevation), killing off bacteria, yeasts, and molds while creating a vacuum seal as the jars cool. That satisfying “pop” of the lid? That’s your jar saying, “I’m sealed and ready for the pantry!”
What Water Bath Canning Is For
Water bath canning is your go-to for high-acid foods with a pH of 4.6 or lower. The acid helps prevent harmful bacteria like botulism from surviving. Think:
- Fruits (peaches, applesauce, pears)
- Jams, jellies, and fruit butters
- Pickles (cucumbers, beets, or even dilly beans)
- Tomatoes and tomato products (with added lemon juice or vinegar to boost acidity)
- Salsas and chutneys (if the recipe’s tested for safety)
What You Need for Water Bath Canning
- A water bath canner (or a deep pot with a rack and lid)
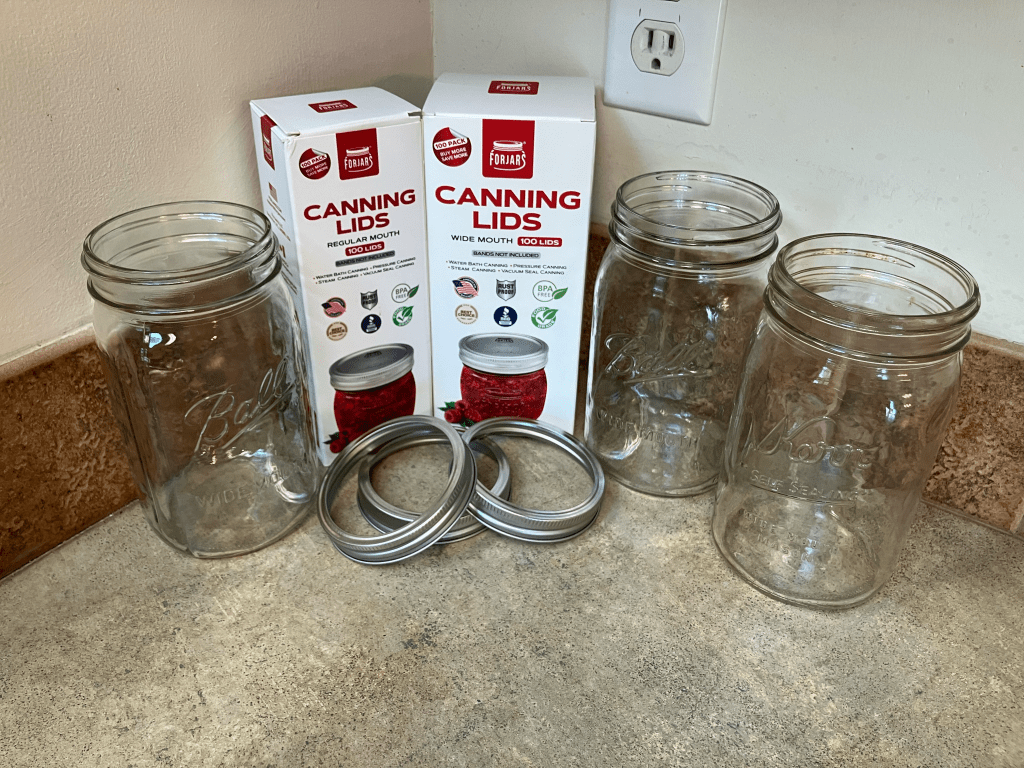
- Mason jars, new lids, and bands
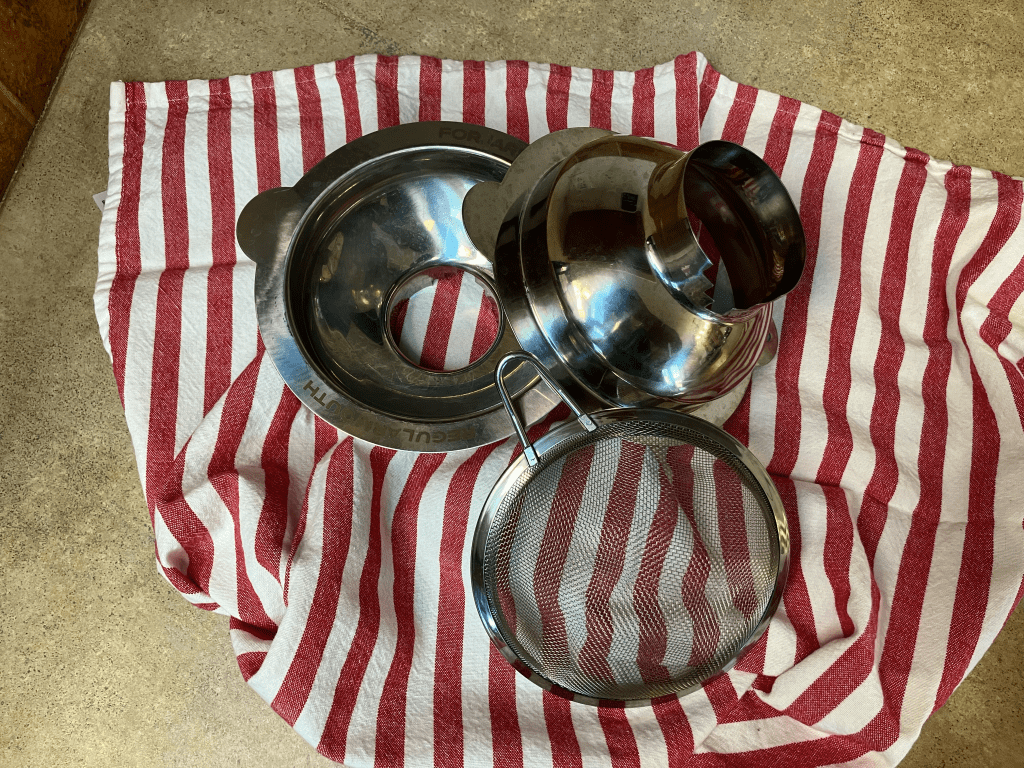
- A jar lifter, funnel, and bubble remover for easy handling
- A timer to keep track of processing time
Looking or a complete list of the supplies you will need, what they are, and where to find them? Check out this blog where I share all the canning tool essentials!
Why I Love Water Bath Canning
Water bath canning feels like a warm hug from summer. It’s affordable (canners are cheap or you can use a big pot), and the process is super forgiving for newbies. Plus, there’s nothing like opening a jar of homemade peach jam in February and tasting sunshine!
Pro Tip For Water Bath Canning
Always check your recipe’s processing time and adjust for altitude if you’re above 1,000 feet—water boils at a lower temperature at higher altitudes, so you’ll need a few extra minutes of processing time. And don’t skip wiping those jar rims clean before sealing; a smudge of jam (or whatever product you are canning) can mess with your seal!
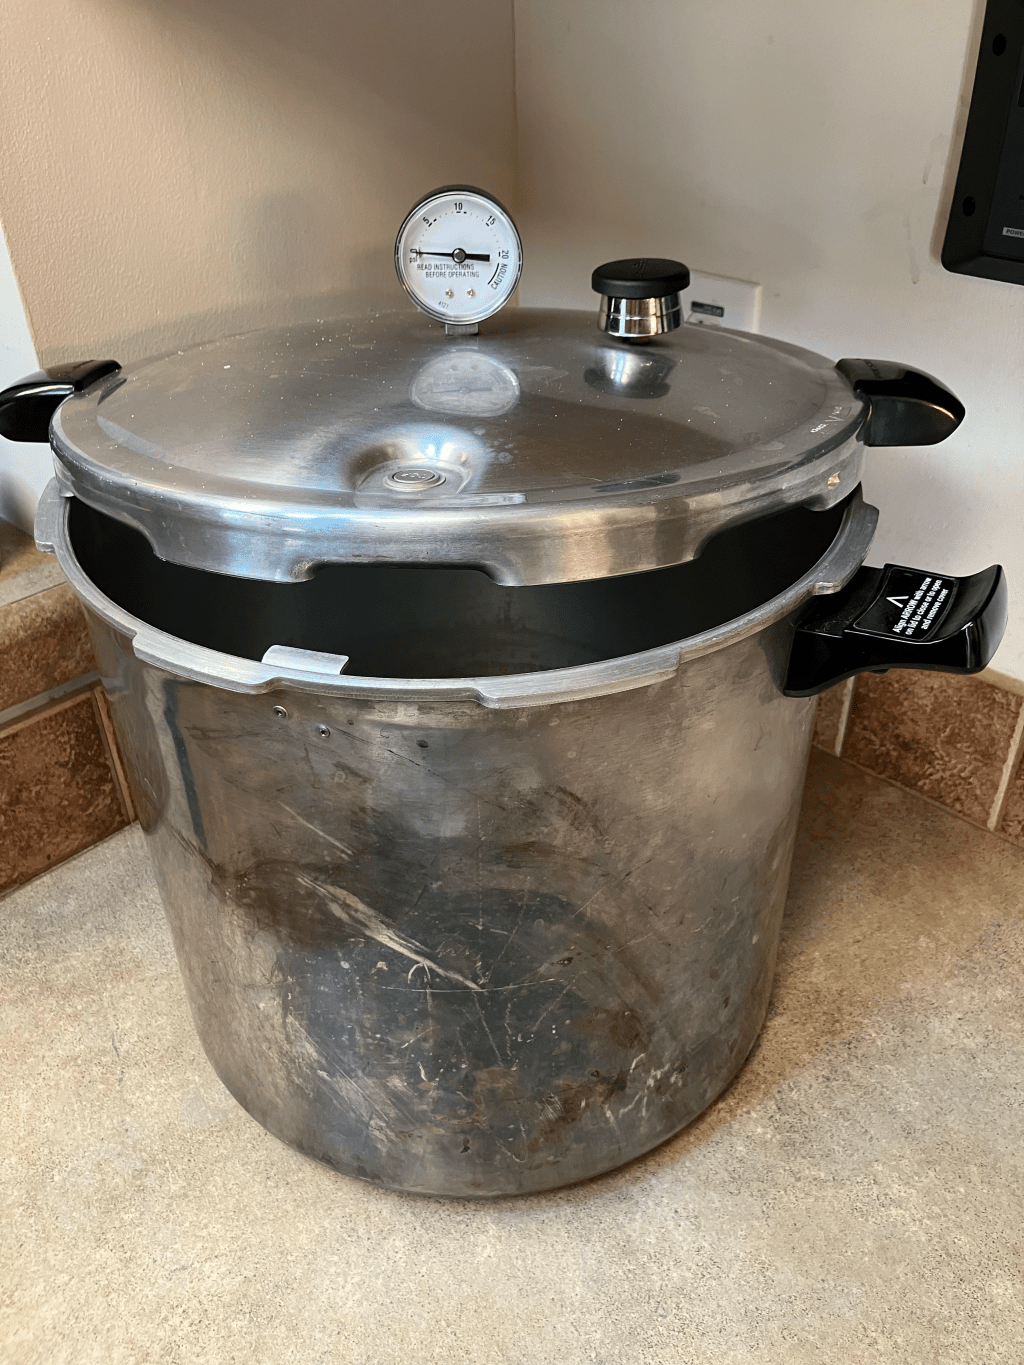
Pressure Canning: The Heavy-Duty Hero
Now, let’s talk pressure canning—the method that lets you preserve everything from green beans to hearty soups. If water bath canning is a gentle simmer, pressure canning is a high-powered steam engine. It’s a bit more involved, but once you get the hang of it, it opens up a whole new world of canning possibilities.

How Pressure Canning Works
Pressure canning uses a special pot called a pressure canner (not to be confused with a pressure cooker—more on that later!). The canner traps steam to create high pressure, which raises the temperature inside to 240°F or higher at 10–15 pounds of pressure, depending on your altitude.
This intense heat is hot enough to kill off even the toughest bacteria, including botulism spores, which can survive in low-acid foods. Like water bath canning, the jars seal as they cool, giving you that happy “pop.”
What Pressure Canning Is For
Pressure canning is essential for low-acid foods with a pH above 4.6, where botulism could be a risk without super-high heat. This includes:
- Vegetables (green beans, carrots, corn, or peas)
- Meats, poultry, and seafood
- Soups, stews, and broths
- Beans (like pinto or black beans)
- Some tomato recipes (if they’re mixed with low-acid ingredients like peppers or onions)
What You Need for Pressure Canning
- A pressure canner with a dial or weighted gauge to monitor pressure
- Mason jars, new lids, and bands
- Jar lifter, funnel, and bubble remover
- A timer and a bit of patience to master the pressure process
Looking or a complete list of the supplies you will need, what they are, and where to find them? Check out this blog where I share all the canning tool essentials!
Why I Love Pressure Canning
Pressure canning feels like a superpower! It lets you stock your pantry with ready-to-eat meals or veggies that taste garden-fresh all year. Sure, the canner looks a little intimidating at first, but once you learn its quirks, it’s like an old friend. Plus, it’s a game-changer for preserving surplus harvests or bulk buys.
Pro Tips for Pressure Canning
Read your pressure canner’s manual like it’s a love letter—it’ll tell you how to maintain the gauge, vent steam, and adjust for altitude. And don’t rush the cooling process; let the pressure drop naturally before opening the lid to avoid jar breakage or seal issues.
Your local extension office can be a great resources for calibrating your gauge before each season to ensure your harvest is persevered properly!
Key Differences at a Glance
Here’s a quick side-by-side to help you see how these two methods stack up:
- Temperature: Water bath hits 212°F (boiling water); pressure canning reaches 240°F+ (super-hot steam).
- Foods: Water bath can for high-acid (fruits, pickles, jams); pressure can for low-acid (veggies, meats, soups).
- Equipment: Water bath needs a big pot or canner; pressure requires a specialized pressure canner.
- Ease: Water bath is simpler and beginner-friendly; pressure has a steeper learning curve but is necessary for safely canning low-acid foods
- Safety Focus: Both are safe if you follow tested recipes, but pressure canning is the only safe option for low-acid foods to kill botulism spores.
- Time: Water bath processing times are often longer (10–30 minutes); pressure canning can be shorter but requires venting and pressure buildup/cool-down time.
A Few Things to Keep in Mind
- Don’t Swap Methods: If a recipe says “pressure can only,” don’t try it in a water bath—it’s not safe.
- Pressure Cooker vs. Canner: Instant pots or small pressure cookers aren’t designed for safe canning. They don’t maintain precise pressure long enough. Stick with a proper pressure canner like this Presto.
- Start Where You’re Comfy: If you’re new, try water bath canning with a batch of pickles or applesauce. Once you’re hooked, invest in a pressure canner to expand your kitchen tools and skills.
- Check Your Gear: For both methods, inspect jars for cracks, use new lids, and ensure your canner’s in good shape (no warped bottoms or leaky seals for pressure canners).
Which One’s Right for You?
Choosing between water bath and pressure canning depends on what you’re preserving. Got a pile of juicy peaches or pickling cukes? Water bath canning’s your friend. Want to can your famous chili or chicken stock? Time to cozy up to a pressure canning. Many gardeners who preserve their harvests use both, depending on the season’s haul. If you’re just starting out, grab a water bath canner and start with some pickles or fruit! When you’re ready to tackle veggies or soups, a pressure canner will be your next best buddy.
Wrapping Up
Whether you’re simmering jars of cherry jam in a water bath or steaming green beans in a pressure canner, both methods are all about capturing the magic of the season in a jar. They each have their own charm and purpose, like picking between a sunny picnic or a cozy fireside supper. The key is to match your method to your food, follow safe recipes, and have fun! So, what’s on your canning list this season? Drop me a note in the comments below or tag @coras_cottage on Instagram—I’d love to hear what you’re preserving!
Happy canning,
Cora
P.S. If you’re feeling inspired, check out our beginner’s guide to canning supplies on the blog for more tips to get your kitchen ready!

Leave a comment