
Sourdough baking can feel intimidating at first. Between unfamiliar terms like “levain,” “banneton,” and “lame,” and the seemingly endless list of specialized tools, it’s easy to wonder if you need a professional bakery setup to make a decent loaf. But here’s the good news: sourdough doesn’t have to be complicated or expensive. If Ma Ingalls could do it on the prairie with basic tools, so can we in our modern kitchens!
Whether you’re ready to invest in a full set of tools or want to start with the basics on a budget, you can create crusty, tangy loaves. Below, we’ll break down two tiers of sourdough tools—one for the enthusiast ready to dive in with specialized gear, and another for the budget-conscious baker using everyday kitchen items that might already be in the cupboards.
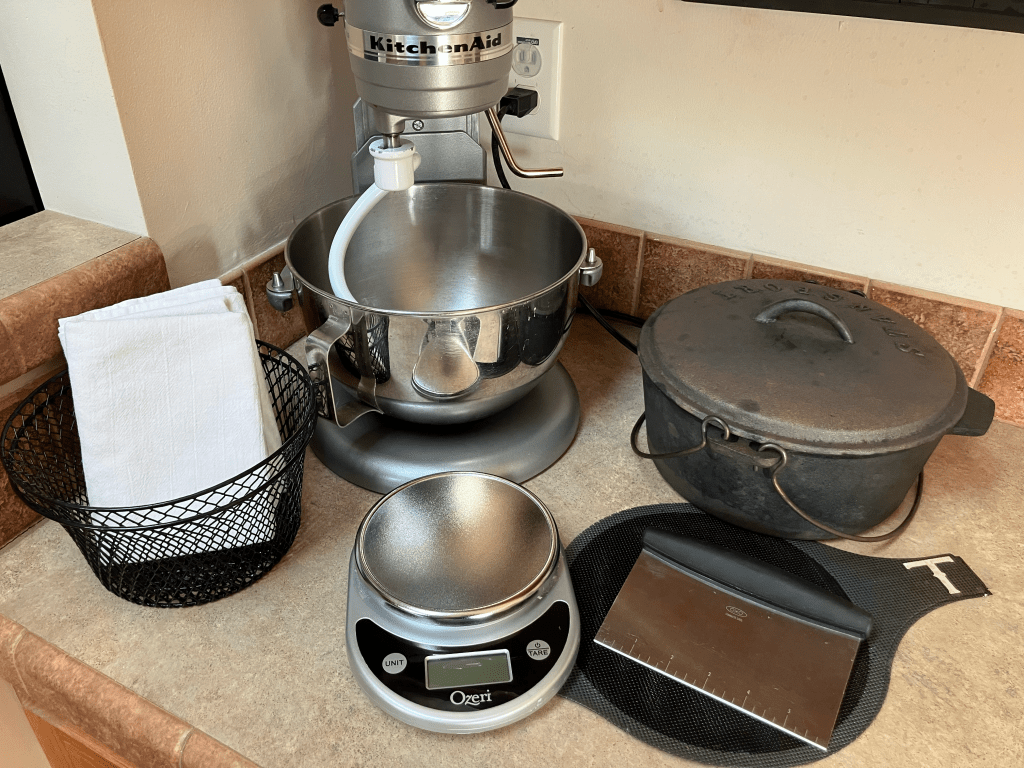
Tier 1: The Sourdough Enthusiast’s Toolkit
If you’re ready to go all-in on sourdough and you don’t have a budget (or you have a large budget), these tools will make the process smoother and more consistent. They’re designed to help with precision, shaping, and baking, giving you that artisanal bakery vibe at home.
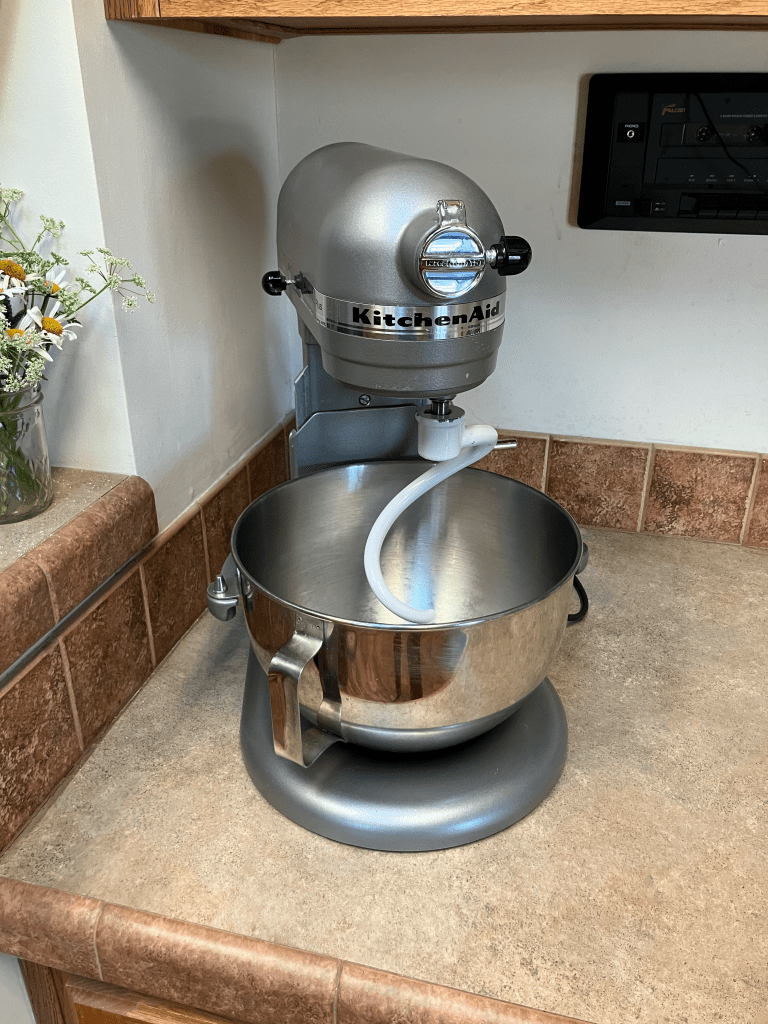
Mixer with Bread Hook Attachment: A stand mixer with a dough hook attachment takes the effort out of kneading, especially for wetter sourdough recipes. It saves time … not to mention your arms 😉
I have been using a KitchenAid stand mixer for about 3 years now and it has worked great for my family’s needs of 1-2 loaves every couple of weeks. However, if I were to pick out a new mixer today I would get this Bosch mixer. Everyone I know who has one loves it, and as I have started a micro-bakery my KitchenAid is starting to fail.
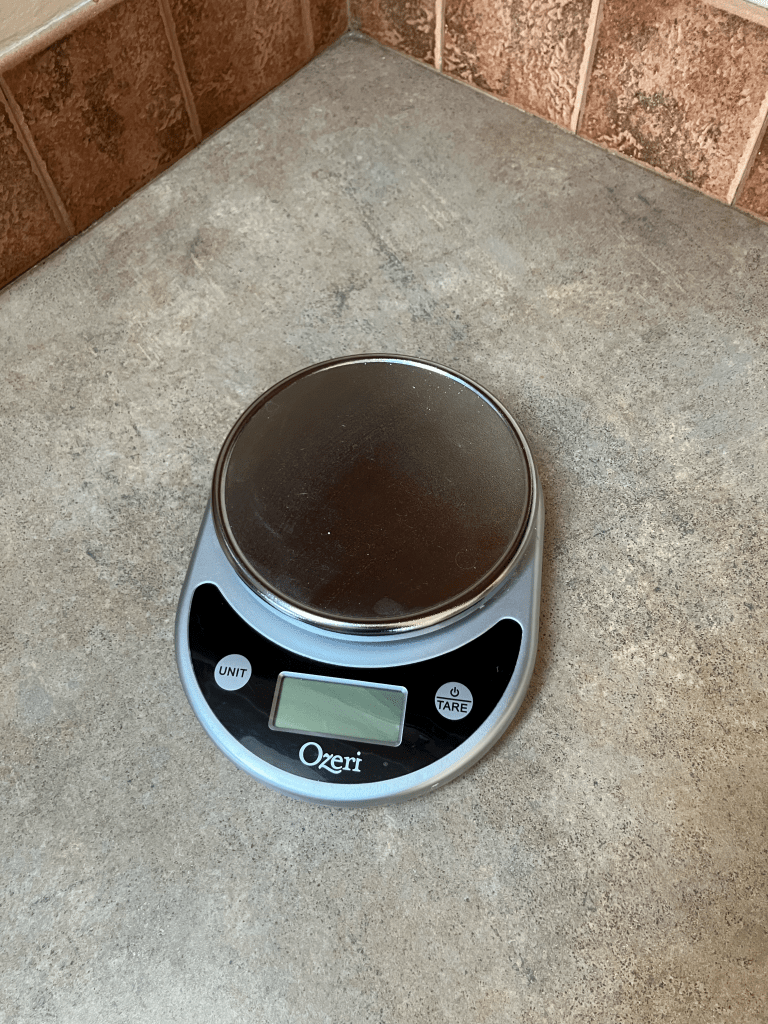
Kitchen Scale (Measures in Grams): Sourdough recipes are generally in grams. A digital scale ensures accurate weight measurements for flour, water, and starter. When picking out a kitchen scale, look for one that is one solid piece and easy to clean. I made this mistake so mine is hard to clean, but I would get a scale like this if I had to pick a new one out today.
Large Mixing Bowl: This is an optional item if you have a mixer, but in my experience the mixer bowl is not large enough when doing the bulk ferment. A sturdy, wide bowl gives you plenty of room to perform stretch and folds and to allow the dough to rise without making a mess.
Towel: A clean, lint-free kitchen towel covers your dough during bulk fermentation, keeping it from drying out. You want a lint-free towel because it might end up touching the dough and picking lint out of your bread is not fun. I like tea towels because they have so many uses in the kitchen!
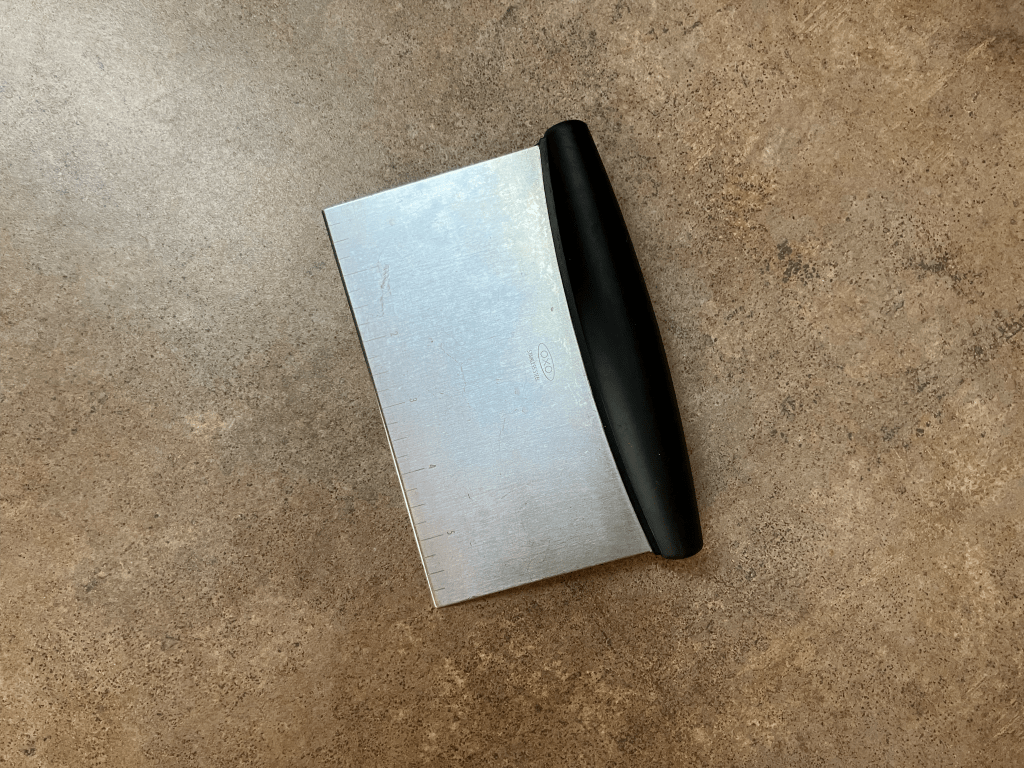
Bench Scraper: This handy tool is perfect for dividing dough, scraping it off surfaces, and keeping your workspace tidy. I prefer a metal bench scraper, but there are also plastic or wooden ones you can get if you prefer.
Bread Banneton: These proofing baskets support your dough’s shape during its final rise and create those beautiful spiral patterns on your loaf. They can be found in baking sets or individually.
Bread Mats: Silicone baking mats provide a non-stick surface for baking, making cleanup easier and reducing the waste of using new parchment paper each time you bake a loaf. They can also save your fingers when trying to lift a loaf in and out of a hot Dutch oven.

Bread Lame: A bread lame (pronounced “lahm”) is a razor-sharp tool for scoring your dough, allowing it to expand beautifully in the oven. This allows you to get the very intricate and beautiful scoring designs.
Hot Pads: Thick, heat-resistant hot pads protect your hands when handling hot Dutch ovens. It is important that you have quality hot pads because sourdough is baked at very high temperatures. I like to use non-slip hot pads.
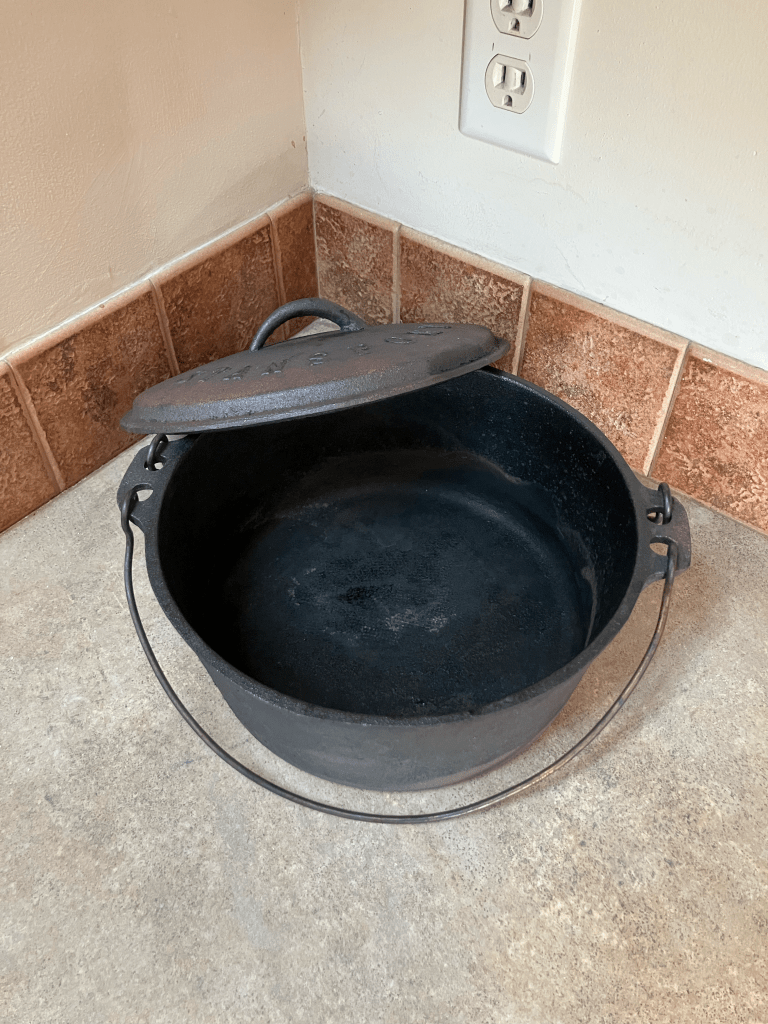
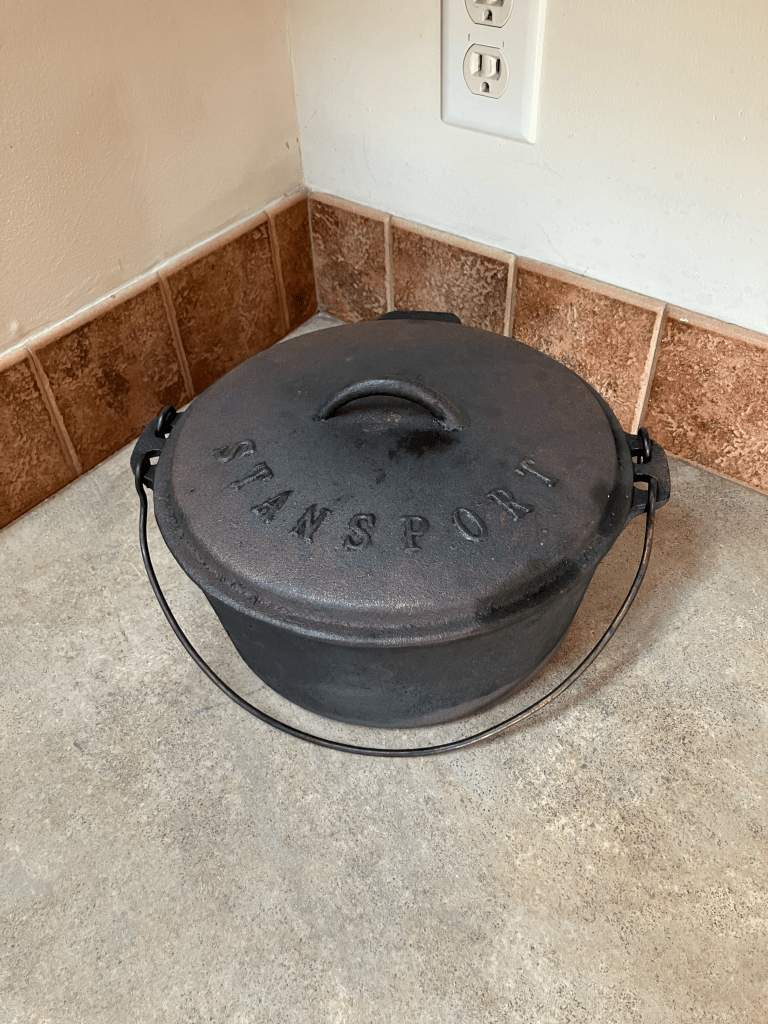
Dutch Ovens: A heavy Dutch oven traps steam during baking, mimicking a professional bread oven for a crispy crust. I have used both enamel and cast iron Dutch ovens, and I prefer cast iron. I especially like the cast iron Dutch ovens with handles.
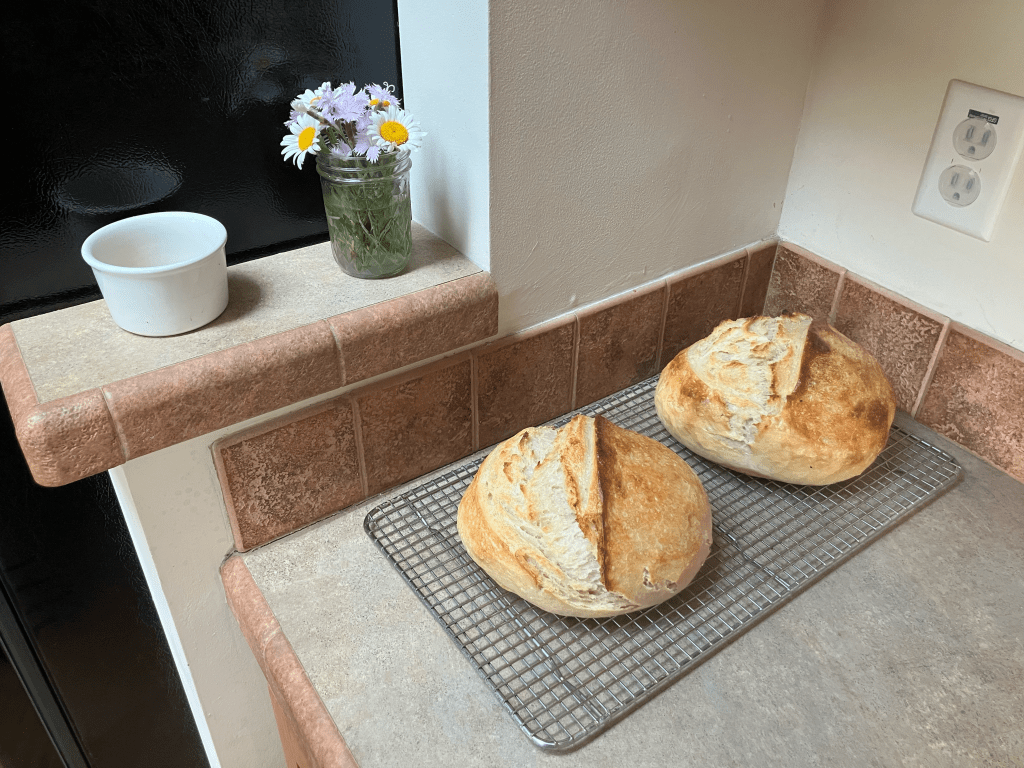
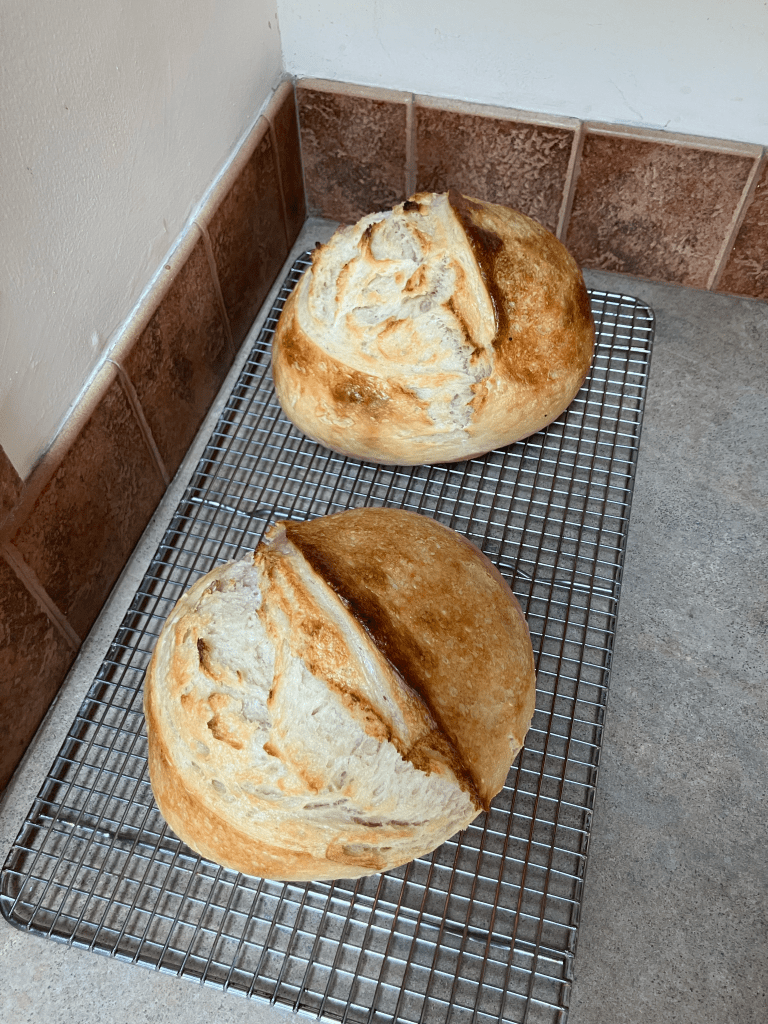
Cooling Rack: A wire rack lets your freshly baked loaf cool evenly, preventing a soggy bottom. These don’t need to be anything fancy and can be used as an additional hot pad in the kitchen for large pans.
This setup is ideal for bakers who want to refine their craft and enjoy the process with tools that make each step more efficient. While it’s an investment, these items are durable and will serve you for years, even becoming pieces you can pass on!
Tier 2: Sourdough Supplies on a Budget
However, if your budget doesn’t allow, you don’t need a fancy setup to bake amazing sourdough. With a few basic kitchen items, you can get started without breaking the bank. Here’s a budget-friendly list that still gets the job done. And you might have several of these items in your kitchen already!
Large Mixing Bowl: A wide bowl is essential for mixing and folding dough. Any big bowl you already own will work. You do want to make sure that it has plenty of room for kneading, stretching and folding, and for the bulk ferment.
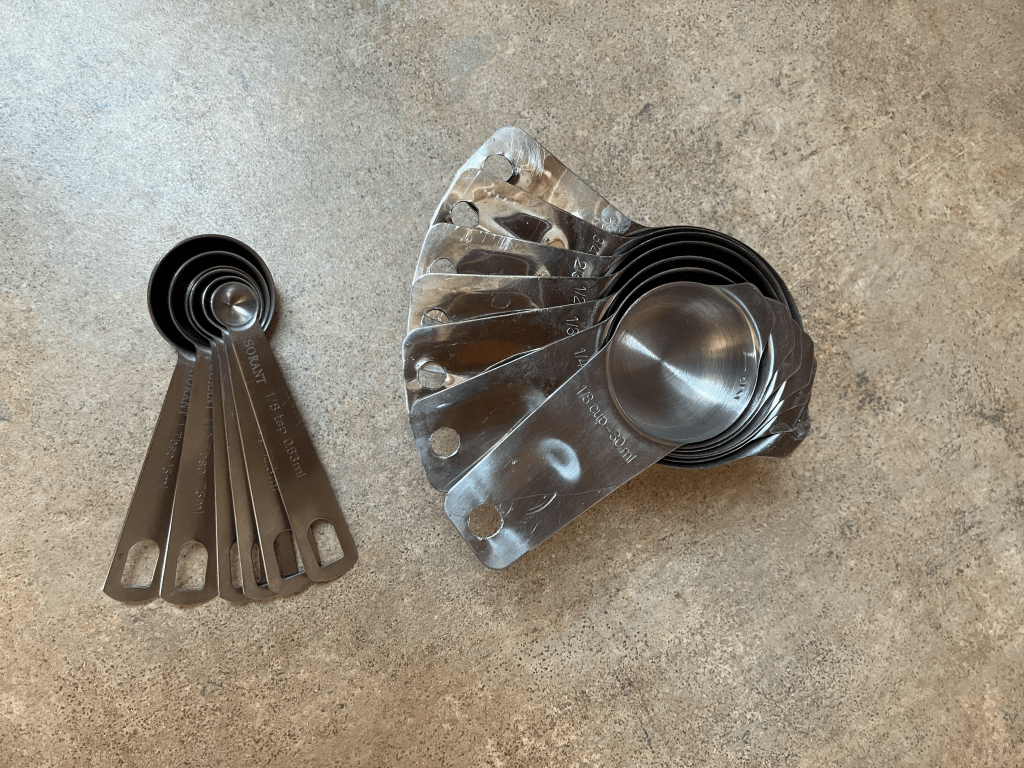
Measuring Cups and Spoons: While a scale is ideal, standard measuring cups and spoons can work if you’re careful with your ratios. Sourdough is pretty forgiving, especially if you know the consistency and feel of the dough.
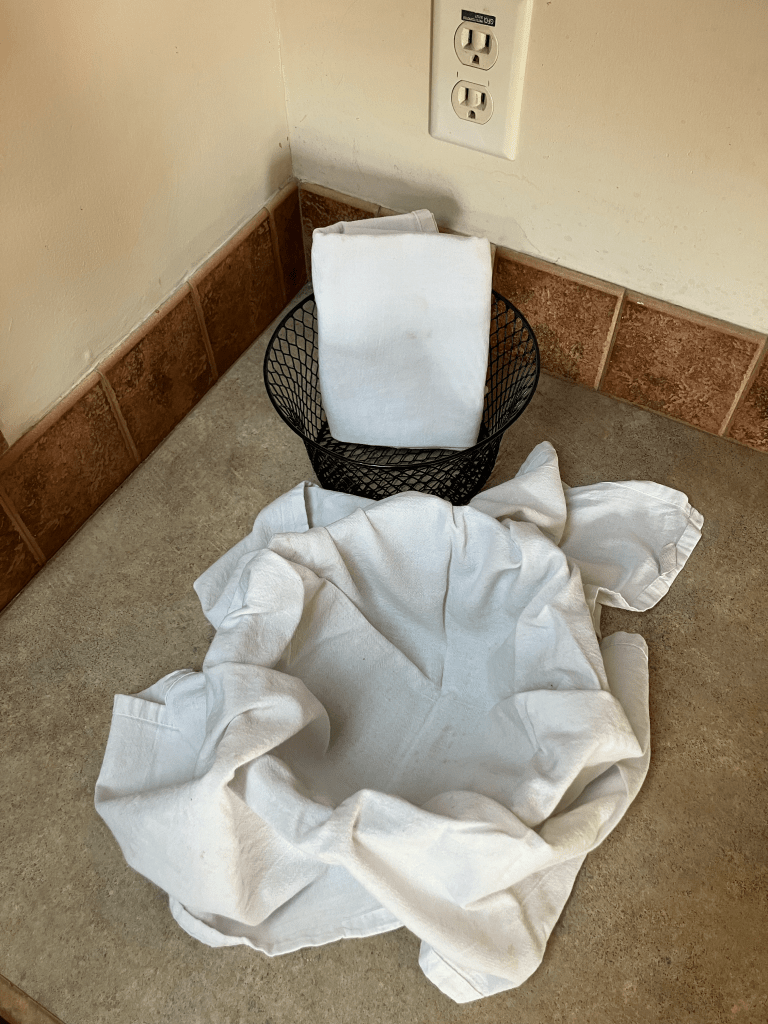
Towels: A clean, lint-free towel covers your dough to keep it moist during fermentation. You can also use a lint-free towel to line your bowl or basket when proofing your loaves. Lint-free is important so that you aren’t picking lint out of your loaves.
Small Bowl or Basket with Tea Towel: Instead of a banneton, use a small bowl or basket lined with a lightly floured tea towel to shape and proof your dough. This method works the same without the fancy spiral and keeps sourdough budget-friendly.
Parchment Paper: This makes transferring dough to and from a hot Dutch oven easier and prevents sticking.
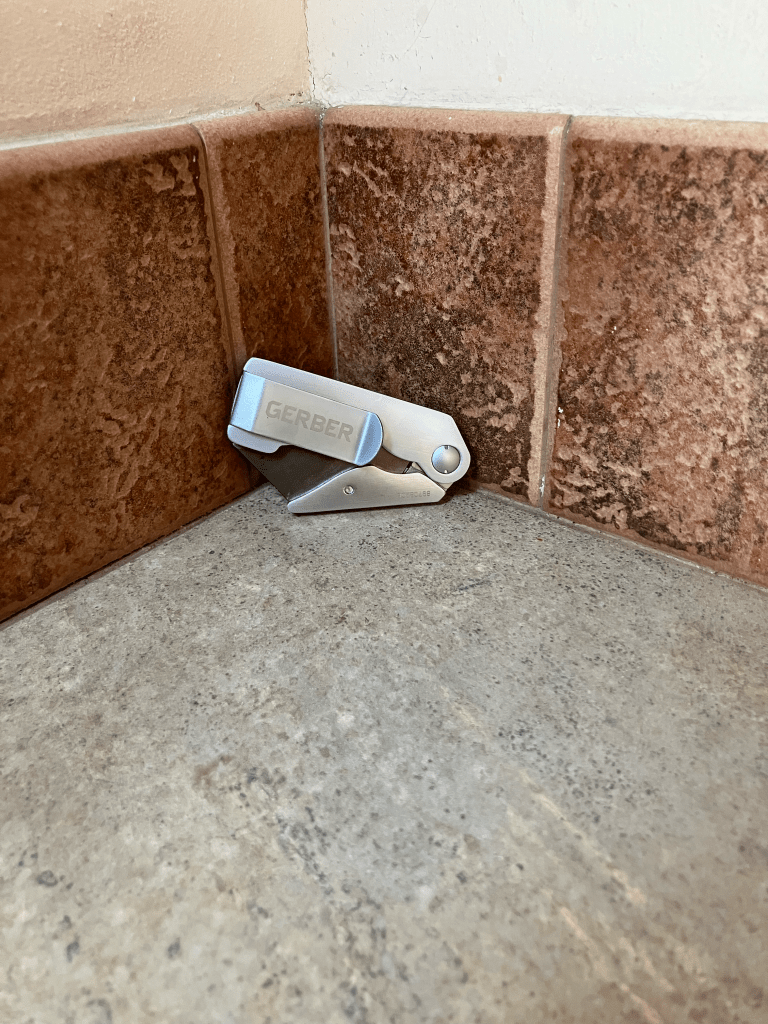
Sharp Knife: A sharp kitchen knife can score your dough if you don’t have a lame. It won’t be as precise, but it’ll do the trick. I suggest a smaller knife if you have one. If you have a clean Gerber these work well too!
Hot Pads: Any heat-resistant pads or oven mitts will protect your hands when handling hot cookware. Just make sure they are quality and not wearing out as sourdough is baked at very high temperatures.
Dutch Ovens: A Dutch oven is the one splurge on this list, but it’s key for that steamy environment that creates a great crust. If you don’t have one, check thrift stores and garage sales for affordable options. Dutch ovens can also be a great replacement for a pot when making soups and stews or even for browning hamburger for casseroles.
Cooling Rack: A basic wire rack (or even a makeshift setup like a grill grate) lets your bread cool properly and prevents a soggy bottom.
This minimalist approach proves that sourdough is accessible to everyone. You likely already have most of these items in your kitchen or similar items you can use, so you can start baking with minimal upfront costs.
Choosing Your Path
Whether you opt for the enthusiast’s toolkit or the budget-friendly setup, the key to great sourdough is practice and patience.
The enthusiast’s tools offer precision and convenience, perfect for those who want to geek out over every detail. The budget supplies, on the other hand, show that you don’t need fancy gear to bake a loaf of homemade bread for your family that you’re proud of. Start where you’re comfortable, and as you fall in love with the process, you can always add tools (or fancier tools) over time.
Sourdough baking is less about the gear and more about the joy of creating something delicious from simple ingredients. So grab your bowl, feed your starter, and get baking—your perfect loaf is waiting!
P.S. Need a recipe to help you get started? Check out this one where I break down the steps and even have a how-to video!

Leave a comment