

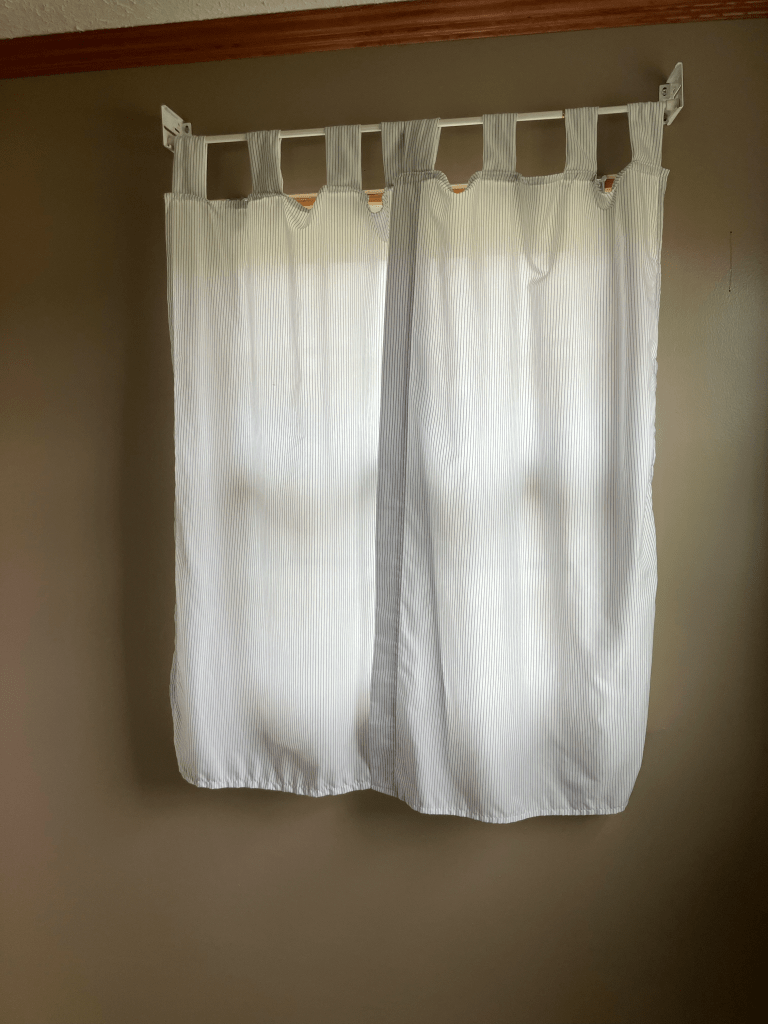
Recently our family had the opportunity to move to a larger home, and with the move came more windows than we had previously, so we either needed to buy or make more curtains. Since the goal is to expand my skills and save money where we can, it made perfect sense for me to make the curtains myself!
Before the move I had thrifted a twin sized flat sheet to turn into curtains for the area of our home that doubled as an office and mudroom, but I never got around to making the curtains. With the move, I was glad I never had time to make those curtains because the twin flat sheet turned out to the be the perfect amount of fabric to make DIY curtains for the master bath windows in our new home.
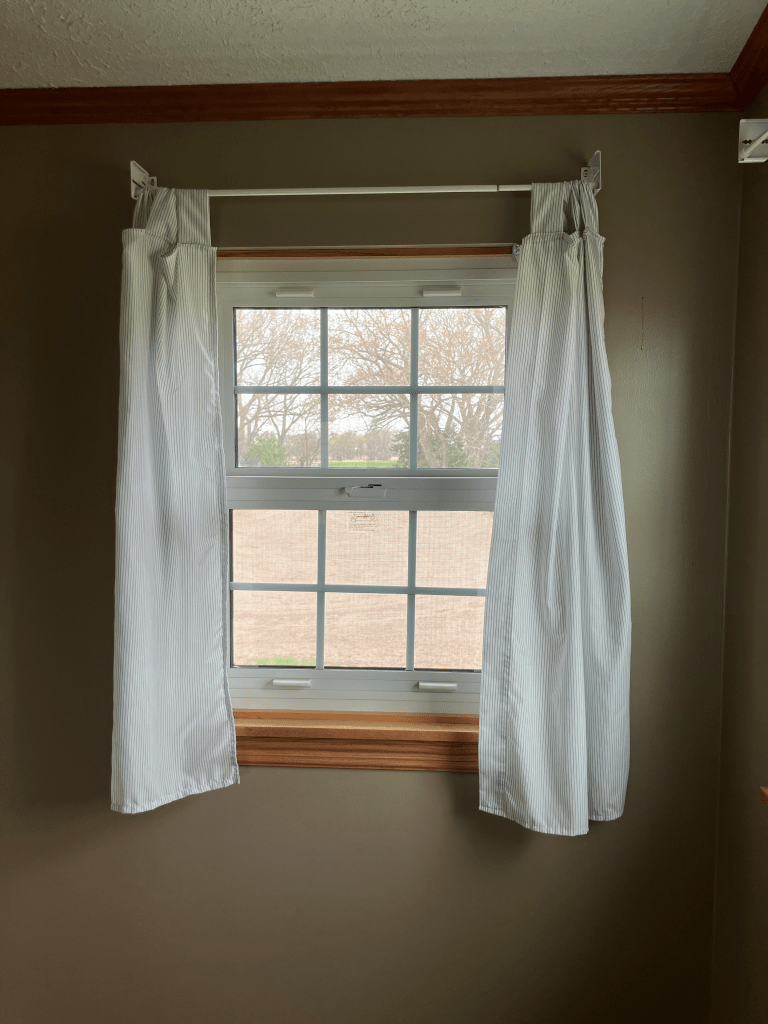
The fabric of this twin sheet is perfect because it is a light, flowy fabric with thin blue stripes on a white background which fits perfectly with the farmhouse look I am trying to achieve as I turn this new house into a home. A striped pattern is also easy to pair with other patterns as I finish decorating the master bath.
Supplies for DIY Curtains from a Flat Sheet
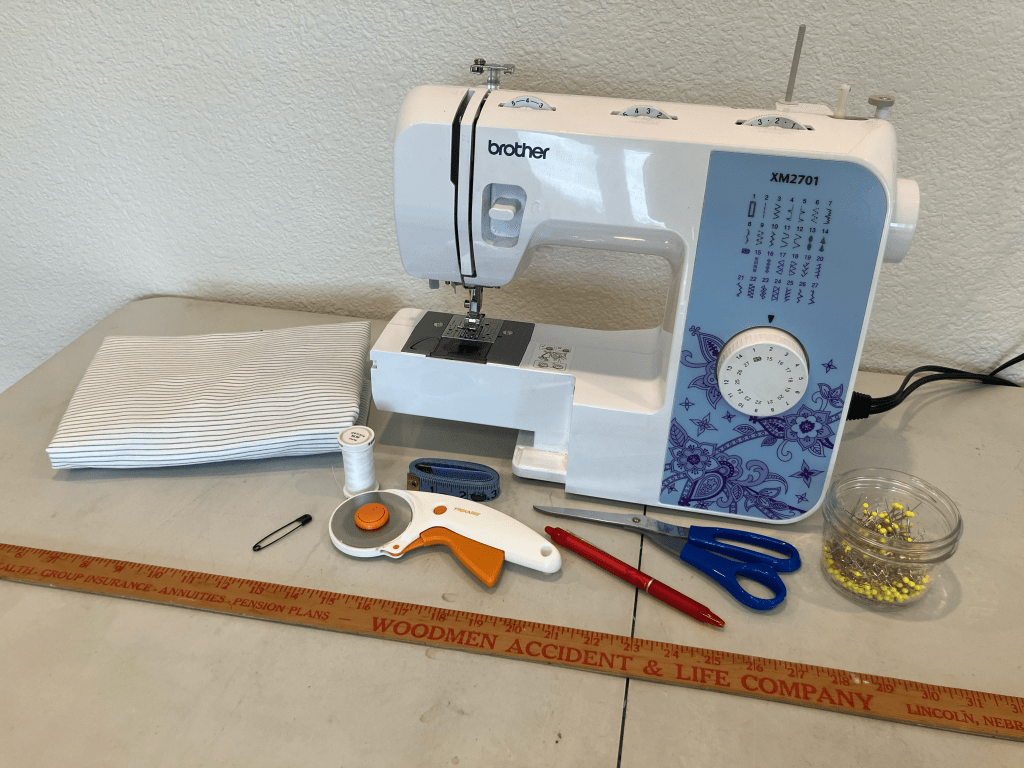
For this project you will need:
- One Twin Size Flat Sheet (66″ by 96″) or Similarly Sized Fabric: I found my top sheet at a thrift store for just a couple of dollars, but you could always pick one up from Walmart, Target, or Amazon. However, that likely won’t be the most economical option so you could get some fabric from a craft store like Hobby Lobby to make it more affordable if you can’t find a flat sheet to thrift.
- Coordinating Thread: I used white thread but any thread that coordinates will work. White is my most used thread color for sewing projects because is coordinates with almost everything.
- Sewing Machine: I just have a basic Brother sewing machine like this one. This project does not require any fancy computerized machine as it is all straight stitches. You could even do it by hand if you didn’t have a sewing machine.
- Yard Stick/Measure Tape: I find a yard stick to be easier than a measure tape, but one of these is needed to get your fabric cut down to the proper size with straight edges.
- Scissors/Rotary Wheel: I prefer to use the rotary wheel for making longer cuts, but I use scissors when making shorter cuts or trimming my excess thread tails.
- Pins: While these are technically optional, they make the project much easier when adding in your hems and attaching the tab tops to the top of the curtains.
- Safety Pin: While a safety pin is also optional, it makes turning the tab tops right-side-out a lot easier.
Cut List for Making DIY Tab Top Curtains
To make DIY tab top curtains for two windows, each measuring 29” by 35” plus 3” of trim along the bottom of each window:
- Main panels: Cut 4 panels (two panels for each window) to 24” by 41” (includes extra length and width for hems and extra width for fullness). This allows for a finished panel size of about 23” by 40”.
- Tab tops: Cut 16 tab tops to 5” by 10” (you’ll need 4 tabs per panel, so 16 total for 4 panels).
You can adjust the number of tab tops you want based on the size of your curtain and how close together you want the tab tops to be. I like my tab tops to be close together, approximately 4-5 inches.
Step-By-Step Guide for Making DIY Tab Top Curtains
Follow these steps for your DIY tab top curtains. These instructions use the windows in our master bathroom (29” by 35”), but you can adjust measurements for your windows.
Step 1: Measure Your Windows
- Measure the Windows: Measure from your curtain rod to where you would like the curtains to end. The windows in our master bath measured 29″ by 44″ including the 3 inches of trim at the bottom of the window.
- Divide Width by Number of Panels: I divided my width by 2 because I wanted two panels for each window. However, I had an odd number so to make it easier (and because I want the curtains to be flowy) I rounded up to 30″ giving me 2 curtains that are each 15″ wide.
- Add Extra Length & Width for Fullness and Hems: I added 1″ for hems (1/4″ – but if you are doing 1/2″ hems you would want to added 2″) to both the length and width. I added some extra width because I wanted these DIY tab top curtains to have some shape even when they are closed rather than being pulled tight. Originally I was going to added 10″, but my fabric was 4″ too short so I only ended up adding 9″ to each curtain panel making them 24″ by 45″.
- Double Check Measurements: Before making any cuts, make sure your measurements are correct and you have accounted for any extra length that will be added by the tab tops. In my case, they would add an extra 4″ so I subtracted that from my length giving me panels that were 24″ by 41″.
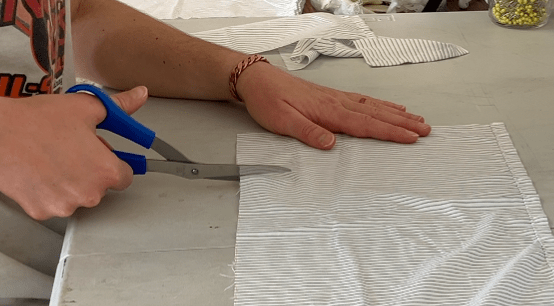
Step 2: Cut the Fabric Panels
- Lay Out Your Fabric: Spread out your twin flat sheet or fabric on a large, flat surface such as a table or floor.
- Mark Your Measurements: Using a yard stick, measure and mark where you need to make your cuts. You can use a fabric marker or pencil, but I like to use these FriXion erasable pens by Pilot because they wash out easily and are very easy to see on fabric.
- Cut the Panels: Cut your curtain panels using scissors or a rotary cutter. If you chose to use a rotary cutter, be sure you have a cutting mat beneath your fabric. Make sure that the edges of your fabric are straight.
Step 3: Create the Tab Tops
- Cut the tab Top Panels: From the remaining fabric, cut your tab tops. I wanted 4 tab tops for each panel so I needed a total of 16. I wanted by final tabs to be 2″ wide and add about 4″ of length so I cut my tab tops to be 5″ by 10″.
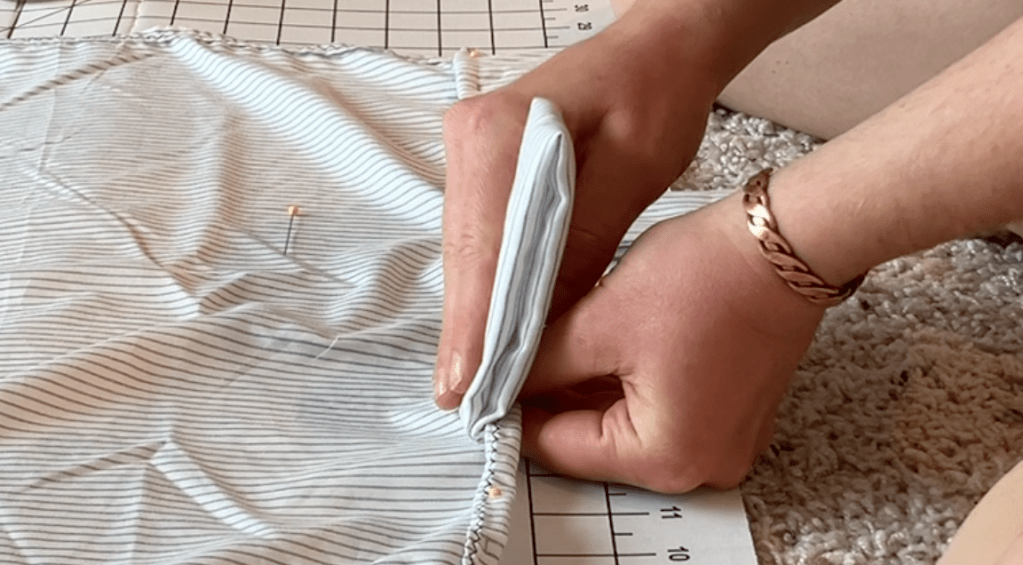
- Fold and Stitch the Tabs: Fold the tabs in half lengthwise (so they are 2.5″ by 10″) with right sides touching. Stitch along the long edge with a 1/4″ seam allowance.
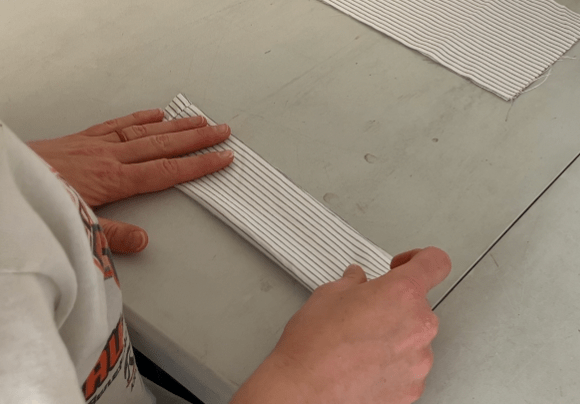
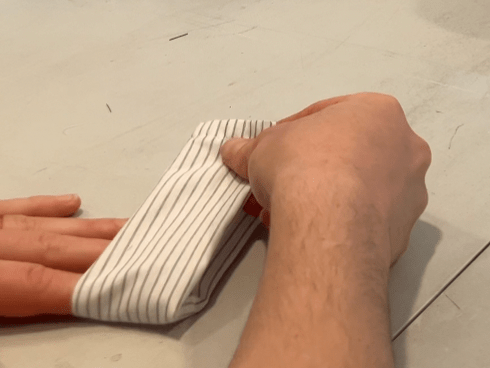
- Turn the Tabs Right Side Out: Turn the tabs right side out using a safety pin to feed one end through then press the tab flat, using an iron for a nice crisp finish if you would like.
- Create a Tab with a Loop: Fold the tab tops in half widthwise (2″ by 5″) so that the seam is hidden inside the fold and stitch along the short edge to hold the two raw ends of the fabric together.
Step 4: Hem the Panels
- Fold the Edge: On each curtain panel, fold the sides and bottom edges up 1/4″ towards the wrong side of the fabric. Pin in place or press with an iron before running a single stitch.
- Fold Again: Fold the sides and bottom edges up another 1/4″ to enclose the raw edges. Pin or press the edges before sewing along the edge to hold the hem in place.

- Combine Steps (if desired): Steps 1 and 2 can be combined into a single step.
- Top Edge Hem: Fold the top edge down 1/4″ towards the wrong side and pin or press before sewing in place.
Step 5: Attach the Tab Tops to the Panel
- Tab Placement: On the top of each curtain panel, evenly space 4 tab tops with the raw edge lined up with the bottom of the folded hem so the loop is facing down. I find it easiest to place the two outside tabs first.

- Fold the Hem: Fold the hem down over the tabs 1/4″ so that the raw edges of the tab and the hem are both enclosed.
- Pin Tabs and Hem: Pin the tabs and hem into place.
- Fold Tabs Up: Remove only the pins holding the tab tops and fold the tab tops back up so the loops are extended over the top of the curtain panel. Replace the pins to hold the tab tops in place.
- Stitch the Tabs and Hem: Stitch the tap tops and hem in place using a 1/4″ seam along the top edge of the curtain panel.
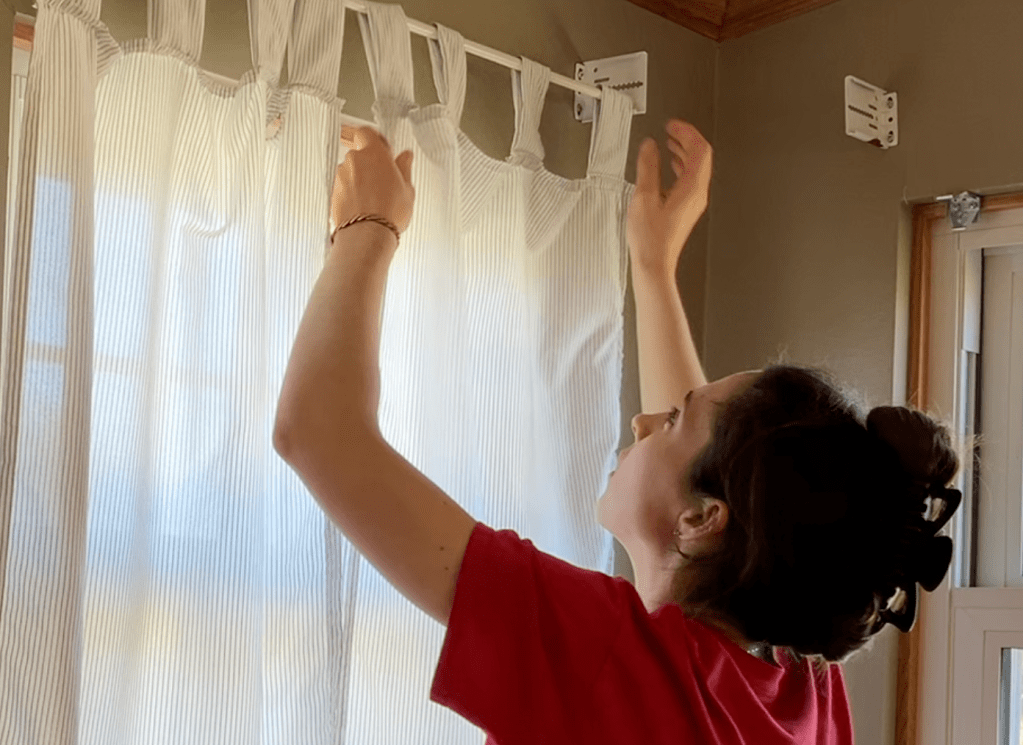
Step 6: Hang the Curtains
- Thread Tab Tops Unto Curtain Rod: Slide the curtain rod through the loops in the tab tops on each panel.
- Hang the Curtain Rod: Install the curtain rod above the window insuring it is level.
- Adjust the Curtains: Spread the curtains evenly across the curtain rod for a balanced look.
Troubleshooting Common Issues
Here are some common problems you might encounter and how to fix them:
- Uneven Hems: If your hems look wavy, double-check that your folds are even before stitching. Pressing with an iron can help.
- Tabs are Too Loose or Tight: If the tabs don’t slide easily on the curtain rod, they may be too small—try making them slightly longer next time. If they’re too loose, reduce the length of the tabs.
- Fabric Puckers When Sewing: Use pins to hold the fabric in place, and sew slowly to avoid puckering.
Tips for Best DIY Tab Top Curtains
- Choose the Right Fabric: Lightweight, flowy fabrics like cotton or polyester blends work best for a soft drape.
- Test Your Measurements: Hang a piece of scrap fabric to test the length and width before cutting your final curtain panels.
- Add a Lining (optional): For extra privacy, sew a lining fabric to the back of your curtain panels. A solid fabric is best for making a lining. My favorite is white.
- Experiment with Patterns: Stripes or subtle patterns can add visual interest without overwhelming the room.
Variations for DIY Curtains
- Panel Size: The size of the curtain panels can vary depending on the window or space you need to cover. Simply measure the area and cut your fabric accordingly. If your opening is larger than your fabric, you might need to attach additional panels of fabric.
- Hanging the Curtains: Add button holes or a pocket to the top of the curtain for the curtain rod to run through instead of tab tops for a different look.
- Decorative Elements: Add things like lace trim, ruffles, or ribbon along the edges for a custom look to fit your space and style.
FAQs When Making DIY Curtains
What size sheet do I need for curtains?
A standard twin sheet (66” by 96”) works well for most windows, but measure your windows first. If you have large windows a full, queen, or king size sheet might work best. You can also use fabric purchased from a craft store like Hobby Lobby.
Can I make curtains without a sewing machine?
Yes, you can hand-sew curtains, though a sewing machine is faster.
Have you tried making tab top curtains? Share your results in the comments below or pin this tutorial to your DIY Pinterest board!

Leave a comment