
Fall is the time when everyone goes to the apple orchard, but what do you do with the apples when you get them home? Sometimes they can all be eaten before they go bad, but not always.
Maybe you or a neighbor has an apple tree or two, and no one knows what to do with all the apples and they can’t be given away because there are just too many. What do you do with the surplus of apples so that they aren’t just being thrown away?
There are lots of options but one of my favorites is to make dried apples! Dried fruits are popular as a snack, but they can get pricey very quickly. This makes drying your own apples the perfect solution!
Drying the apples not only makes them shelf stable for longer, but it also makes the apples taste sweeter, making them the perfect sweet treat without loading up on sugar. A win-win if you have kids!
Why You Will Love Dried Apples
Long-Term Storage: Dehydrating apples allows you to store them for extended periods of time, which means you can have apples even after they would have otherwise gone bad. The perfect way to get a taste of late summer/early fall year round!
Hands Off: Once the apples are in the dehydrator, the process is very hands off. The dehydrator does all the work and only needs to be checked a few times each day. This makes it a great option for a busy lifestyle because you can get the apples in the dehydrator with one big push and then do other things while the apples dry.
Sweet Treat: Dried apples are much sweeter in flavor than fresh apples. This make them a great sweet treat without loading up on processed sugar. This is especially important with kids! You can satisfy that sweet tooth without the negative affects of a sugar rush.
Tips & Tricks
Temperature: We like to dehydrate our fruit at 125°F but this can vary depending on the fruit and the type of dehydrator that you have. I picked up a Cabela’s brand dehydrator at a yard sale and find that 125°F for 18-24 hours is about right for dehydrating apples in that particular dehydrator.
Thin Slices: Thinner slices will dehydrate faster than thicker slices. Larger slices can also be difficult to dry all the way through. Storing apples that are not dehydrated all the way through can lead to some unsavory surprises down the road.
Even Slices: It is best to have uniform slices so that all the apples will dry at the same rate. For example, you wouldn’t want some slices to be 1/4-inch thick and others to be 3/4 inch thick as these are not only difficult to thoroughly dry but will take considerably longer than the 1/4-inch slices.
Tools
- Dehydrator
- 3-in-one Apple Peeler or knife and peeler
- Storage Containers
Ingredients
- Apples
- Cinnamon (optional)
How to Make Dried Apple Slices
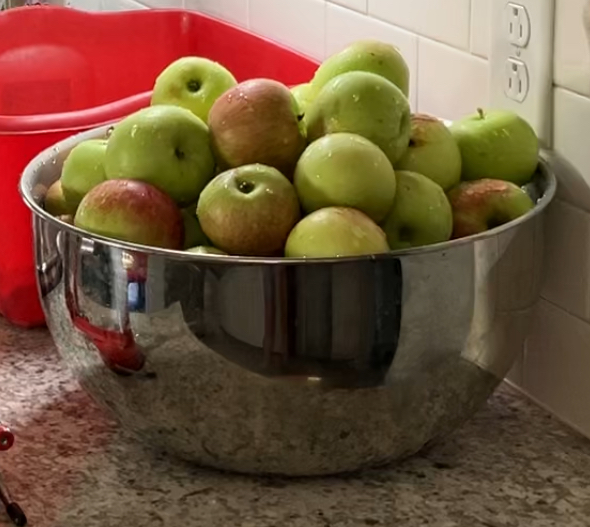
Our family uses apples from some neighbors that have a small orchard. So the first step for us is to go pick apples each year. This year I picked apples a couple different times throughout the year, but ended up picking approximately 4-5 bushels though we also made apple sauce with some of those apples.
Because I am getting apples from a source I trust, that I know has not sprayed their apples with anything, I simple rinse them with water before peeling, coring, and slicing them. However, if I wasn’t sure if the apples had been sprayed or not I would be sure to wash them in a fruit and vegetable wash or use a baking soda wash to remove any chemicals they might have been sprayed with.
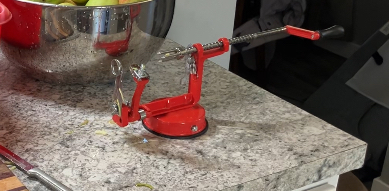
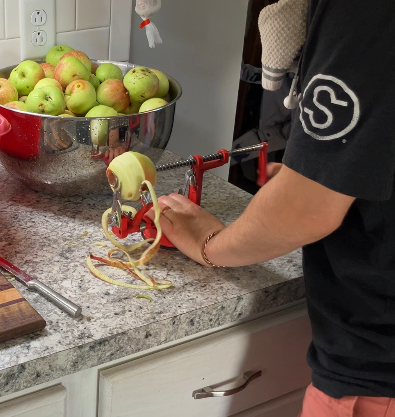
One of my all-time favorite purchases for preserving food was this 3-in-1 apple peeler. It has made the task of peeling, coring, and slicing apples so much faster and easier. However, this tool certainly is not needed and peeling, coring, and slicing the apples can be done by hand.
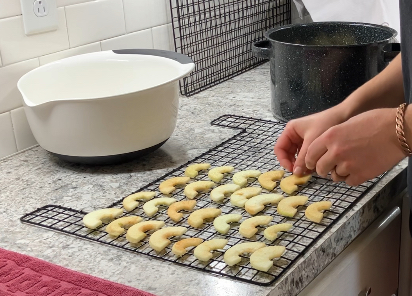
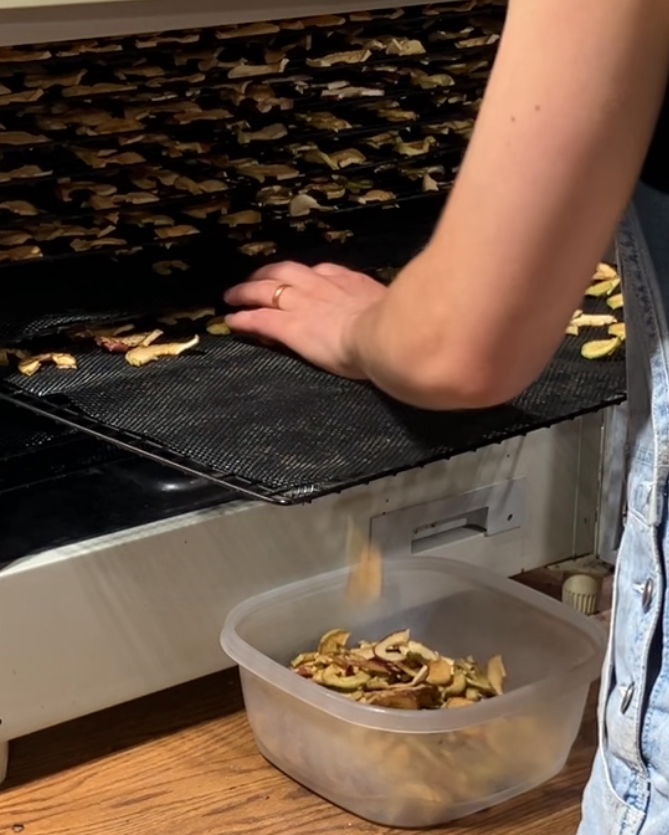
Once I have a bowl of apples that are sliced, I lay them out single layer on the dehydrator racks. If you wish you can sprinkle the apple slices with cinnamon before dehydrating; however, my family prefers them without the cinnamon. Once I have the trays filled and in the dehydrator, I set the dehydrator to 125°F for 23 hours which is the maximum amount of time I can set our dehydrator for.
Once the dehydrator is running, I try to check on it once to twice a day. Sometimes checking on the dehydrator simply means I take a look in the glass front, other times I open up the dehydrator and test an apple slice.

When the apples are dried completely through, I move them all into containers where they get conditioned over the next week to 10 days.
To condition the apple slices, start with containers that are filled only half to three-quarters of the way. Every morning and evening turn the containers over in all directions, watching for any apple slices that might be sticking to the container or to each other. Any slices that stick together or to the container should be removed and placed back in the dehydrator for some additional time to be completely dried.
After the apple slices have been conditioned for 7-10 days and are not sticking together or to the container, they can be stored in air-tight containers. This can be in jars that have been vacuum sealed, or in an airtight container, such as a food grade bucket, with an oxygen absorb if they will stored for a longer period of time.
Frequently Asked Questions
Do I have to sprinkle the apple slices with cinnamon? Can I change the spices I sprinkle on the apples before dehydrating?
You can add or subtract spices for your family’s tastes and preferences. The most common spice is cinnamon, but you can experiment with what your family prefers. I would recommend only doing small amounts until you know what your family likes best though.
At what temperature and how long do I need to dehydrate the apple slices for?
This can vary somewhat depending on your dehydrator and how thick your apple slices are cut. I generally set my dehydrator for 23 hours (the maximum setting for my dehydrator) at 125°F with slices that are about 1/8th of an inch thick.

Leave a comment