
Sugared Squash

Squash is one of those items that grows super well in our garden and produces plentifully. While there are many things that you can do with squash as it can be swapped for pumpkin one-for-one, one of the simplest is to make sugared squash.
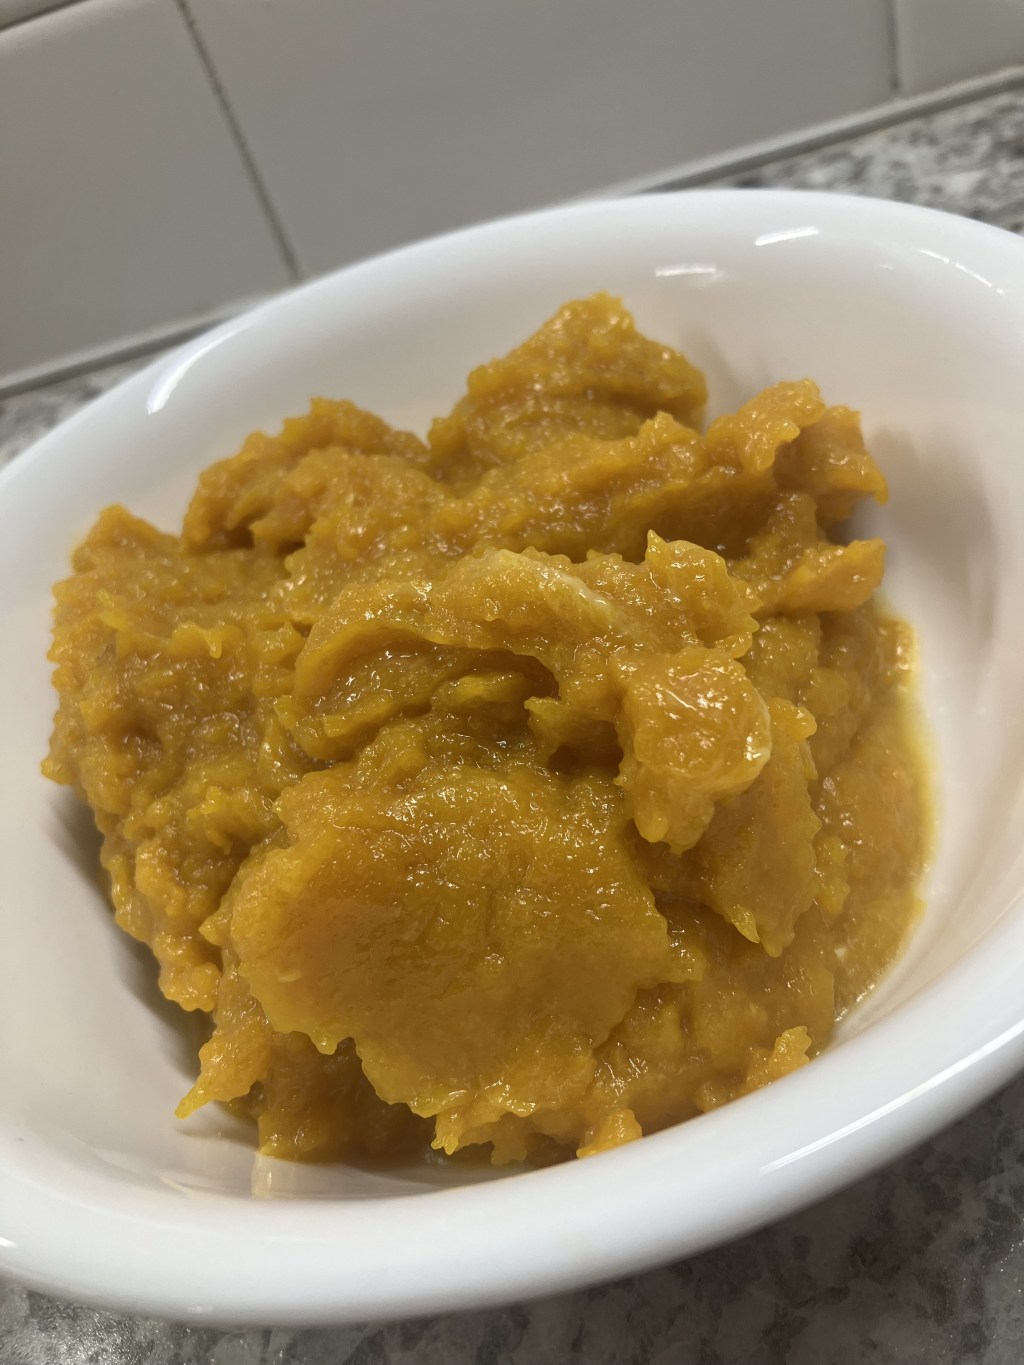
Sugared squash makes a great side dish or dessert. All you will need is brown sugar, melted butter, and a winter squash of any kind. I have used acorn, butternut, and buttercup squash for this recipe and they all work though my family’s favorite is buttercup.
Start by washing your squash well and then cut it in half. Remove the seeds and guts of the squash and place them aside to make salted seeds later. Then place the open side of the squash face-down in a 9-by-13 pan or on a cookie sheet. Add water to the bottom of the pan or cookie sheet and place in a 400°F oven for one hour.
After an hour, poke the squash with a fork. The squash should be fork tender like a boiled potato. If the squash is fork tender remove it from the oven and allow it to cool until it can be comfortably handled otherwise return it to the oven.
Once the squash has cooled and can be comfortably handled, scoop out the meat of the squash and place it into a bowl. Depending on how large your squash is you will need to slightly adjust your butter and sugar. The amount of sugar will also depend on your family’s preferences and how sweet you would like the squash to taste.
As a general rule of thumb, I use 1-2 heaping, unpacked tablespoons of brown sugar and 1-2 tablespoons of melted butter per cup of squash. These amounts can be adjusted to make the squash as sweet as you would like.
Salted Seeds
Another favorite treat is salted seeds. While this treat can be a lot of work, it is one that can be quite rewarding when completed.
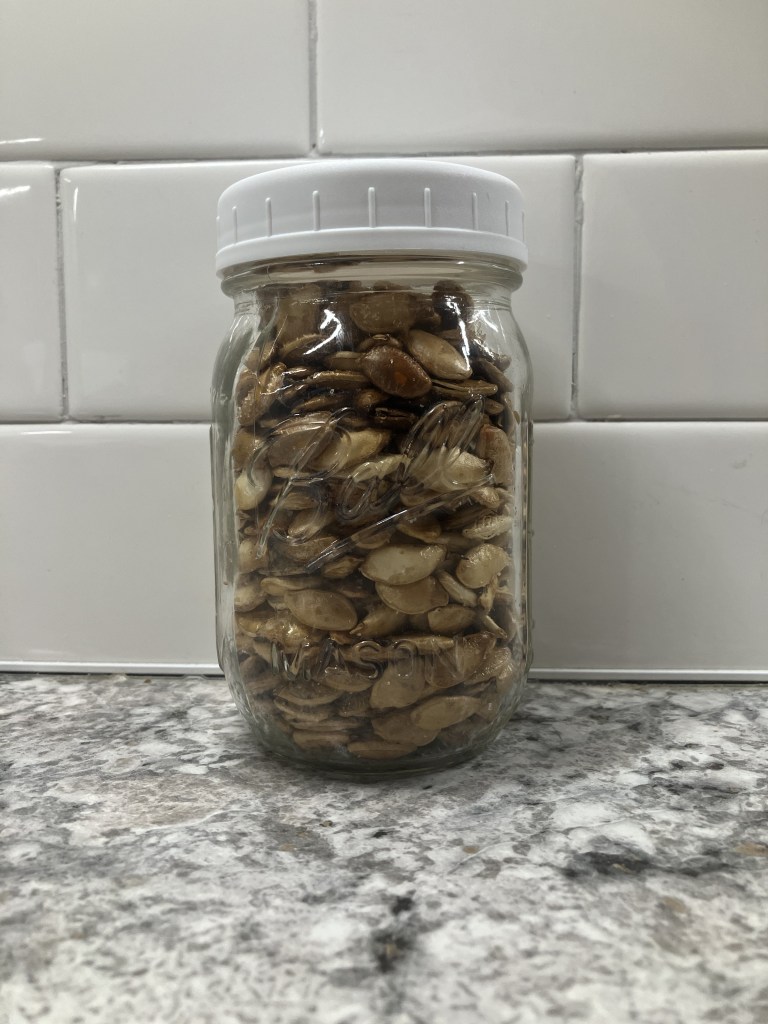
Instead of just throwing away the seeds and guts of pumpkins and squash, I remove the seeds and wash them up to be baked. To start this process, I remove as much of the squash or pumpkin guts from the seeds as I can and then wash the remainder off under gently running water using a wash cloth.
Place a small handful of seeds into the center of a wash cloth. Then fold all the corners and edges of the washcloth up creating a bag. Rub the seeds together inside the wash cloth while running cool water over them for about ten seconds.
Once the seeds are clean, lay them out single layer on a tea towel to dry overnight. The next morning, line a cookie sheet with parchment paper and spray lightly with oil. To spray the parchment paper with oil I use a Misto sprayer to avoid aerosolized oils. I then spread the seeds single layer on the parchment paper lightly spraying them with oil and sprinkling with salt.
Place into a 400°F oven and bake the seeds for approximately 30 minutes. The seeds will start to turn a slight golden or brown color. Remove the seeds from the oven and allow them to cool on the baking sheet completely. After the seeds have cooled, use the parchment paper to dump the seeds into an airtight storage container such as a Mason jar with a lid.
Many seeds including pumpkin seeds are packed with loads of nutrients that we miss out on when we simply toss them out. Instead, baking these seeds is a great way to capture these nutrients that we would otherwise be missing out on when we throw them away.

Leave a comment