
One simple way I use to reduce food waste in my kitchen is by making bone broth. Not only does making bone broth helps reduce the amount of food waste in my kitchen, but it also give me a nutritious drink or great start the base of a soup.
It took me some time to master bone broth, even when following a recipe. Everyone always talks about getting the perfect jelly like bone broth, but it took me making bone broth for nearly 6 months before I finally got a bone broth that was gel-like in consistency.
One of the major things that I learned in this process, is to make sure that there is plenty of collagen source in the bone broth. This could mean adding chicken feet or another good source of collagen.
My general recipe for bone broth is the bones from one whole chicken, carrots, celery, onion, and the broth from a whole cooked chicken. I then add additional seasonings and herbs.
I have found it’s very easy to make bone broth in a crockpot as I can set it up and walk away for 24 to 48 hours. When I come back, I have a nutritious and healthy broth waiting for me.
Generally, I will start by making one whole chicken in the crockpot. I’ll then pick the chicken and use it for various dishes like chicken Alfredo, chicken noodle soup, enchiladas, tacos, quesadillas or anything else they can take shredded chicken. I then place the bones back in the crockpot with the broth or water that I used to cook the initial chicken. While many people have a specific amount of water per batch of bone broth, I simple use what I think is right to the cook a chicken.
I then add at least two chicken feet, two whole carrots or peelings from 4 to 8 carrots, celery, and one whole onion or the onion skins from 2 to 4 onions. If I have potato skins that are not green, I will add those to my vegetable scraps as well. I have learned that it works just fine to save your peeling and stems from previous peelings and freeze them to pull out when you are ready to make your bone broth.
I add a splash of apple cider vinegar, some whole peppercorns, 2 to 3, bay leaves, salt, garlic, and herbs to taste. The herbs to taste depends on if I know what I will be using the broth for in the future. For example, if I know I will be making a chicken noodle soup I add herbs accordingly, if it is just a bone broth to can for the shelf, I generally leave most of my herbs out and add them later if I desire.
Once I have my crockpot ready, I put the lid on and place the crockpot on low for 24 to 48 hours. When I come back, I remove the lid and allow it to cool for at least two hours sometimes even overnight though if I leave it overnight to cool, I will leave the lid on the crockpot. I will then drain the broth through a strainer to catch all the bones, vegetable scraps, and large seasonings.
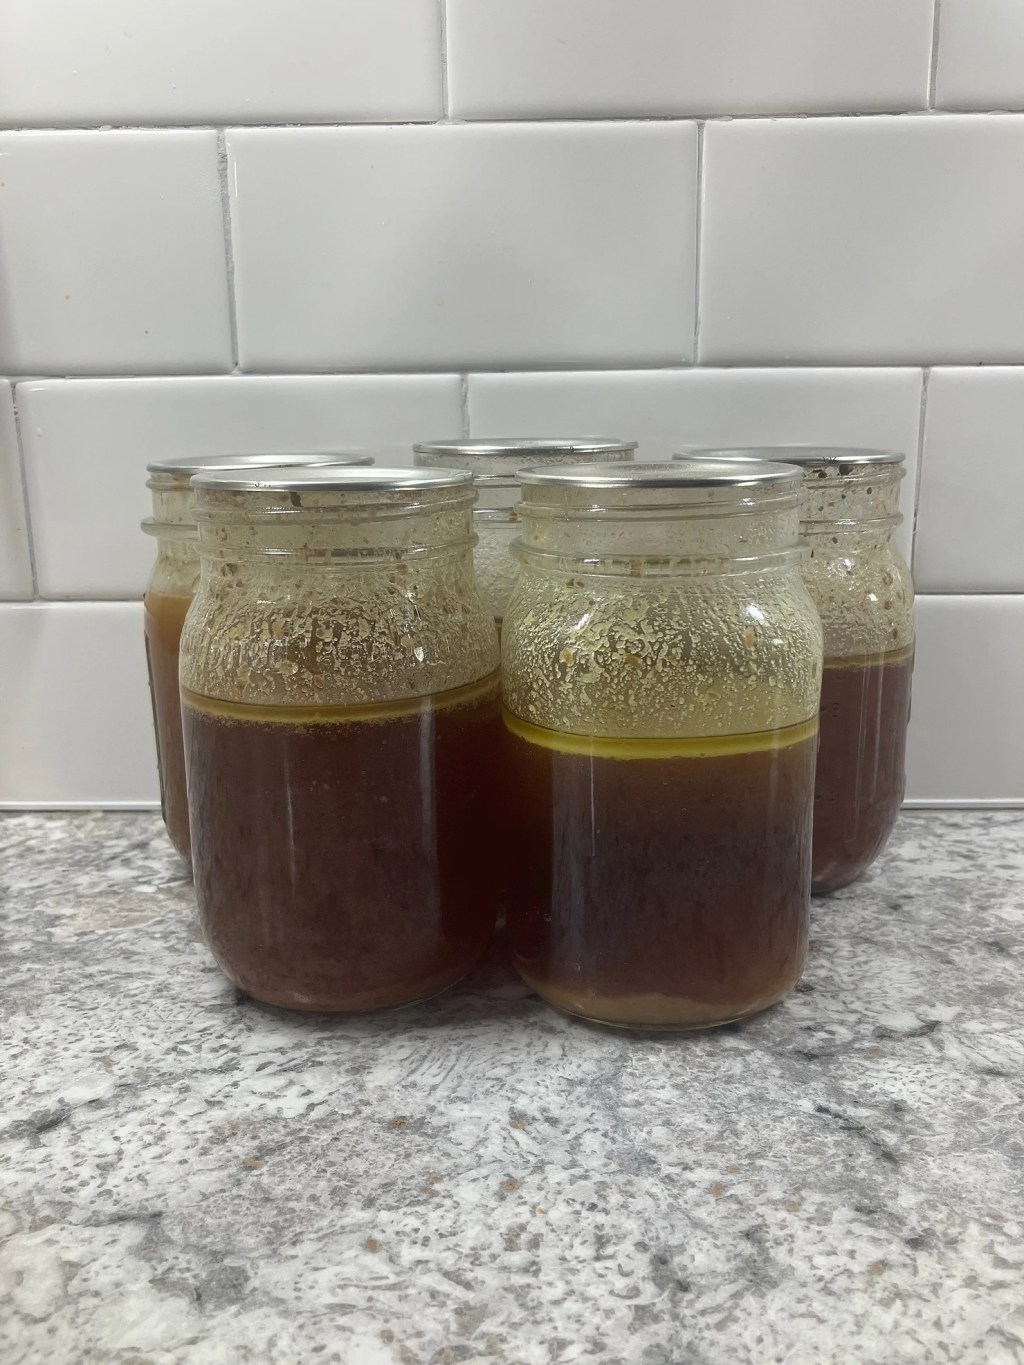
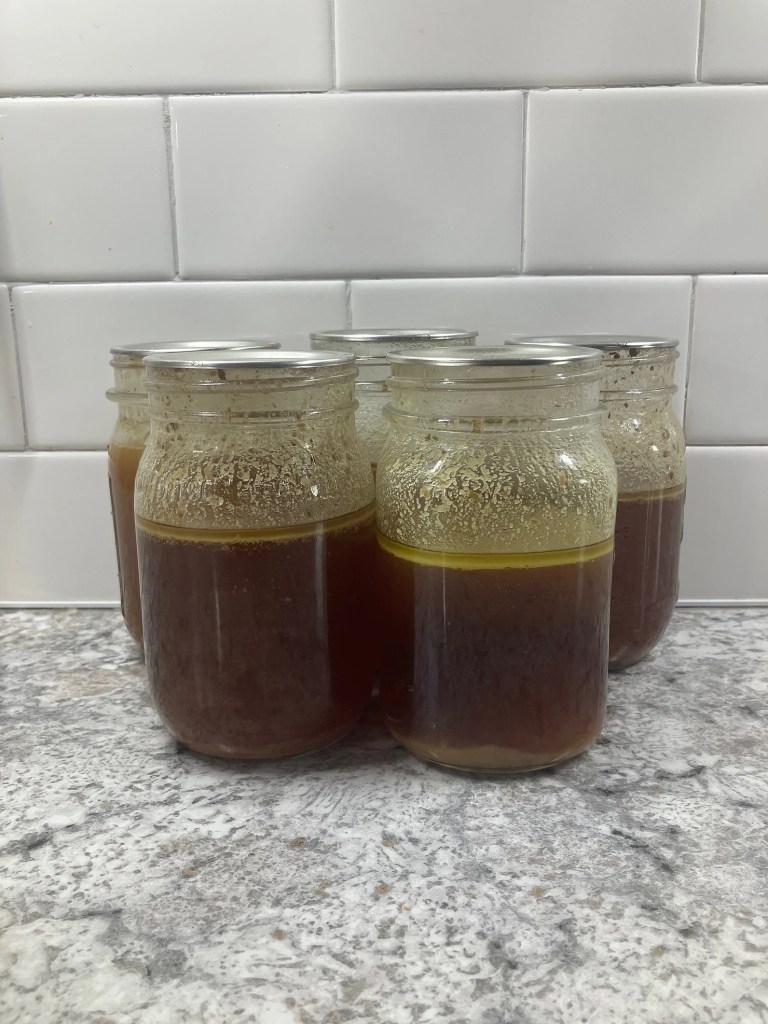
Generally, I pressure can my bone broth rather than using it immediately as it is more convenient for me that way. To do this, I will dish my bone broth into jars, wipe the mouth of each jar, and add a lid and ring. Processing times can be found online at the National Center for Home Food Preservation. I will use bone broth for everything from a morning drink to cooking rice the base for a soup.
Two of my favorite recipes I followed when I started were Meghan Gaites‘s recipe and Jill Winger’s recipe. Both of these recipes are very similar and have the same base ingredients to them. However, over time I have developed my own general recipe/guidelines that I follow when making bone broth.

Leave a comment