
Disclosure: This post contains affiliate links and I may earn a small commission at no additional cost to you when you use a link.
Main sources for this blog include:
– The Encyclopedia of County Living by Carla Emery
– The Self-Sufficient Life and How to Live It by John Seymour
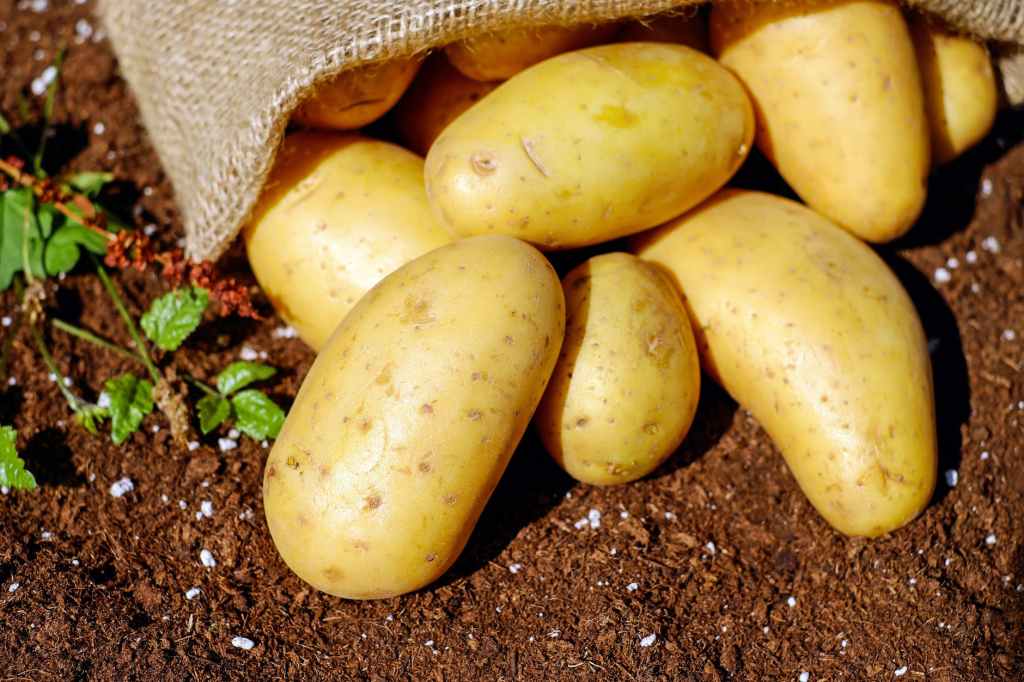
Potatoes are not only a root but are also part of the nightshade family like peppers and tomatoes. Potatoes originated in the Americas not Ireland like many people believe and are naturally a perennial. The Incas had the potato first before it went to Spain around 1700 and throughout Europe, including Ireland, after that. The potato’s Latin name is Solarium tuberosum and it is an important addition for any gardener who is working to be self-sufficient. This is because potatoes are one of the few garden plants that could be lived off of without any other food, if need be, and many of the others require much more complex preparation than the potato.
Potatoes used to only have two main varieties, reds and whites; however, the options have grown to include a much larger number of varieties. It is still true however that red potatoes are better for boiling as new potatoes while whites are better for winter storage and baking. The color options for potatoes now include yellow, rose, blue skin/white flesh, blue skin/blue flesh, white, russet, red, black, purple, red skin/red flesh, red skin/gold flesh, and color splash with additional options of scab resistant, best keeper, heirloom, and many others. There are several different maturity speeds that you can chose from as well, ranging from 75 to 130 days.
Potatoes like longer days with cooler weather, and light frosts will not kill a potato. Though a tropical plant, it did grow in the mountains, so they do struggle in warmer, more humid climates like in the South, where they can rot in the ground if the gardener is not careful. Additionally, potatoes grown in warmer climates won’t keep as well as potatoes of the same variety grown in a cooler climate. Sandy or loamy soil is best for potatoes and they thrive in acidic soil with a pH of 4.6 or greater. Because potatoes like more acidic soil it is best not to put wood ash or lime on before planting or during the growing season.
Very few people besides seed potato growers actually grow potato from seed. Instead, most gardeners grow potatoes from seed potatoes or chunks of potato with eyes in them. Eyes are the little round depressions on the surface of a potato. From each eye a sprout will grow, and each chunk of potato that is planted as a seed potato should have at least one eye, but it is better if they each has 3 eyes. Typically one end of the potato will be more heavily covered in eyes while the other end will have eyes places more sporadically. The end with the eyes should be planted up.
There are a couple different ways to sprout potatoes and prepare them for planting, and some people are vary passionate about preparing potatoes for planting one way or another; however it will depend on where you live and your soil temperature when planting which method or methods will work for you. The main debate is about whether you should chit you potatoes before planting. Chitting is when potatoes are placed in a box without a top (or chitting boxes) and are left to sprout and dry out before planting. When chitting potatoes they should be in a dark cool place, but protected from frost. Another method is to green the potatoes. When greening potatoes, they are set out in an area with lots of light, either indoors or outdoors, until they get a reddish or green color. (If using this method it is important to keep children and pets away from the green potatoes as they are poisonous.) Then they are cut into chunks with spouts. However, I have never planted potatoes either of these ways and in fact didn’t even know these were methods until last spring.
When I plant potatoes (Ruth Ann Zimmerman and Carla Emery also use(d) this method), I simply cut the potatoes into chunks with eyes the day I am planting, and plant them into warm soil typically in mid-May (I am in growing zone 5a.). When cutting my potatoes for seed, I try to make sure that each chunk is at least the size of a ping pong ball or maybe even a golf ball. Some people will plant the whole potato, and they will grow best doing this. However, this takes a lot more seed potatoes, and I find that I get a good enough crop when chunking my potatoes. It is important when cutting your potatoes for seed that you do not cut through an eye, as this can damage it and keep the eye from sprouting.
Seed potatoes can be purchased from most seed stores, or if you have a neighbor who knows what variety of potatoes they have and they get a good crop, you could get seed potatoes from a neighbor. Potatoes purchased from the store do not make the best seed potatoes because it can be very difficult to tell what variety they are and they are often treated with chemicals to keep them from sprouting. After your first year, you can save some of the nicest potatoes from your harvest to plant the following year. Though it might be tempting to save some of the small potatoes that are hard to use in the kitchen, this is not a good idea because you are selecting a potato with at least one of the worst qualities, an inability to mature in time before the end of the growing season.
Potatoes can be planted as early as 5 to 6 weeks before the last frost to harvest early potatoes to use in the kitchen. Should there be a frost warning, the potatoes can be hilled using mulch or dirt to protect them from the frost as they will grow back up through it. To plant potatoes, it is easiest to make a furrow about 3-4 inches deep (deeper if you planting very early) and then to simple fill the furrow back in when you have placed seed potatoes every 6 to 18 inches apart in rows 2.5 feet apart. Potatoes will take 3 to 4 weeks before they will sprout. As the potato grows it will need to be “hilled” several times. To hill potatoes simple draw dirt up over the majority of the stem leaves. It is easiest to hill potatoes in the morning because they stand up best then while they tend to sprawl during the day and evening. Potatoes can also be planted in straw which makes the planting and harvesting processes easier, but they will not produce as well as potatoes planted in dirt. To plant potatoes in straw, simply place the potatoes on top of the soil, cover with a foot of straw, and water well. Be sure to keep them covered with mulch, as potatoes that are exposed to the sun will turn green and become poisonous. When it is time to harvest, just rake back the straw to expose the potatoes. You can harvest early potatoes by digging into the straw; however, this is not recommend if you live in an area with poisonous snakes as they might be under the straw with potatoes.
One of my favorite ways to plant is by using a potato box or similar method. In this method you simply plant the potato as you would in the ground, making sure there is 6-8 inches of soil below the potato. As the potatoes grow, simply added additional dirt until only a small portion of the stem and leaves is left exposed. While some people say you can keep doing this all summer and the potato will continue to set on new spuds, others say that only about the first 18 to 24 inches actually produce spuds. This is not a theory I have personally tested, as I plant my potatoes in old mineral tubs for cattle that are only about 24 inches tall in total.
When growing potatoes, it is important to keep the weeds under control as potatoes do not like competition. Hilling the potatoes will help with the weed control as you will uproot the weeds when hilling the potatoes. Potatoes need occasionally watering, typically a good soaking once a week will suffice.
Some common diseases and pests for potatoes include potato blight, scab, potato root eelworm, and Colorado beetle. Potato blight is recognizable by black patches with white powdery edges and a sickly sweet smell. You can prevent blight by spraying with a commercial spray or homemade Bordeaux spray every two weeks during the hottest and most humid part of the season. If you catch blight soon enough remove the affected foliage and the blight will not spread to the tubers of the plant.
Scab is not a serious disease, though it does make the potatoes unsightly. Scab is simply indentions into the skin and flesh of the potato that make it look as though it has been eaten by bugs and then “scabbed” over. It will not harm the spud, simply peel it off or cut it out and prepare the potatoes like normal. Scab can occur by planting potatoes in very alkaline soil or soil that has been recently limed.
Potato root eelworm can be avoided by rotating your crops so that you are not planting potatoes in the same location year after year.
The Colorado beetle can be recognized by its yellow color with 4 black stripes. They lay yellow eggs on the underside of leaves, and can eat leaves so rapidly they decimate an entire crop. They burrow deep into the ground in the winter, so dig deep in the cooler months to expose the bugs to cold temperatures and birds. They can also be sprayed with neem oil when the beetles are young or commercial sprays.
Like any plant grown in the garden, there are many methods for planting, growing, a potato. Look around for different methods if the first one you try doesn’t work for you, because every climate is different and what works for me in the Midwest with a growing zone of 5a and sandy soil might not work well for you in another zone and climate with different soil. Come back next to week to read about harvest, storing, and preserving potatoes. Happy gardening!

Leave a comment